Installing a Home Wind Turbine: The Complete Guide (2024)
Step-by-step guide to installing a residential wind turbine—from site assessment and permits to foundation work, electrical hookup, and grid connection.
Share this article
windturbinehome.com/s/1df585

Installing a home wind turbine requires careful planning across four phases: site assessment and permitting, foundation and tower installation, turbine mounting and electrical integration, and final inspection. Most 5-10 kW residential installations take 3-5 days of onsite work, demand NEC Article 705 compliance, and cost $15,000-$45,000 installed depending on tower height and local labor rates. A licensed electrician and structural engineer review are mandatory in nearly all U.S. jurisdictions.
Why installation complexity matters more than turbine cost
The turbine itself—rotor, generator, controller—accounts for only 30-40% of total project expense. Foundation excavation, tower erection, trenching for buried cable, and electrical panel upgrades drive the rest. A Bergey Excel 10 kW unit retails near $32,000, yet a complete turnkey install often lands between $50,000 and $65,000 when guyed tower, concrete pier, inverter, disconnects, and permitting are included.
Vertical-axis turbines like the 4 kW Pikasola helical model mount on shorter monopoles and skip guy wires, cutting foundation cost but delivering lower energy yield in marginal wind sites. Horizontal-axis machines—Primus Air 40, Aeolos-H 5kW, Bergey Excel—require taller towers (80-120 ft) to clear ground turbulence and capture steady wind, which multiplies both structural and permitting hurdles.
Site assessment: measuring wind and evaluating obstructions
Before ordering equipment, collect wind data for at least three months. A desktop anemometer on a 30-foot mast provides baseline readings; compare against NREL's wind resource maps and airport METAR archives within 10 miles. Average wind speed below 10 mph annual mean renders most small turbines uneconomical; 12-14 mph supports break-even at current utility rates in the continental U.S.
Walk the property with a laser rangefinder. Trees, barns, and ridgelines within 500 feet create wake turbulence that persists for 20 rotor diameters downwind. For a 7-meter-diameter rotor, that wake extends 140 meters. Tower height should exceed the tallest obstacle within 300 feet by at least 30 feet. Flat prairie sites tolerate 60-80 foot towers; wooded hills demand 100-120 feet.
Check zoning setbacks early. Many counties require the tower to sit 1.5× its height from property lines—a 100-foot tower needs 150 feet of clearance on all sides. Homeowners association covenants occasionally ban structures taller than the residence; confirm exemptions for renewable energy systems under state law before spending money on engineering drawings.
Permits, inspections, and grid-interconnection agreements
Three separate approval tracks run in parallel: zoning/building permit from the county or city, electrical permit referencing NEC 2020 or 2023, and a net-metering interconnection agreement from the utility.
Zoning and building permits
Submit a site plan showing tower location, guy-anchor positions if applicable, setbacks, and FAA determination. The Federal Aviation Administration requires notification for any structure exceeding 200 feet above ground level; most home turbines stay below that threshold, but towers near airports trigger Part 77 airspace review even at 80 feet. File FAA Form 7460-1 if you're within five nautical miles of a public airport or heliport.
The building department will request stamped structural drawings for the tower foundation. A professional engineer calculates wind load per ASCE 7, soil bearing capacity, and seismic factors. Guyed lattice towers use three to four concrete piers 2-3 feet in diameter and 4-6 feet deep; freestanding monopoles need a single reinforced pad 6-8 feet square and 4-5 feet deep. Frost line depth governs minimum footing depth in northern states.
Electrical permit and NEC Article 705 compliance
NEC Article 705 governs interconnected electric power production sources. Key requirements include:
- A dedicated turbine disconnect visible from the main service panel.
- Inverter listing to UL 1741 (anti-islanding protection).
- Proper conductor sizing—10 AWG copper minimum for runs under 100 feet; upsize to 8 AWG or 6 AWG for longer trenches to limit voltage drop below 3%.
- Grounding electrode at the tower base bonded to the main service ground via a continuous #6 copper conductor.
- Overcurrent protection sized to turbine nameplate rating.
The authority having jurisdiction (AHJ)—city or county electrical inspector—will schedule a rough-in inspection after conduit and wire are in place but before backfill, then a final inspection once the turbine is mounted and energized. Do not backfill trenches or cover junction boxes until rough-in passes.
Utility interconnection agreement
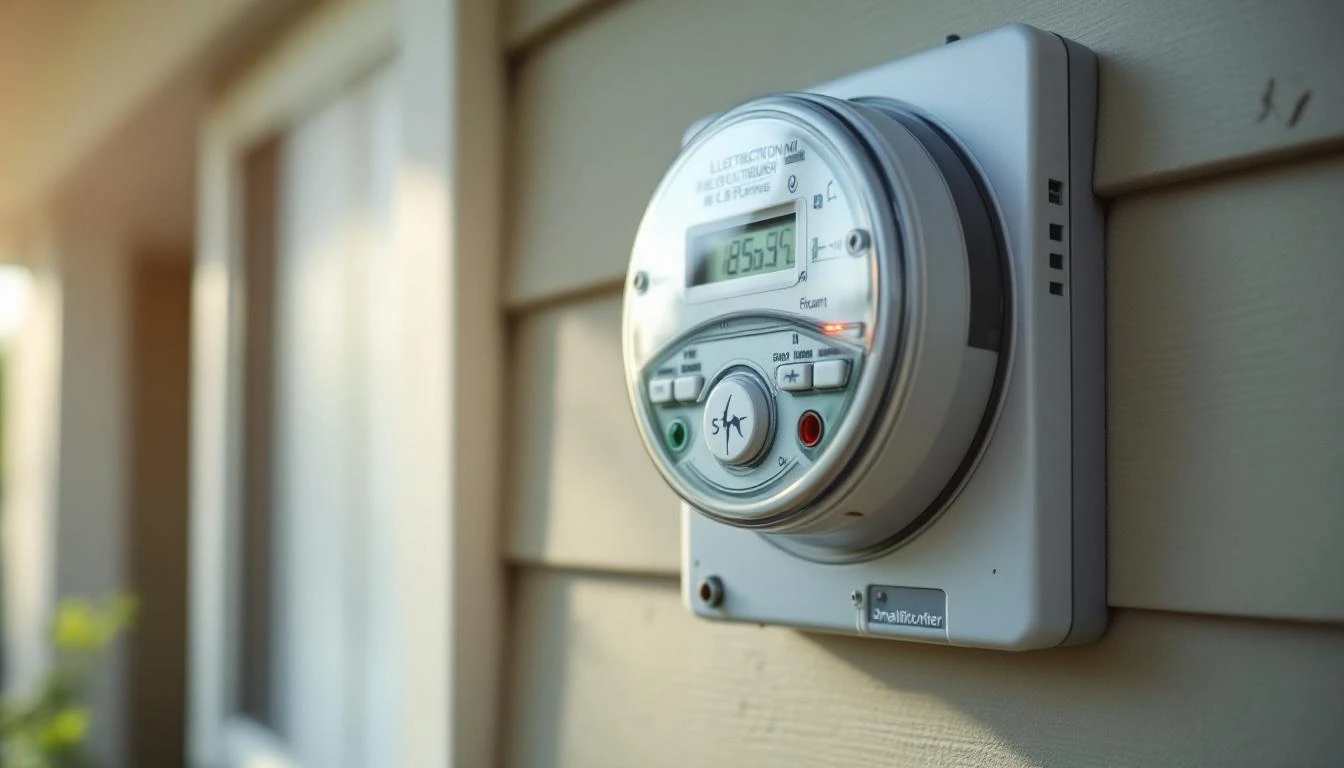
Submit an interconnection application to your electric utility within 30 days of permit approval. The utility reviews transformer capacity, fault-current contribution, and voltage-regulation impact. Systems under 10 kW typically qualify for simplified "Level 1" interconnection with a one-page agreement and no impact study. The utility installs a bidirectional net meter at no charge in most states covered by DSIRE renewable portfolio standards.
Processing time ranges from two weeks in California and New York to 90 days in rural cooperatives. Withhold turbine commissioning until you receive written permission to operate (PTO); energizing before PTO risks fines and disconnection.
Foundation and tower installation
Schedule foundation pour for dry weather; rain-saturated soil reduces bearing capacity and delays curing. Rent a small excavator or hire a local contractor with a trackhoe. Dig pier holes to engineered depth, install rebar cages per the drawings, and pour 3,000-psi concrete. Embed anchor bolts or guy-wire saddles while concrete is plastic, checking plumb with a builder's level.
Concrete requires seven days minimum cure at 50°F or warmer before loading. In cold climates, use blankets and calcium-chloride accelerator; never pour below 40°F without heated enclosures.
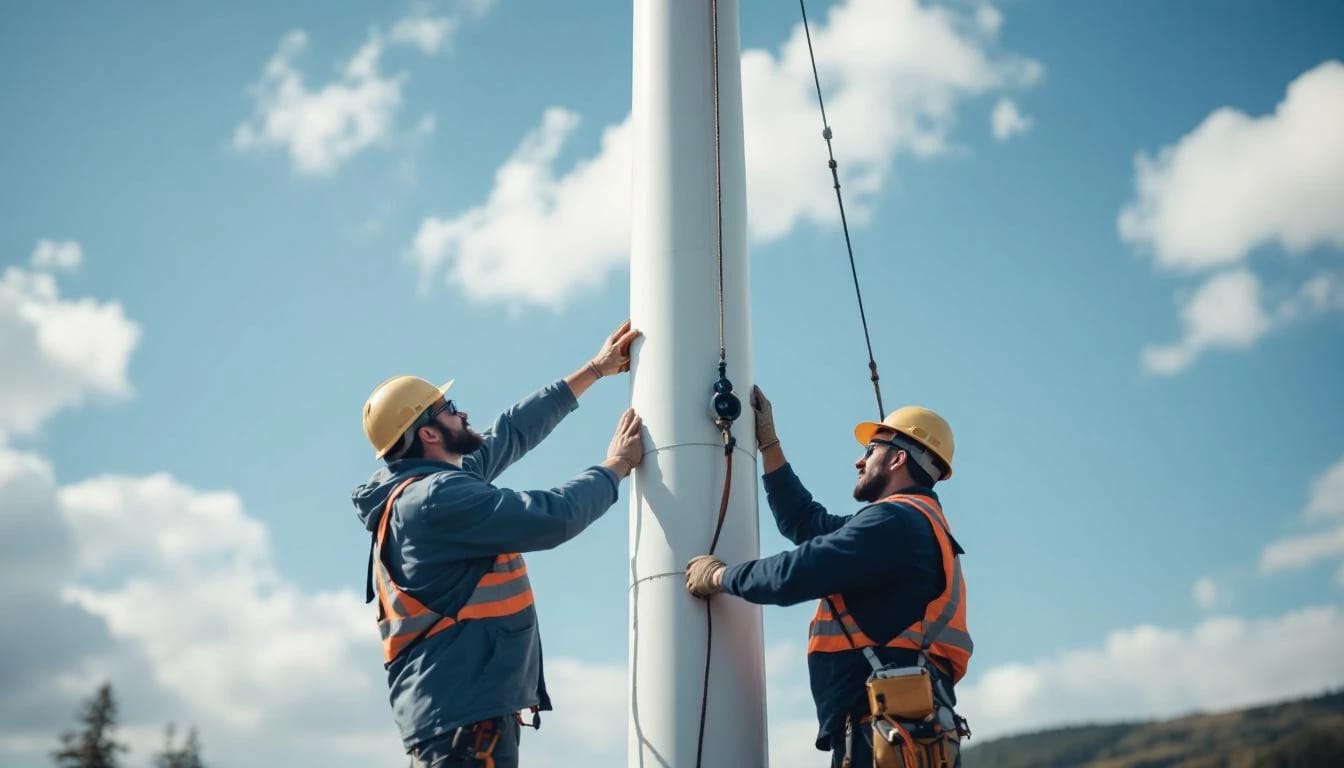
Guyed lattice towers arrive in sections. Assemble the bottom section over the base plate, hand-tighten bolts, then use a gin pole or crane to raise successive sections. Attach guy cables at each tier, tensioning with turnbuckles to manufacturer torque specs—typically 200-300 ft·lb for 3/16-inch galvanized cable. Tilt-up towers hinge at the base; lower the tower horizontal, mount the turbine, then use a winch and A-frame to raise the assembly into vertical position.
Freestanding monopoles 60 feet and taller require a crane. Schedule the lift for calm morning hours—wind speeds above 15 mph make tall monopoles unsafe to erect. Bolt the tower to the foundation plate, torque all fasteners, and grout the base plate if specified.
Electrical rough-in and cable trenching
Run a trench from the tower base to the house service panel. Bury direct-burial rated cable (UF-B or USE-2) at least 18 inches deep; increase to 24 inches under driveways. Use schedule-40 PVC conduit where cable emerges at the tower and building to protect against physical damage.
Three-phase turbines require four conductors—three hots plus ground. Single-phase machines (most units under 5 kW) need three wires—hot, neutral, ground. Size conductors to carry 125% of turbine maximum output current to comply with NEC 690.8(B)(1) and 705.60. A 5 kW turbine at 240 VAC delivers roughly 21 amps; use 10 AWG copper for runs under 80 feet, 8 AWG for 80-150 feet.
Install a weatherproof junction box at the tower base. The turbine's down-lead cable terminates here, connecting to your buried feeder via compression lugs and split bolts. Drive an 8-foot ground rod adjacent to the tower and bond it to the junction box ground terminal and the tower structure with #6 bare copper.
At the house end, mount a 60-amp fused disconnect outdoors within sight of the main panel. This serves as the required turbine disconnect and emergency shutoff. Inside, the feeder lands on a dedicated two-pole breaker in the main panel—sized to turbine output—and backfeeds the panel bus. Some inspectors require a "line side tap" ahead of the main breaker if turbine output exceeds 20% of the panel bus rating.
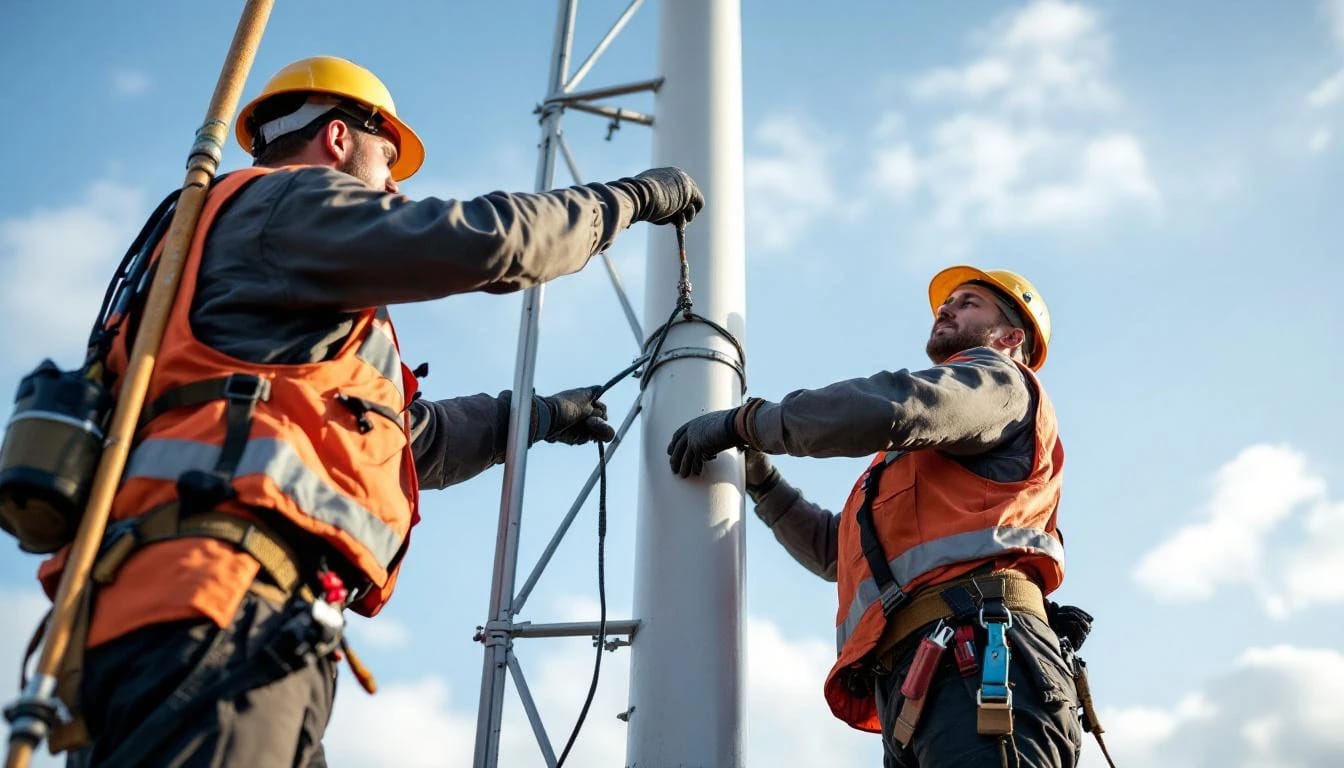
Turbine mounting and rotor installation
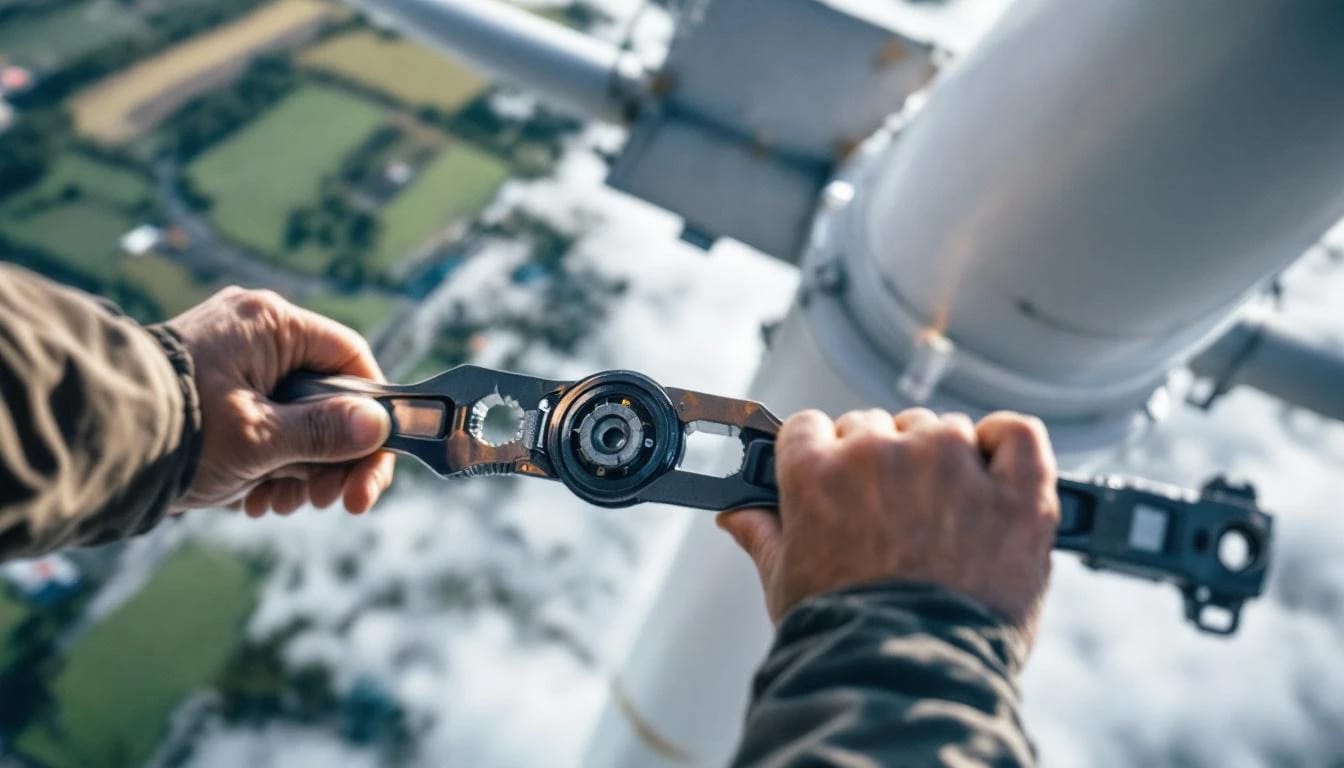
Most small turbines ship with the generator pre-wired to a nacelle-mounted controller. Hoist the nacelle assembly to the tower top using a capstan winch or crane tagline. Secure the yaw bearing or slip-ring assembly per the installation manual—torque specs matter here because vibration loosens under-torqued bolts within weeks.
Attach rotor blades on the ground if the tower tilts down, or at height if you're working from a bucket truck or climbing the tower with a safety harness. Bergey blades require a specific torque sequence—snug all bolts, then torque in a star pattern to final spec (typically 40-60 ft·lb for 2.5-meter blades). Primus and Aeolos rotors often use a single central hub bolt torqued to 100+ ft·lb with thread-locking compound.
Vertical-axis turbines—Pikasola, Windmax helical models—bolt directly to a 4-inch or 6-inch schedule-40 steel pipe monopole. The entire rotor-generator assembly weighs 80-150 pounds, manageable by two people without heavy equipment. Balance is less critical than with horizontal-axis machines, but still verify blade alignment with a carpenter's level before final tightening.
Connect the turbine down-lead to the junction box. Most machines use a 4-pin Amphenol or similar weatherproof connector; a few budget models terminate in bare wire requiring field splicing. Double-check phase rotation if the turbine is three-phase—swapping any two phases reverses rotation and can damage the controller.
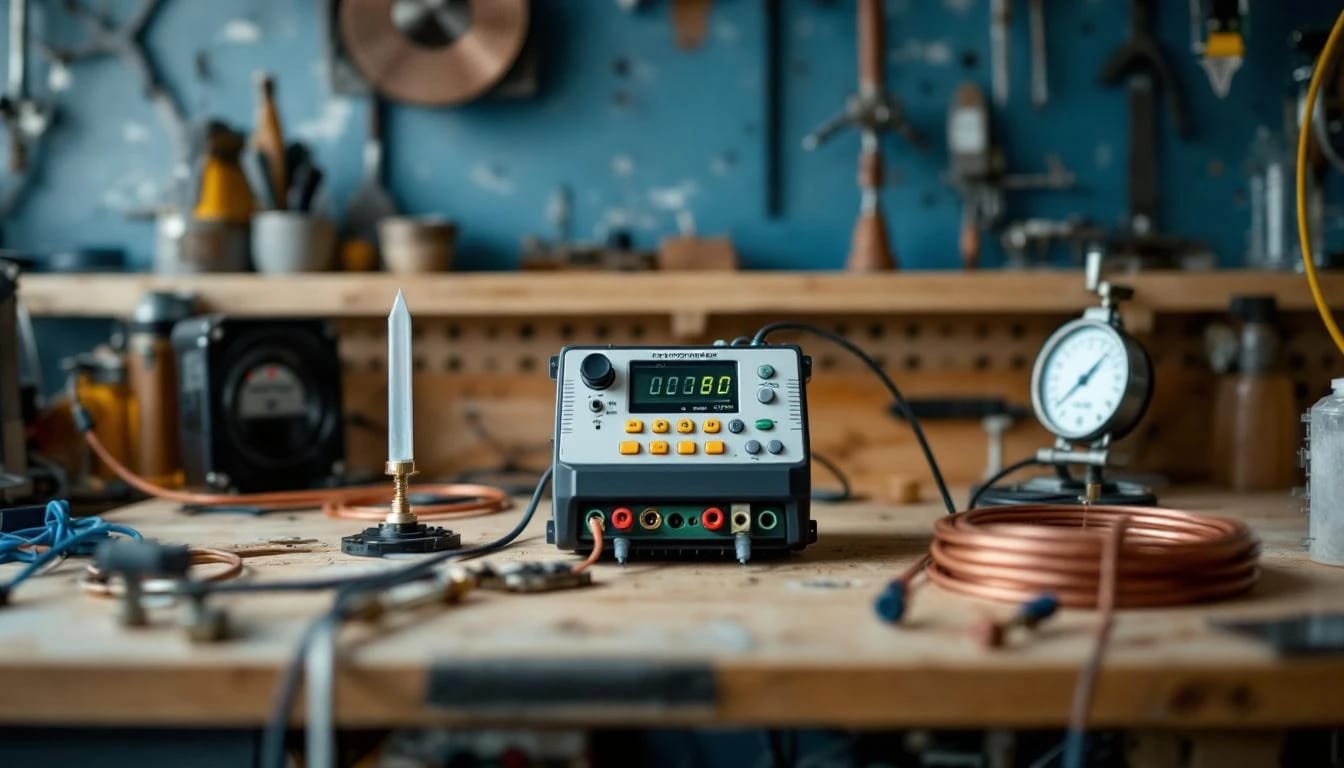
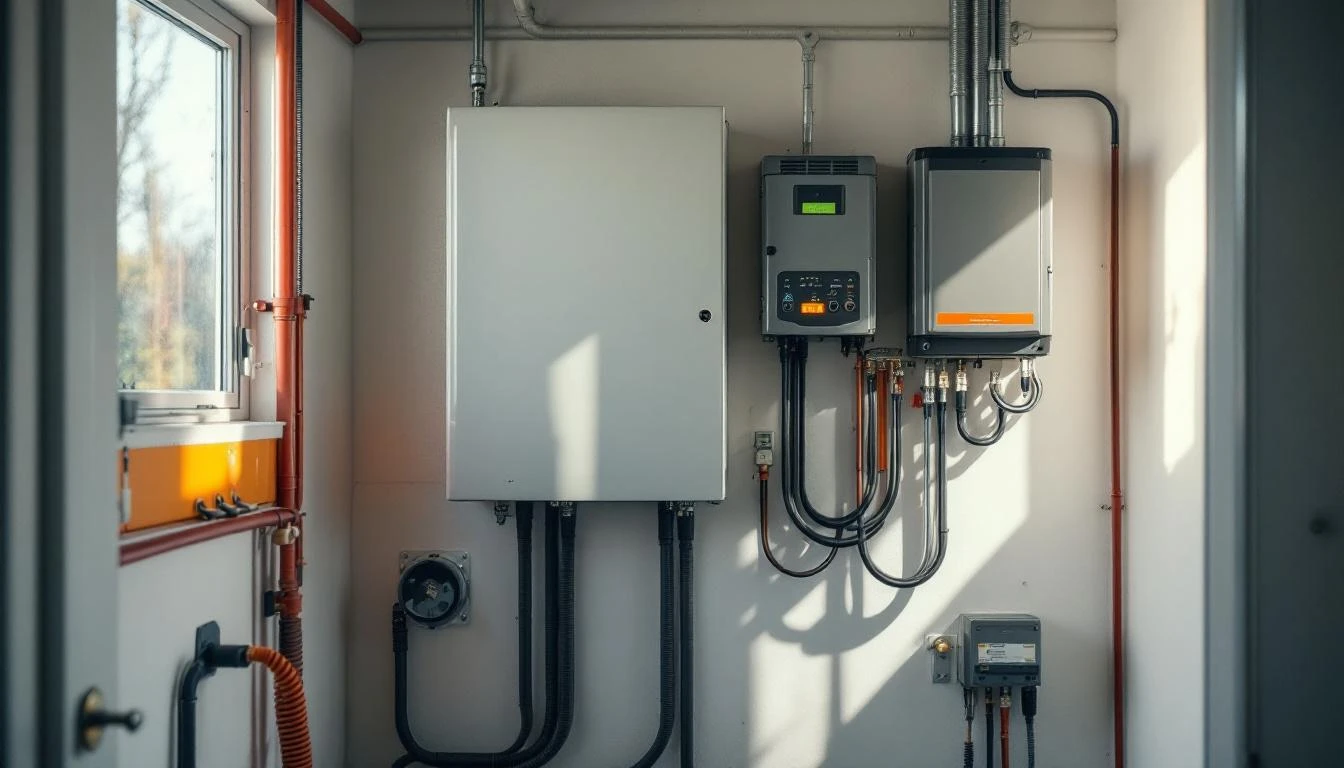
Inverter and controller setup
The charge controller or grid-tie inverter mounts indoors near the main panel. Grid-tie inverters—Schneider Conext, SMA Windy Boy, Midnite Classic—convert turbine AC to synchronized AC matching utility voltage and frequency. They handle maximum power point tracking (MPPT) and anti-islanding shutdown per UL 1741 SA.
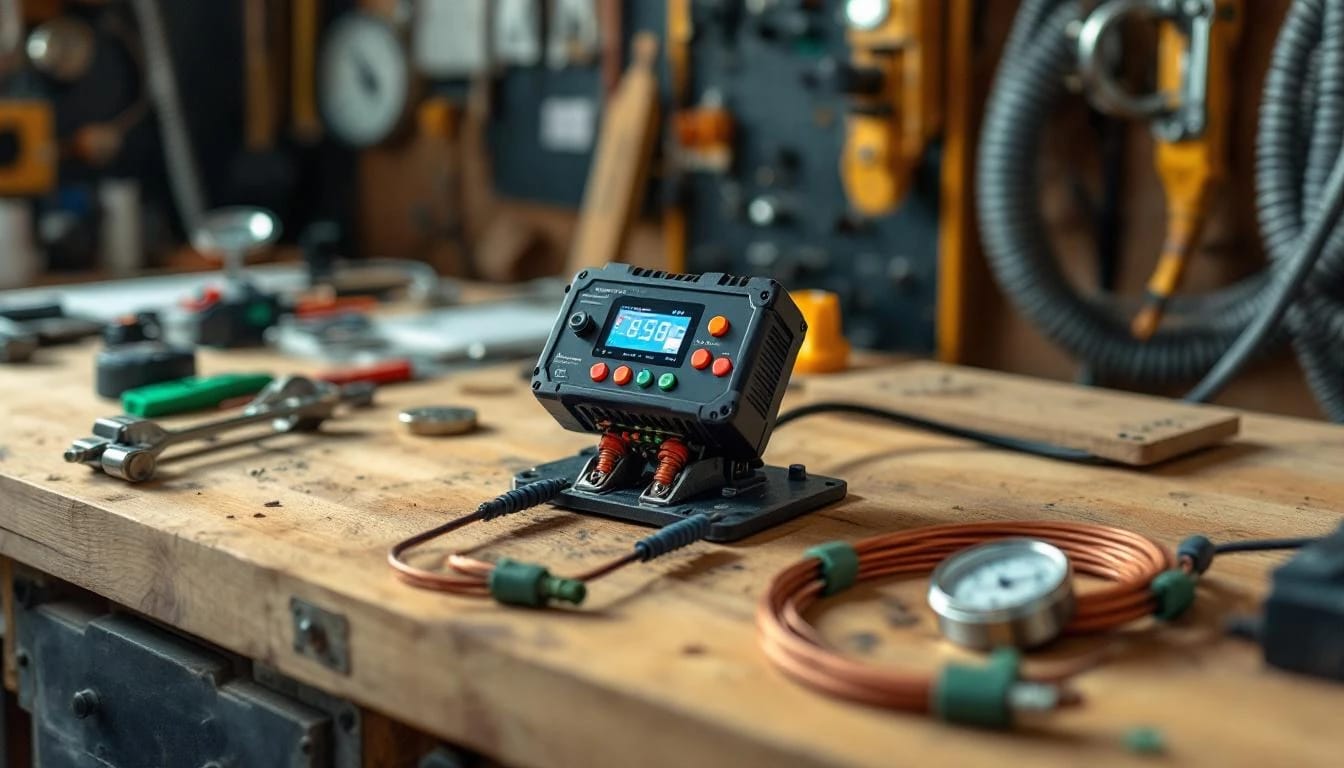
Off-grid and battery-backup systems use a charge controller (Midnite Classic, Morningstar TriStar) to regulate charging and a separate inverter (Outback Radian, Victron Multiplus) for AC loads. Wire the turbine to the controller DC input; connect the controller to the battery bank; connect the inverter between the battery and the AC subpanel.
Enter turbine parameters—rated voltage, maximum current, rotor diameter—into the controller menu. Set dump-load activation voltage if the turbine includes a resistive brake. Many controllers log production data to an SD card or network gateway; configure logging intervals to 10-15 minutes for useful generation reports without overloading storage.
Test the system at low wind speed. Manually spin the rotor or wait for a 5-8 mph breeze. Confirm that the controller displays turbine voltage and amperage, the inverter syncs to the grid, and the net meter registers export. If the inverter faults immediately, check AC voltage at the disconnect—undersized wire causes voltage drop that trips under-voltage protection.
Inspection, commissioning, and utility permission to operate
Call for rough-in inspection once cable is in the trench but not yet buried. The inspector verifies conductor size, grounding, and conduit protection. After passing, backfill the trench and complete the interior connections.
Schedule final inspection when the turbine is physically complete and the inverter is wired but not yet energized. The inspector checks torque on electrical terminations, presence of required labels (disconnects, warning placards), and inverter settings. Once you receive the signed approval, forward a copy to the utility along with the commissioning checklist provided by the inverter manufacturer.
The utility issues permission to operate (PTO) via email or letter, often within 5-10 business days of final inspection. Only after PTO arrives should you close the turbine disconnect and enable the inverter. First energization in light wind confirms system health; full-power testing happens naturally as wind speed rises.
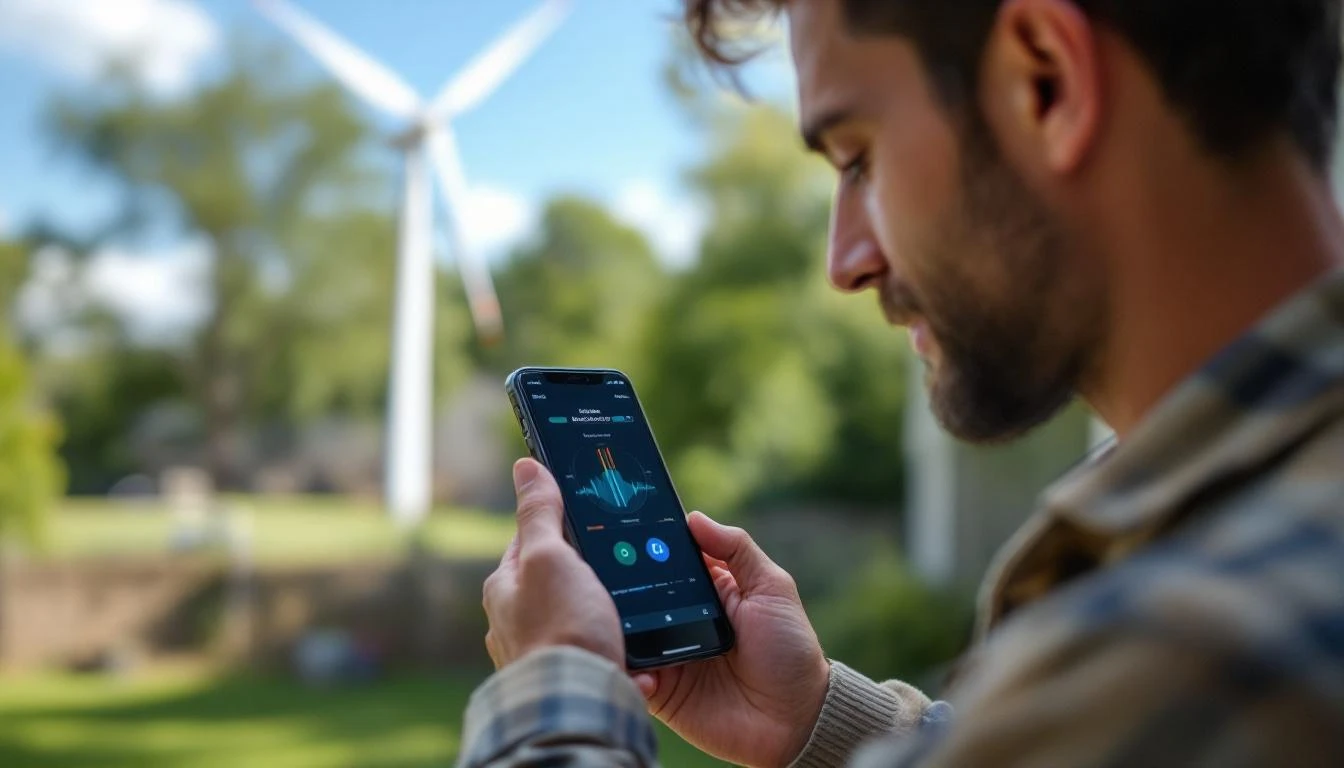
Document baseline performance during the first month—kWh produced per day, average wind speed from the controller's anemometer, and any fault codes. Compare monthly output against the manufacturer's power curve adjusted for your site's wind distribution. Persistent underperformance suggests rotor imbalance, inverter misconfiguration, or higher-than-expected turbulence from nearby obstacles.
Federal tax credit and state incentives
The federal Residential Clean Energy Credit (IRC §25D) covers 30% of equipment and installation costs for systems placed in service through 2032. Qualified expenses include the turbine, tower, wiring, inverter, electrician labor, and engineering fees. Claim the credit on IRS Form 5695 when filing your annual return; excess credit carries forward to future tax years if it exceeds your current liability.
State incentives vary widely. California's SGIP offered battery incentives but phased out wind rebates in 2020. New York's NY-Sun program provides $400-$800 per kW for residential renewables in certain zones. Massachusetts SMART and Rhode Island REG programs pay per kWh generated over 10-15 years. Search the DSIRE database by ZIP code for current programs—many smaller incentives last only 12-18 months before funding exhausts.
Property-tax exemptions in states like Iowa, Kansas, and Montana prevent the turbine from raising assessed home value. Sales-tax exemptions (Texas, Pennsylvania) reduce upfront cost by 6-8%. Always apply for incentives before installation; retrofitting paperwork after the fact disqualifies most programs.
Maintenance schedule and common troubleshooting
Inspect guy cables and turnbuckles every six months. Tension sags over the first year as cable stretches; re-tension to spec using a Loos cable gauge. Check for frayed strands at anchor points and thimbles.
Annual tasks include climbing or lowering the tower to inspect blade leading edges for pitting, nacelle bolts for looseness, and slip-ring brushes for wear. Bergey recommends greasing the yaw bearing every 2-3 years; Primus units run sealed bearings needing no service for 10 years. Clean bug debris and dust from cooling fins on the generator if the turbine runs in desert or agricultural areas.
Inverter firmware updates appear once or twice per year. Download from the manufacturer website and apply via USB or Ethernet. Updates fix communication bugs and improve MPPT algorithms—skipping them risks reduced output or nuisance faults.
If output drops suddenly, check the dump load first. A failed dump resistor or stuck relay causes overvoltage shutdown. Next verify that the anemometer isn't iced or obstructed—many controllers cut output if wind speed reads zero. Persistent low output in good wind suggests a short in one phase winding or a failing rectifier diode.
How much does professional installation cost compared to DIY?
Licensed contractors charge $8,000-$18,000 for labor and equipment rental on a typical 80-foot guyed tower install. DIY saves 40-60% but demands skills in concrete work, crane operation or gin-pole rigging, and electrical termination. Most homeowners hire out foundation and tower erection while handling trenching and interior wiring themselves. Electrical final connection requires a licensed electrician in nearly all U.S. jurisdictions to pass inspection.
Can I install a wind turbine if I have an HOA?
Seventeen states—California, Colorado, Wisconsin, and others—have solar and wind access laws that prohibit HOAs from banning renewable energy systems outright, though "reasonable restrictions" on height and location remain enforceable. Review your CC&Rs and state statutes; if your state lacks protective legislation, seek written HOA approval before ordering equipment. Some associations approve vertical-axis turbines on short monopoles while rejecting tall horizontal-axis towers.
What size turbine do I need for my home?
Divide annual household kWh consumption by your site's capacity factor to estimate nameplate rating. A home using 12,000 kWh/year in a location with 25% capacity factor (excellent wind) needs a 5.5 kW turbine (12,000 ÷ 8,760 hours ÷ 0.25). Most U.S. residential sites achieve 15-20% capacity factor, pushing the requirement to 8-10 kW. Undersizing leaves you buying grid power; oversizing triggers expensive panel upgrades and utility impact studies without proportional benefit.
How long does a home wind turbine last?
Horizontal-axis turbines with proper maintenance deliver 20-25 years of service before requiring generator rebuild or rotor replacement. Bergey warranties its Excel series for five years; expected lifespan exceeds two decades with biennial inspections. Vertical-axis models, especially direct-drive permanent-magnet designs, show lower mechanical wear but shorter track records—many current products launched after 2015. Budget for blade resurfacing or replacement at year 12-15 and bearing service at year 10.
Do I need battery storage with a grid-tied wind turbine?
No. Grid-tied systems export surplus power through the net meter and draw from the grid when the wind dies, using the utility as a virtual battery. Adding lithium or lead-acid storage makes sense only if you experience frequent outages or want backup power during grid failures. Battery systems add $8,000-$15,000 to project cost and require a more complex inverter setup (AC-coupled or DC-coupled with charge controllers). Pure grid-tie remains the most economical configuration for reliable utility service.
Bottom line
Installing a home wind turbine transforms drawings and calculations into a decades-long energy asset, but only when site wind, structural engineering, and electrical integration align. Budget 12-20 weeks from permit application to energized operation, lean on licensed professionals for foundation and electrical work, and verify every connection against NEC Article 705 before calling for inspection. Start with a professional site assessment to confirm your property delivers enough wind to justify the effort.
Share this article
windturbinehome.com/s/1df585
Editorial note: This article was researched and written by a member of the Wind Turbine Home editorial team. AI-assisted tools were used for spell-checking and light grammar review only — all research, analysis, and conclusions are our own. Our editorial policy prohibits sponsored content and paid placements. Read our editorial policy →
Articles in this guide
accessories towers
Cable Sizing from Tower to Charge Controller: Voltage Drop Math
Calculate wire gauge for wind turbine tower-to-controller runs using voltage drop formulas. Step-by-step math prevents energy loss and meets NEC 705.
accessories towers
Guyed vs Freestanding Towers: Pick by Site, Not by Price
Guyed towers cost less but need 50–75% more land. Freestanding monopoles fit tight lots. Choose by space, soil, and local zoning—not sticker price alone.
noise vibration safety
Lightning Protection for Small Wind Turbines: Grounding Systems
Small wind turbines need proper lightning grounding to prevent equipment damage and fire. Learn about grounding electrodes, surge protection, and NEC requirements.
grid tie net metering
Wind Turbines During Grid Blackouts: Islanding Explained
Most grid-tied wind turbines shut down during blackouts due to anti-islanding safety rules. Learn how islanding works, why it's required, and battery backup options.
maintenance troubleshooting
Winterizing Your Home Wind Turbine: Pre-Winter Checklist
Prepare your residential wind turbine for winter with this comprehensive maintenance checklist covering blade inspection, electrical systems, and tower safety.

installation guides
Free Wind Turbine Plans: Where to Find Honest Ones (and What to Avoid)
Free wind turbine plans exist, but most are dangerously incomplete or wildly optimistic. We identify legitimate sources and red flags to help you decide if DIY is realistic.

maintenance troubleshooting
How to Balance Homemade Wind Turbine Blades Without Lab Equipment
Balance DIY wind turbine blades using household items: paint stirrers, fishing line, and sandpaper. Static and dynamic methods reduce vibration by 70-90%.
battery storage inverters
DIY Wind Turbine Charge Controller: When to Build vs Buy
Building a wind turbine charge controller saves $150-400 but risks battery damage and code violations. Compare DIY circuit boards against commercial MPPT units.
installation guides
How to Build a 1000W Wind Turbine at Home: Step-by-Step Guide
Learn how to build a 1000-watt wind turbine from scratch with our detailed guide covering materials, tools, alternator selection, blade design, and safe installation.
vertical axis turbines
DIY Savonius Wind Turbine From PVC: Weekend Build Guide
Build a functional Savonius vertical-axis wind turbine from PVC pipe in two days. Step-by-step instructions, materials list, and performance expectations included.
installation guides
DIY Wind Turbine From Car Alternator: Works, But With Caveats
A car alternator can generate electricity from wind, but produces AC at variable frequency, requires high RPM, and needs rectification plus voltage regulation to charge batteries safely.

installation guides
How to Build a Wind Turbine for Your Home: A Realistic DIY Plan
Building a home wind turbine DIY requires electrical expertise, structural engineering knowledge, and 40-80 hours of work. Most homeowners save money and reduce risk by buying certified turbines like the Primus Air 40 or Bergey Excel 1 instead.