A Realistic Annual Maintenance Schedule for Small Wind Turbines
Monthly visual checks, quarterly bolt torque, semi-annual blade inspections, and annual electrical testing keep small wind turbines safe and productive for 20+ years.
Share this article
windturbinehome.com/s/a10b2d

Small wind turbines demand discipline, not heroics. A residential system rated 1-10 kW will deliver two decades of reliable power when owners commit to four visual checks each year, two torque passes, one blade-surface inspection, and systematic electrical testing on a twelve-month cycle. Skipping scheduled tasks accelerates bearing wear, invites tower-fastener fatigue, and voids most manufacturer warranties within eighteen months. The calendar below reflects real-world practice on horizontal-axis machines from Bergey, Primus, and Aeolos, plus vertical-axis designs from Pikasola and similar suppliers, all operating in the continental United States under NEC Article 705 interconnection rules.
Monthly visual inspection—first weekend of every month
Walk a full circle around the tower base with binoculars. Check blade tracking: all blades should occupy the same rotational plane within one degree. A blade lagging or leading by more than a hand's width at the tip signals hub-bolt looseness or composite delamination. Scan guy wires for kinks, fraying, or rust bloom at swaged terminals. Vertical-axis Darrieus or Savonius rotors show fewer tracking issues but demand closer attention to spoke welds and fabric tearing on fabric-sail models.
Inspect the yaw mechanism. Horizontal-axis tail vanes should pivot freely through 360 degrees without grinding or sticking at cardinal points. Vertical-axis units with passive yaw bearings need a visual check for black grease leaking past seals—a sign of over-pressurized bearing cavities or failed O-rings. Record blade position and weather conditions in a bound logbook; patterns emerge over six months that predict bearing failure weeks before noise becomes audible.
Check the ground around the tower for metal debris. Blade-tip erosion from sand, ice, or UV degradation sheds tiny composite fragments that reflect turbine health. A sudden increase in debris volume indicates accelerated wear and warrants an unscheduled climb or lowering for close inspection.
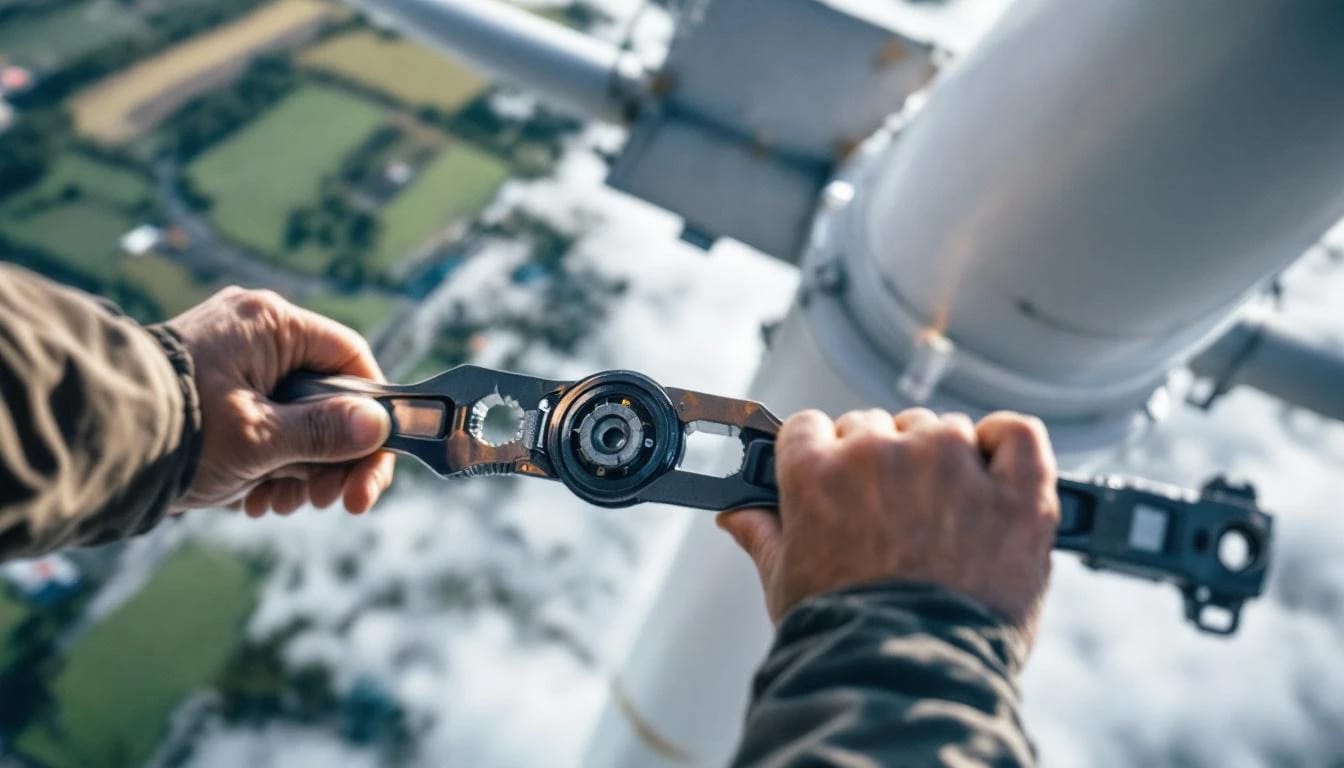
Quarterly bolt-torque verification—March, June, September, December
Every fastener on a wind turbine experiences cyclic loading. Guy-wire turnbuckles, tower-flange bolts, blade-root hardware, and generator-mount capscrews all loosen under vibration. Use a calibrated inch-pound or foot-pound torque wrench—not an impact driver—and follow the manufacturer's torque chart. Bergey specifies 35 ft-lb for Windpower One blade-root bolts, re-torqued in a star pattern. Primus AIR systems call for 25 ft-lb on rotor-hub M8 capscrews, checked dry (no threadlocker re-application until annual service).
Start at the base. Tilt-up towers use a pivot bolt that must be checked for bending and cracks under 10× magnification. Guyed lattice towers demand attention to every U-bolt securing guy brackets; a single loose clamp concentrates load on adjacent fasteners and initiates a cascade failure. Fixed monopole towers have fewer points but higher consequence—flange bolts on a 60-foot monopole carry thousands of pounds of bending moment, and a single undertorqued fastener creates an oval hole within one season.
Climb to the nacelle or lower the tower. Re-torque generator mounting bolts, yaw-bearing fasteners, and tail-boom hardware. Apply threadlocker only where the manufacturer specifies; some alloys gall under anaerobic adhesive, and removing a Loctite-ed stainless bolt from an aluminum casting often destroys the threads. Record torque values and any fastener replaced due to deformation. Patterns in bolt loosening—front bolts consistently loose, rear tight—reveal imbalanced rotor loading or yaw-bearing seizure.
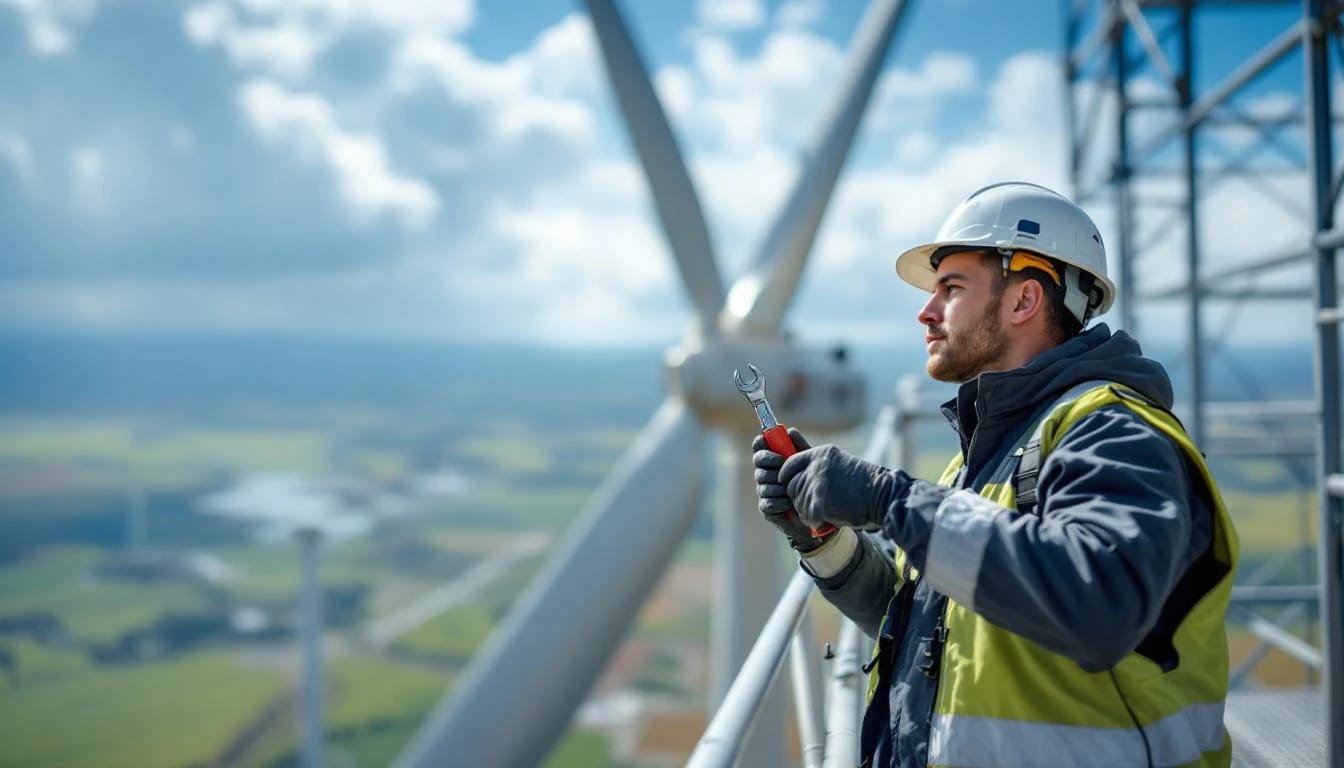
Semi-annual blade and leading-edge inspection—April and October
Lower the turbine or climb for hands-on access. Wipe blades with isopropyl alcohol and inspect under raking light. Leading-edge erosion appears as a matte band 0.5-2 inches wide where gelcoat has worn through to the underlying fiberglass weave. Primus and Bergey blades tolerate 0.040-inch depth before aerodynamic performance drops measurably; deeper erosion requires leading-edge tape (3M 8671 polyurethane, 2-inch width) or professional refinishing.
Check trailing edges for cracks perpendicular to the span—a signature of flutter fatigue in under-stiffened blades. Small cracks under one inch can be stop-drilled with a 1/8-inch bit and filled with marine epoxy; longer cracks demand blade replacement. Inspect the root attachment: blade bolts should show no daylight between washer and composite surface, and the gel around bolt holes should be free of star cracks radiating outward.
Vertical-axis blades experience different loads. Darrieus troposkien blades flex continuously through every rotation, concentrating stress at the equator where the blade is farthest from the center shaft. Look for whitening or crazing in the gelcoat at mid-height, then tap with a coin; a dull thud instead of a sharp ring indicates internal delamination. Savonius scoops made from sheet metal pit and rust at bottom edges where water pools; wire-brush to bright metal, prime with zinc-rich primer, and topcoat with DTM enamel.
Balance check: With the turbine parked, rotate the rotor by hand so each blade occupies the top position in turn. Release and observe which blade falls first. A well-balanced rotor shows no preference; consistent one-blade drop indicates mass imbalance exceeding 2 percent and requires adding stick-on wheel weights to the trailing edge of lighter blades or removing material from heavier blades. Do not attempt field balancing on rotors above 2 kW without professional equipment; imbalance forces scale with the square of RPM and diameter.
Annual electrical and safety-system testing—November, before winter storms
Disconnect the turbine from the grid at the AC disconnect required by NEC Article 705.12(A). Test the dump load or brake resistor: connect a known resistive load equal to 120 percent of rated power and spin the turbine to governed speed using a cordless drill on the tail shaft (horizontal-axis) or a rope pull on the rotor (vertical-axis). Measure voltage and current; dump-load resistors should absorb full power without exceeding their temperature rating, typically 250°F surface temperature after ten minutes. A failing resistor shows hotspots or an acrid smell from varnish breakdown.
Inspect the brake system. Mechanical disc brakes need pad-thickness measurement—replace at 3/32-inch remaining material. Electromagnetic brakes should click audibly when 24 VDC is applied to the coil; measure coil resistance (typically 50-200 ohms) and compare to the data plate. Furling systems on Bergey Excel and similar machines rely on a spring-and-cable mechanism that parks the rotor at high wind speed; manually trip the furl and measure the wind speed at which it resets using an anemometer at hub height. Correct furl-in speed is manufacturer-specified, usually 25-35 mph for residential machines.
Test ground-fault protection. NEC Article 705.12(D)(6) mandates ground-fault detection for utility-interactive inverters. Simulate a ground fault by connecting a 500-ohm resistor between the DC positive and equipment ground; the inverter should trip within two seconds and display a ground-fault code. If the inverter does not trip, the ground-fault interrupter has failed and the unit must be replaced before reconnecting to the grid. This is not optional—a failed GFI allows leakage current to energize the tower and guy wires, creating a lethal shock hazard invisible to standard circuit breakers.
Measure tower grounding resistance. Disconnect the ground wire at the tower base and use a fall-of-potential tester or clamp-on ground tester. Resistance below 25 ohms satisfies NEC Article 250.50 for a single ground rod; sandy or rocky soil may require multiple rods bonded together or a ring electrode to achieve compliance. High resistance allows lightning current to flash over to nearby structures instead of dissipating harmlessly into the earth.
Three-year deep maintenance—bearings, slip ring, controller firmware
Manufacturer schedules vary, but most residential turbines require bearing replacement or regreasing every three years. Bergey Excel uses sealed cartridge bearings (6205-2RS front, 6305-2RS rear) that do not accept additional grease; replacement requires a bearing puller and hydraulic press. Primus and Aeolos designs use greasable bearings with Zerk fittings; pump lithium-complex NLGI Grade 2 grease until old grease extrudes from the seals, then rotate the shaft by hand to distribute fresh grease across all rolling elements.
Slip rings on horizontal-axis turbines transmit power and control signals from the rotating nacelle to the stationary tower. Carbon brushes wear at 0.010-0.020 inches per thousand hours; measure brush length and replace when shorter than 0.5 inch. Clean the slip-ring surface with 600-grit sandpaper—never emery cloth, which is conductive—and isopropyl alcohol. Rough or pitted rings indicate brush-grade mismatch or excessive vibration and may need professional machining.
Controller firmware updates address grid-code changes and improve energy capture algorithms. Check the manufacturer's website for updates annually. Bergey, Primus, and major inverter brands publish update utilities that run on a laptop connected via RS-232 or USB. Do not update firmware during generation unless you have battery backup for the laptop; a failed update bricks the controller and requires factory service.
FAA obstruction marking—every five years or after major weather
Turbines on towers exceeding 200 feet AGL near airports require FAA Part 77 notification and may need aviation lighting. Marking requirements do not expire, but paint and lights degrade. Inspect orange-and-white paint bands annually for fading; repaint when contrast drops below the original color chips supplied during installation. LED obstruction lights should be tested monthly using the photocell-override switch; replace failed units within 48 hours to maintain FAA compliance. Failure to maintain marking can result in FAA civil penalties starting at $10,000 per occurrence.
Seasonal storm preparation—48 hours before named storms or ice events
Park the turbine in feather or brake mode when sustained winds above 50 mph are forecast. Most residential machines are designed to survive 120-mph gusts while running, but parking eliminates cyclic blade loads and reduces tower deflection by 30-40 percent. For ice storms, apply a thin coating of silicone spray or PAM cooking spray to blade surfaces; ice adheres less aggressively to low-surface-energy coatings and sheds sooner during the thaw. Do not rely on blade de-icing as a safety measure—falling ice is a projectile hazard, and turbines should remain parked until all ice has melted or fallen.
After the storm, inspect before restart. Ice loading bends blades, loosens fasteners, and fatigues guy wires. A single large ice shed can imbalance a rotor beyond field correction and require professional balancing or blade replacement. Budget $200-$500 for post-storm inspection by a qualified technician if the turbine experienced ice accumulation exceeding 0.5-inch radial thickness.
Record-keeping and warranty compliance
Every manufacturer warranty contains a maintenance clause. Bergey requires written proof of annual service within twelve months of each anniversary; Primus demands photographic documentation of quarterly torque checks. Create a three-ring binder with dated entries, photos, torque values, and parts receipts. At year five and year ten, submit a complete maintenance summary to the manufacturer to preserve extended warranties and qualify for trade-in credit on future equipment.
Photograph every service task with a smartphone. Include a date-stamped image of the tower data plate, the turbine in each service position, close-ups of fasteners before and after torque, and any wear or damage discovered. These images form your defense against warranty denials and provide invaluable diagnostic history when troubleshooting intermittent faults years later.
Frequency of professional service
Owner-performed monthly and quarterly tasks cover 80 percent of maintenance needs. Budget for professional service every three years or after any event that trips the turbine's over-speed or over-current protection. Certified technicians carry tower-climbing gear, torque wrenches calibrated to NIST standards, and factory diagnostic software that reveals faults invisible to generic multimeters. Expect to pay $400-$800 for a three-year service call on systems under 5 kW; larger machines command $1,200-$2,000 due to crane or gin-pole requirements.
Some owners join regional wind cooperatives that negotiate group service rates and share specialized tools. Cooperative membership typically costs $50-$150 annually and can reduce per-turbine service expense by 30 percent while providing access to experienced operators who have solved problems identical to yours.
Links to related maintenance topics
Detailed procedures for guy-wire tensioning and replacement prevent 90 percent of tower failures in the first decade. Learn blade-balancing techniques for vertical-axis turbines to eliminate vibration that shortens bearing life. Understand NEC Article 705 interconnection requirements to maintain code compliance after service work. Explore DIY slip-ring maintenance for Bergey and Primus turbines to halve your three-year service bill. Discover state-by-state permitting for maintenance cranes before your first tower-lowering event. Consult DSIRE incentive programs that offer rebates for documented preventive maintenance.
External resources for deeper context
The American Wind Energy Association publishes Small Wind Turbine Performance and Safety Standard AWEA 9.1-2009 covering maintenance intervals based on turbine class. The National Renewable Energy Laboratory maintains a Small Wind Guidebook with case studies documenting maintenance costs over 20-year lifespans. Both are free and essential reading.
Can I skip the quarterly torque check if my turbine hasn't shown any problems?
No. Bolt loosening is a silent process driven by microvibration and thermal cycling. A bolt loses 10-15 percent of its clamping force in the first thousand hours of operation even when thread engagement and torque were perfect during installation. By the time looseness becomes visible as tower sway or blade wobble, adjacent fasteners have carried double their design load for weeks and may have yielded beyond recovery. The fifteen minutes spent on quarterly torque verification prevents thousand-dollar emergency service calls and eliminates the leading cause of small-wind tower collapse.
How do I know if a blade crack requires immediate shutdown or can wait until the next scheduled service?
Cracks perpendicular to the blade span and longer than one inch demand immediate shutdown. These cracks propagate rapidly under cyclic loading and can cause catastrophic blade separation at governed RPM, sending fragments hundreds of feet downwind. Cracks parallel to the span or shorter than one inch typically indicate gelcoat shrinkage rather than structural failure and can be monitored until the next service as long as they do not grow. Stop-drill all cracks regardless of orientation—a 1/8-inch hole at each crack tip arrests propagation for months and costs nothing but five minutes of downtime.
What happens if I miss the annual electrical test and my turbine stays connected to the grid?
Your inverter's ground-fault interrupter may fail without triggering a warning, allowing DC leakage current to energize the tower, guy wires, and any metal in contact with the turbine. This creates a persistent shock hazard invisible to AC circuit breakers and fatal to anyone touching the tower during simultaneous ground contact. The scenario has killed three small-wind owners in the United States since 2010, all of whom deferred electrical testing beyond two years. Additionally, NEC Article 705 inspectors can red-tag your system during routine utility audits if you cannot produce test records, forcing a complete re-inspection before reconnection. Annual testing takes 30 minutes and costs nothing but time.
Do vertical-axis turbines need less maintenance than horizontal-axis machines?
No, they need different maintenance. Vertical-axis machines eliminate yaw bearings and tail assemblies, reducing fastener count, but they concentrate stress in the center shaft and blade-attachment points due to continuous flexing through every rotation. Center-shaft bearings wear faster because they carry bending loads in all directions instead of the primarily axial loads seen in horizontal-axis generators. Blade-attachment welds or bolts fatigue more quickly because vertical-axis blades never rest—every rotation is a full load cycle. Budget the same annual maintenance hours but shift effort from tail and yaw hardware to shaft bearings and blade roots.
Is it legal to perform my own maintenance on a grid-tied turbine, or does NEC require a licensed electrician?
NEC Article 705 does not prohibit owner maintenance on the mechanical components—tower, blades, bearings, and guy wires. However, any work on the AC interconnection between the inverter output and the service panel requires a licensed electrician and an inspection by the authority having jurisdiction. The DC side—wiring from the turbine to the inverter input—occupies a gray area that varies by jurisdiction. Some municipalities interpret NEC broadly and require licensed electricians for all energized circuits above 50 volts; others allow owner work on DC circuits under 600 volts as long as the system was initially permitted and inspected by a professional. Before touching any wire, call your local building department and ask for the specific code section governing owner maintenance. Assume you need a licensed professional for AC work and confirm in writing that you may work on DC circuits yourself.
Bottom line
A realistic maintenance schedule for a small wind turbine requires twelve monthly walk-arounds, four quarterly torque sessions, two annual blade inspections, and one comprehensive electrical test each year, plus three-year bearing service and five-year obstruction-marking renewal. Owners who commit to this calendar see 20-year turbine lifespans and energy production within 5 percent of manufacturer projections. Those who skip tasks face bearing replacement in year seven instead of year nine, blade cracks in year five instead of year eight, and a 20-30 percent drop in energy capture as aerodynamic performance degrades. Mark the schedule in your phone's calendar app now, before the turbine spins up for another season—future you will thank present you when the machine still runs smoothly at year fifteen while neighbors are tearing down rusted hulks at year eight.
Share this article
windturbinehome.com/s/a10b2d
Editorial note: This article was researched and written by a member of the Wind Turbine Home editorial team. AI-assisted tools were used for spell-checking and light grammar review only — all research, analysis, and conclusions are our own. Our editorial policy prohibits sponsored content and paid placements. Read our editorial policy →
Related reading
maintenance troubleshooting
Winterizing Your Home Wind Turbine: Pre-Winter Checklist
Prepare your residential wind turbine for winter with this comprehensive maintenance checklist covering blade inspection, electrical systems, and tower safety.

maintenance troubleshooting
How to Balance Homemade Wind Turbine Blades Without Lab Equipment
Balance DIY wind turbine blades using household items: paint stirrers, fishing line, and sandpaper. Static and dynamic methods reduce vibration by 70-90%.
maintenance troubleshooting
Charge Controller Fault Codes: What They Actually Mean
Decode your wind turbine charge controller fault codes with this practical guide covering overcurrent, overvoltage, temperature errors, and sensor failures.

maintenance troubleshooting
Wind Turbine Ice on Blades: Detection, Mitigation & Shutdown
Ice buildup on wind turbine blades reduces efficiency by 20-80% and increases structural stress. Learn detection methods, heating systems, and safe shutdown protocols.

maintenance troubleshooting
Wind Turbine Slip Ring Replacement: Complete Service Guide
Learn when and how to replace slip rings in residential wind turbines. Step-by-step walkthrough covering diagnosis, tools, safety, and cost for HAWT and VAWT systems.

maintenance troubleshooting
How to Lubricate Wind Turbine Bearings: Schedule & Grease Guide
Learn proper bearing lubrication schedules, NLGI grade selection, and access methods for residential wind turbines to prevent costly failures and extend service life.

maintenance troubleshooting
Wind Turbine Yaw Motor Not Working: Diagnosing and Fixing
Yaw motor failures lock turbines facing the wrong direction, costing 30-70% of power. Learn to diagnose controller faults, seized bearings, and wiring issues.

maintenance troubleshooting
How to Brake a Runaway Wind Turbine Safely | Emergency Stop
Learn three proven methods to stop a runaway residential wind turbine: dynamic braking, manual furling, and emergency disconnect. Quick action prevents damage.

maintenance troubleshooting
Wind Turbine Blade Cracked: Repair or Replace Guide (2024)
Discovered a crack in your wind turbine blade? Learn when repair is viable versus replacement, sourcing options for parts, and safety protocols before climbing towers.