Wind Turbine Slip Ring Replacement: Complete Service Guide
Learn when and how to replace slip rings in residential wind turbines. Step-by-step walkthrough covering diagnosis, tools, safety, and cost for HAWT and VAWT systems.
Share this article
windturbinehome.com/s/14b1f9

Slip rings wear out faster than most other turbine components because they maintain electrical contact through constant rotation. Expect to replace them every 5-8 years in horizontal-axis turbines or 10-15 years in vertical-axis models, depending on wind exposure and environmental conditions. This guide walks through diagnosis, removal, installation, and testing so owners can understand the process—whether tackling it themselves or supervising a contractor.
What slip rings do and why they fail
A slip ring assembly transfers electrical current from the spinning nacelle or rotor to the stationary tower wiring. The device uses spring-loaded carbon or copper brushes that press against rotating metal rings. Each ring connects to one conductor in the three-phase generator output plus ground.
Carbon brushes erode through friction. Bergey Windpower reports typical brush life of 8,000-12,000 hours of rotation, which translates to 5-7 years in high-wind sites. Copper rings develop grooves where brushes ride. Once groove depth exceeds 0.5 mm, contact resistance spikes and arcing begins. Primus Wind Power specifies ring replacement when surface roughness exceeds Ra 1.6 µm.
Moisture accelerates corrosion. Coastal installations or humid climates reduce service life by 30-40%. Salt fog creates conductive films that cause tracking between adjacent rings. The turbine continues generating, but power quality degrades and component temperatures rise.
Symptoms that signal slip ring replacement
Voltage drop across the slip ring assembly should stay below 0.3 V per phase at rated current. Higher drops indicate excessive contact resistance. Measuring with a clamp meter during operation reveals the problem: if generator output reads 280 VAC line-to-line but tower-base output shows 268 VAC, the 12 V drop points to slip ring wear.
Audible arcing sounds like intermittent clicking or buzzing from the nacelle during rotation. At night, blue-white flashes visible through ventilation ports confirm the issue. Arcing carbonizes the ring surface, creating an insulating layer that worsens contact.
Vibration increases when brush springs weaken or brushes chip. A turbine that previously ran smoothly may develop a grinding sensation felt through the tower. Damaged brushes can jam, causing the rotor to drag or stall at low wind speeds.
Power output drops below expected curves. A turbine that previously delivered 1,200 kWh annually may fall to 900 kWh with no change in wind resource. The energy loss comes from resistive heating rather than conversion to electricity.
Safety and regulatory requirements before service
NEC Article 705 mandates a disconnect switch between the turbine and any load or grid connection. Turn off and lockout/tagout this switch before accessing electrical components. Verify zero voltage with a multimeter at the slip ring terminals.
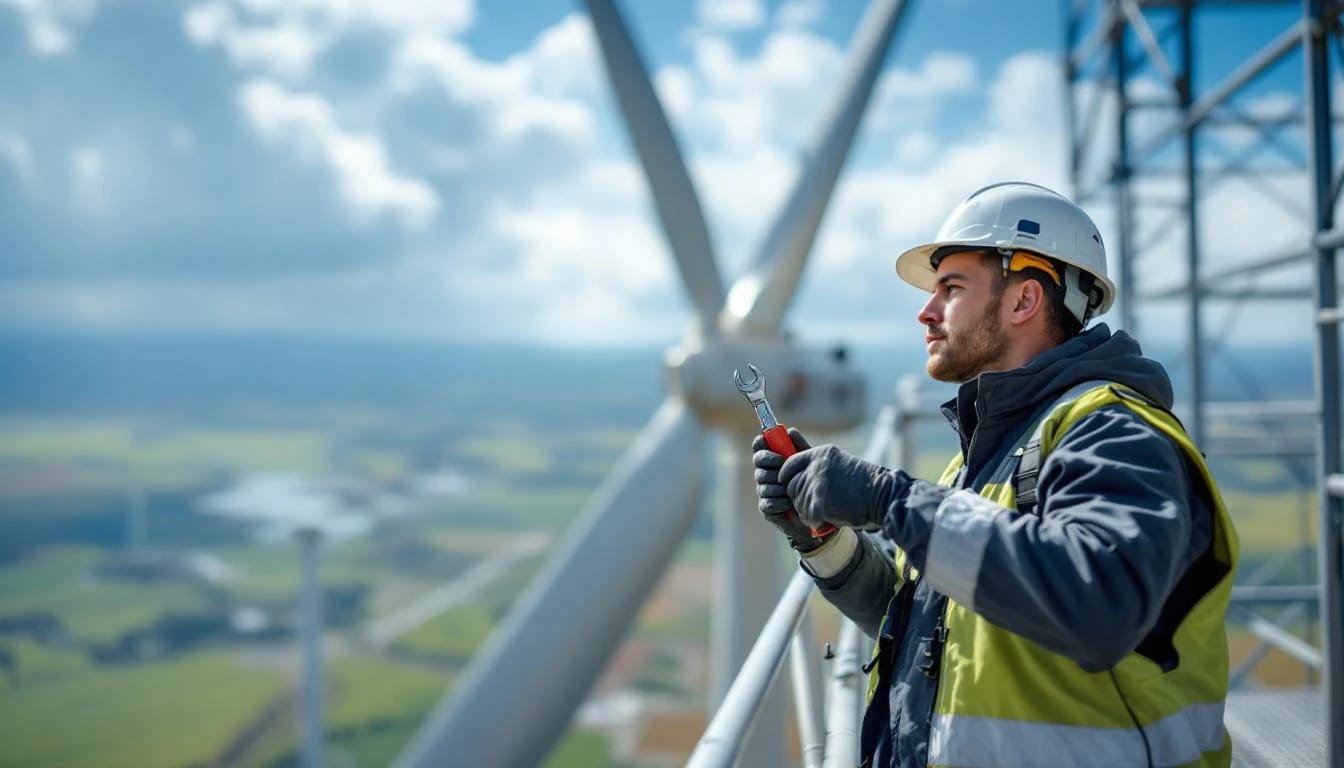
Tower climbing demands fall protection per OSHA 1910.269. Use a full-body harness with dual lanyards, 100% tie-off, and a rated anchor point. For towers above 30 feet, employers must provide rescue equipment or a pre-arranged rescue service. Homeowners should hire a licensed contractor rather than attempt the climb—a turbine slip ring replacement isn't worth a fall injury.
Wind conditions matter. Work only when sustained winds stay below 15 mph. Even with the turbine shut down, gusts can spin a free-wheeling rotor and create hazardous torque on the nacelle. Install a rotor brake or secure the blades with tie-down straps.
High-voltage systems above 600 VAC require an electrician licensed for the jurisdiction. Many grid-tied turbines output 480 VAC three-phase, which falls under NEC Article 490 for equipment over 1,000 V to ground in high-leg delta configurations. Battery-based systems typically run 48-120 VDC, still high enough to deliver dangerous shock.
Tools and parts needed
Slip ring assemblies are model-specific. A Bergey Excel 10 uses part number 10-0050 with six-wire configuration (three-phase plus ground, neutral, and auxiliary). An Aeolos-V 3kW vertical turbine uses a four-wire slip ring with 50 mm bore. Order the exact replacement from the manufacturer or an authorized distributor; universal slip rings sold for antenna rotators lack the current capacity for turbine service.
Standard tools include:
- Socket set (metric or SAE depending on turbine origin)
- Torque wrench (typical nacelle fasteners: 40-60 ft-lb)
- Digital multimeter with clamp-on current adapter
- Crimping tool for ring terminals
- Anti-seize compound (copper or nickel-based, never petroleum)
- Dielectric grease for sealing electrical connections
- Work platform or bosun's chair rated for user weight plus 50 lb
Specialty items:
- Alignment jig (some manufacturers supply this; otherwise, fabricate from scrap wood to hold the new assembly concentric during installation)
- Feeler gauges to verify brush-to-ring gap (0.5-1.0 mm spec is common)
- Infrared thermometer to check bearing temperature after reassembly
Budget $180-$450 for the slip ring assembly itself. Bergey parts run $220-$280. Chinese-made replacements for Aeolos or Pikasola turbines cost $120-$180 but may arrive with inadequate documentation—expect to reverse-engineer the wiring sequence.
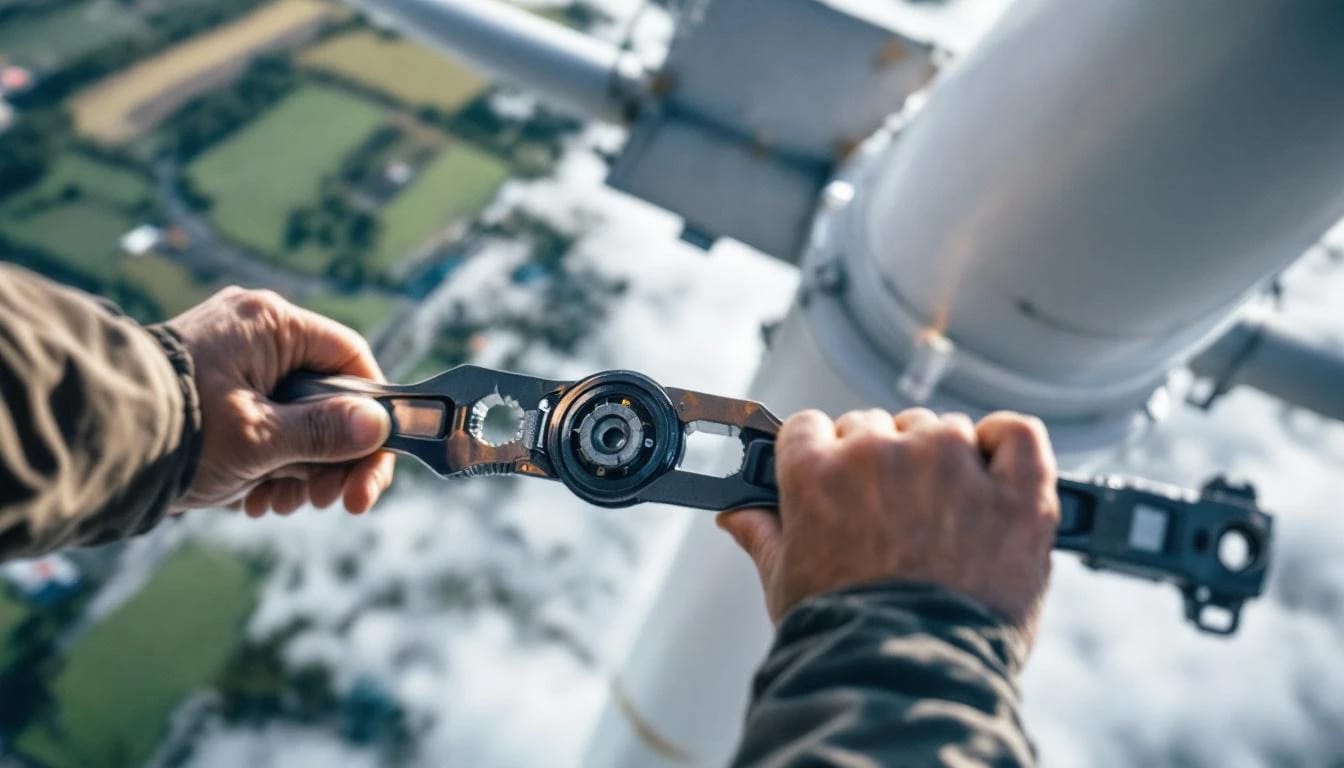
Step-by-step removal procedure
Document everything before disassembly. Photograph wire positions from multiple angles. Label each conductor with tape flags noting phase (L1, L2, L3), neutral, ground, and any auxiliary wires. Wiring errors during reassembly cause immediate generator damage when the turbine restarts.
Access the nacelle. For downwind HAWTs, remove the tail fin (typically four bolts) to expose the rear cover. Upwind models require removing the nose cone. Vertical-axis turbines place the slip ring at the base of the rotor shaft, accessible through a hatch in the tower top.
Disconnect generator leads at the slip ring terminals. Use a permanent marker to note which brush position connects to which generator wire. Some turbines use color-coded wires (brown-black-gray for L1-L2-L3 per European convention, or black-red-blue per US industrial practice), but field modifications often scramble this.
Unbolt the slip ring from its mounting plate. Count and record any shim washers; these set the shaft end play and must be reinstalled in the same stack height. The assembly may stick from corrosion—tap around the perimeter with a rubber mallet, never pry with a screwdriver, which dents the soft aluminum housing.
Slide the slip ring off the shaft. Shaft diameters typically range from 25 mm (small VAWTs) to 50 mm (10 kW HAWTs). Inspect the shaft surface for scoring or rust. Light oxidation cleans up with 400-grit sandpaper; deep grooves require machining by a shop, which adds $150-$250 to the repair.
Installing the replacement assembly
Clean the shaft with isopropyl alcohol and let it dry. Apply a thin coat of anti-seize compound to prevent future corrosion lock. Avoid getting anti-seize on the slip ring bore's interior—it's conductive and will short the rings.
Slide the new assembly onto the shaft. Align the keyway if present (many small turbines use a friction fit with set screws instead). Position the mounting holes to match the original location. Replace shim washers in the exact sequence removed.
Check brush-to-ring contact before tightening. Rotate the shaft by hand; the brushes should sweep evenly across each ring with no skipping or dragging. Adjust brush spring tension if the manufacturer provides set screws for this purpose. Under-tensioned brushes arc; over-tensioned brushes wear prematurely.
Bolt the assembly to the mounting plate. Torque fasteners in a star pattern to avoid cocking the slip ring off-axis. Typical torque values: M6 bolts at 8-10 N⋅m (6-7 ft-lb), M8 at 18-22 N⋅m (13-16 ft-lb). Over-tightening cracks the brush holder plate.
Wire the generator leads. Match each phase to its documented brush position. Strip wire ends to 10 mm, crimp on ring terminals, and secure with lock washers and nuts. Tug-test each connection with 20 lb force. Loose connections generate heat that melts insulation.
Seal wire entry points with dielectric grease or silicone caulk. Moisture intrusion causes the next failure cycle. Some technicians wrap the entire assembly in self-fusing silicone tape for extra protection.
Testing and commissioning
Resistance check: Measure phase-to-phase resistance at the tower base terminals with the turbine stationary. A three-phase generator typically shows 0.3-1.5 Ω depending on power rating. All three pairs (L1-L2, L2-L3, L3-L1) should read within 5% of each other. Large discrepancies indicate a missed connection.
Insulation test: Measure each phase to ground with a megohmmeter set to 500 VDC. Acceptable insulation resistance exceeds 10 MΩ. Below 1 MΩ suggests moisture or damaged wire insulation.
Manual rotation: Turn the turbine by hand (with the electrical disconnect still open) and listen for grinding or clicking from the slip ring area. Smooth rotation without mechanical resistance confirms proper installation.
Low-wind trial: With winds below 12 mph, close the disconnect and observe the turbine for 15 minutes. Monitor voltage and current at the tower base. Output should match pre-failure performance at the same wind speed. Use historical data from the charge controller or inverter logs as a baseline.
Thermal imaging: After one hour of operation, check the slip ring temperature with an infrared thermometer. Surface temperature should stay within 10°C of ambient. Hotspots above 50°C indicate excessive contact resistance and require immediate shutdown for troubleshooting.
Cost breakdown and service intervals
| Item | DIY Cost | Professional Service |
|---|---|---|
| Slip ring assembly | $180-$450 | Included in labor |
| Consumables (wire, terminals, grease) | $20-$35 | Included |
| Specialty tools (if purchasing) | $80-$150 | N/A |
| Tower access equipment rental | $0-$200 | Included |
| Labor (4-6 hours) | $0 | $400-$900 |
| Total | $280-$835 | $800-$1,450 |
Professional service includes warranty on parts and labor, typically 12-24 months. This covers a return visit if the replacement fails prematurely. The installer also carries liability insurance for tower climbing accidents, which homeowner policies may exclude.
Replacement intervals depend on turbine type and environment:
- HAWTs in clean inland sites: 8-12 years
- HAWTs in coastal zones: 5-7 years
- VAWTs (lower rotational speed): 12-18 years
- Turbines with sealed slip ring housings: Add 20-30% to base interval
Inspect slip rings annually during routine maintenance. Remove the cover and examine brush wear. Replace when remaining brush length drops below 8 mm or ring grooves become visible to the naked eye. Catching wear early prevents secondary damage to the generator windings.
For additional details on other maintenance tasks, see our guides on bearing replacement intervals, generator rewinding costs, and annual tower inspection checklists.
Regional considerations for US installations
Climate affects component selection. Gulf Coast and Pacific Northwest installations benefit from stainless steel slip rings rather than brass or bronze. The upgrade adds $60-$100 but extends service life by 40% in humidity.
High-desert sites (Arizona, Nevada, eastern Colorado) deal with dust infiltration. Consider adding aftermarket rubber boots over the slip ring housing. These aren't standard equipment but can be fabricated from automotive CV joint boots for $15-$25.
Cold climates below -20°F require low-temperature grease formulations. Standard dielectric grease stiffens and causes brush chatter. Specify grease rated to -40°F; Primus Wind Power recommends Mobil 28 synthetic aviation grease for Arctic installations.
Lightning-prone regions (Florida, Oklahoma, Colorado Front Range) should verify the slip ring maintains a continuous ground path. Some economy models use carbon brushes for the ground conductor; these introduce resistance that degrades surge protection. Upgrade to a dedicated copper ground brush or add a separate grounding cable bypassing the slip ring.
FAA Part 77 notification applies when working on turbines near airports. Replacing a slip ring doesn't change structure height, so no new filing is required. However, if adding radio equipment (remote monitoring) in conjunction with the repair, check obstruction standards.
IRS Form 5695 and IRC §25D allow a 30% Residential Clean Energy Credit (extended through 2032, then phasing down) for qualified expenses. Slip ring replacement counts as part of "qualified property costs" when performed during the turbine's first 20 years. Keep receipts and model numbers. Professional installation labor qualifies; DIY labor doesn't, but parts do.
DSIRE (Database of State Incentives for Renewables & Efficiency) lists state-level programs that may offset costs. New York's NY-Sun program, California's SGIP, and Massachusetts' SMART program all cover maintenance equipment for existing installations under certain conditions. Check the current year's rules; programs update annually.
Preventive measures to extend slip ring life
Sealed enclosures reduce contaminant exposure by 60-70%. Aftermarket weather covers cost $40-$80 and bolt onto the nacelle. Ensure the cover allows ventilation—a sealed box traps heat, which degrades brush springs.
Brush material matters. Carbon-copper composite brushes last 30% longer than pure carbon at the cost of slightly higher contact resistance. Specify brushes with at least 15% copper content for turbines above 3 kW.
Ring plating extends life in corrosive environments. Electroless nickel-plated rings outperform bare copper by 2-3x in salt fog. Gold-plated rings used in aerospace applications cost $300-$500 but provide effectively unlimited service life for residential-scale current levels. This makes economic sense only for hard-to-access installations (offshore platforms, remote communication sites).
Firmware adjustments reduce wear. Some controllers allow programming a minimum start-up wind speed. Increasing the cut-in threshold from 6 mph to 8 mph eliminates half the rotational hours (turbines operate at low efficiency in light winds anyway). Fewer rotations mean less brush wear.
Quarterly visual inspection catches problems early. Binoculars can reveal brush dust escaping from ventilation ports, a sign that wear rate has accelerated. Catching this at 70% brush life instead of 95% prevents emergency shutdowns during peak wind season.
For more on extending component lifespan, review our articles on corrosion prevention in coastal turbines and predictive maintenance schedules for residential systems.
Troubleshooting post-replacement issues
Arcing continues after installation: Verify generator output voltage matches slip ring ratings. A 600 VAC slip ring will arc when connected to a 690 VAC generator. Check the nameplate data on both components.
Intermittent connection: Brush springs may have weakened during storage. Measure spring force with a gram scale; typical spec is 80-120 grams per brush. Replace springs if below minimum.
Excessive noise: The new assembly may be slightly off-axis. Loosen mounting bolts, rotate the turbine shaft 360° while observing the slip ring for wobble, then re-tighten at the position showing minimum runout.
Higher-than-expected temperature: Contact resistance increases with current. Measure actual operating current versus nameplate; if the turbine is seeing higher winds than rated, current may exceed slip ring capacity. Derate the turbine with pitch adjustment or resistive dump loads.
Voltage drop hasn't improved: Check all connections in the circuit, not just the slip ring. Tower base junction boxes and combiner panels also accumulate corrosion. Measure voltage at multiple points to isolate the true source of loss.
When to replace versus upgrade the entire turbine
Slip rings represent 3-5% of total turbine replacement cost. For a $12,000 10 kW HAWT, spending $1,200 for professional slip ring service makes sense. For a $3,500 2 kW turbine, the $800 service cost suggests evaluating alternatives.
Consider full replacement when:
- The turbine is over 15 years old and also needs blade, bearing, and controller work
- Generator efficiency has dropped below 75% (test with a dynamometer or infer from output curves)
- Parts are no longer available (common with bankrupt Chinese brands from 2008-2012)
- Energy output has never met projections, indicating poor site matching
- Tower condition is marginal (rust, concrete spalling, guy wire fraying)
Upgrade paths exist. A 2 kW turbine from 2010 can be replaced with a 2024 model producing 20-30% more energy from the same swept area thanks to improved blade aerodynamics. The 30% federal tax credit applies to the new equipment.
Alternatively, repurpose the tower for a different technology. Mounting solar panels on a tilt-up tower base costs $2,000-$3,500 and may deliver better economics in marginal wind sites. The concrete foundation and tower base remain useful.
For lifecycle comparison tools, see our cost-per-kWh calculator for aging turbines and decision matrix for repair versus replace.
Professional certification and contractor selection
The American Wind Energy Association (AWEA) offers Small Wind Turbine Installer certification, but the program is voluntary. More relevant is state electrical licensing. Tower work falls under general contractor or specialty electrical licenses depending on jurisdiction.
Request proof of:
- State electrical license (verify at state licensing board website)
- Liability insurance with $1-2M coverage
- Workers' compensation insurance (protects homeowner from injury claims)
- Manufacturer training certificates (Bergey, Primus, and Southwest Windpower historically offered these)
Get three written quotes specifying:
- Exact slip ring part number to be installed
- Labor hours estimated
- Warranty period on parts and installation
- Trip charge if a return visit is needed
- Disposal fee for old components
Avoid contractors who quote "generic slip ring" without a model number. Mismatched specifications cause immediate failure. Also skip anyone unwilling to provide a certificate of insurance—uninsured tower climbing puts the property owner's assets at risk if an accident occurs.
Check references from recent jobs (past 12 months). Technology and parts availability change; a contractor who last serviced turbines in 2015 may not be current with newer models.
Can I replace slip rings without climbing the tower?
Horizontal-axis turbines require nacelle access, which means climbing or lowering the turbine on a tilt-up tower. Some Bergey and Primus models have hinged towers that tilt to horizontal with a gin pole and winch; this lets all work happen at ground level. Vertical-axis turbines vary—smaller VAWTs (under 2 kW) often have bottom-accessible slip rings, while larger models require tower-top access.
How do I know if my turbine has slip rings or a twist-cable system?
Check the installation manual. Twist-cable systems (used in some Southwest Windpower Air and Primus designs) have no slip rings; instead, the nacelle yaws through about 540° before unwinding. If you hear periodic reverse rotation even in steady wind, it's a twist-cable system. These have different failure modes—the cable fatigues and breaks individual conductors rather than wearing brushes.
Will aftermarket slip rings void my warranty?
Most turbine warranties expire after 5 years, so replacement typically happens post-warranty. If still under warranty, contact the manufacturer; they may cover the part but not labor. Using non-OEM parts can void remaining coverage, particularly for generator or controller damage caused by slip ring failure. Always confirm in writing before substituting parts.
Can I upgrade to a wireless power transfer system?
Experimental wireless slip rings exist (inductive coupling between rotating and stationary coils), but they're not cost-effective for residential turbines as of 2024. Efficiency losses run 8-12%, negating any maintenance savings. These systems also add $800-$1,500 to turbine cost. The technology may mature for marine applications where corrosion is severe.
How does slip ring replacement affect insurance claims?
Homeowner's insurance typically covers sudden turbine damage (lightning strikes, blade throw), not routine maintenance. If slip ring failure causes a generator fire, the claim may succeed, but insurers will investigate whether deferred maintenance contributed. Document annual inspections to demonstrate proper care. Some specialized renewable energy insurance policies cover major component replacement as a maintenance benefit.
Bottom line
Slip rings wear predictably and replacement is straightforward with proper tools and safety equipment. Budget $800-$1,450 for professional service every 5-12 years depending on turbine type and environment. Homeowners with tower-climbing experience and electrical knowledge can cut costs to $280-$835 by self-performing the work. Schedule the replacement during low-wind months (typically summer in most US regions) to minimize lost generation. For professional service, verify the contractor holds appropriate electrical licenses and carries liability insurance.
Share this article
windturbinehome.com/s/14b1f9
Editorial note: This article was researched and written by a member of the Wind Turbine Home editorial team. AI-assisted tools were used for spell-checking and light grammar review only — all research, analysis, and conclusions are our own. Our editorial policy prohibits sponsored content and paid placements. Read our editorial policy →
Related reading
maintenance troubleshooting
Winterizing Your Home Wind Turbine: Pre-Winter Checklist
Prepare your residential wind turbine for winter with this comprehensive maintenance checklist covering blade inspection, electrical systems, and tower safety.

maintenance troubleshooting
How to Balance Homemade Wind Turbine Blades Without Lab Equipment
Balance DIY wind turbine blades using household items: paint stirrers, fishing line, and sandpaper. Static and dynamic methods reduce vibration by 70-90%.
maintenance troubleshooting
Charge Controller Fault Codes: What They Actually Mean
Decode your wind turbine charge controller fault codes with this practical guide covering overcurrent, overvoltage, temperature errors, and sensor failures.

maintenance troubleshooting
A Realistic Annual Maintenance Schedule for Small Wind Turbines
Monthly visual checks, quarterly bolt torque, semi-annual blade inspections, and annual electrical testing keep small wind turbines safe and productive for 20+ years.

maintenance troubleshooting
Wind Turbine Ice on Blades: Detection, Mitigation & Shutdown
Ice buildup on wind turbine blades reduces efficiency by 20-80% and increases structural stress. Learn detection methods, heating systems, and safe shutdown protocols.

maintenance troubleshooting
How to Lubricate Wind Turbine Bearings: Schedule & Grease Guide
Learn proper bearing lubrication schedules, NLGI grade selection, and access methods for residential wind turbines to prevent costly failures and extend service life.

maintenance troubleshooting
Wind Turbine Yaw Motor Not Working: Diagnosing and Fixing
Yaw motor failures lock turbines facing the wrong direction, costing 30-70% of power. Learn to diagnose controller faults, seized bearings, and wiring issues.

maintenance troubleshooting
How to Brake a Runaway Wind Turbine Safely | Emergency Stop
Learn three proven methods to stop a runaway residential wind turbine: dynamic braking, manual furling, and emergency disconnect. Quick action prevents damage.

maintenance troubleshooting
Wind Turbine Blade Cracked: Repair or Replace Guide (2024)
Discovered a crack in your wind turbine blade? Learn when repair is viable versus replacement, sourcing options for parts, and safety protocols before climbing towers.