Pitched-Roof Turbine Mounting: Structural Load & Rafter Sizing
Learn how to calculate wind loads, dead loads, and rafter span requirements for mounting small wind turbines on residential pitched roofs safely and to code.
Share this article
windturbinehome.com/s/7ebbb0
Mounting a small wind turbine on a pitched roof requires understanding three critical structural factors: the dead load of the turbine and mast, the dynamic wind loads transferred through the mounting hardware, and whether the existing rafter system can safely carry both without exceeding its bending capacity. A typical 400 W vertical-axis turbine with a 10-foot mast assembly adds 60-120 lbs of static weight, but wind gusts can multiply the effective load by five to eight times at the attachment point. Before drilling a single lag bolt, homeowners must verify that the roof framing meets or exceeds the combined load requirements specified in the International Residential Code and local amendments, and this verification always requires either engineer-stamped calculations or direct inspection by a licensed structural engineer and a code-compliant installation by an electrician familiar with NEC Article 705 interconnection rules.
Why roof-mounted turbines impose unique structural demands
Most residential roofs are engineered for vertical loads—snow, roofing materials, occasional foot traffic—not the lateral and torsional forces generated by a spinning turbine in gusty wind. A 1 kW horizontal-axis turbine mounted on a 15-foot pole atop a 6/12 pitch roof creates a cantilever lever arm that amplifies every pound of thrust into several pounds of bending moment at the attachment points. Wind pressure increases with the square of velocity, so a gust jumping from 20 mph to 40 mph quadruples the side load on the turbine and its mounting bracket.
Vertical-axis designs like the Pikasola 600 W or Aeolos-V models reduce some lateral thrust because they accept wind from any direction without yawing, but they still introduce gyroscopic loads during spin-up and braking. The mounting foot or tripod transfers these forces directly into the roof sheathing, rafters, and eventually the load-bearing walls. If the rafters are undersized, spaced too far apart, or already carrying near-maximum snow load, adding turbine hardware can cause localized sagging, fastener pull-out, or even rafter cracking over time.
Dead load: calculating static weight at the attachment point
Dead load is the unchanging weight of the turbine, mast, mounting bracket, wiring conduit, and any guy-wire anchors or stabilizers. For a permanent installation, start by summing the manufacturer-specified weights:
- Turbine rotor + generator housing: 15–45 lbs for vertical-axis units under 1 kW; 30–70 lbs for small horizontal-axis machines.
- Mast or tower section: Steel pipe typically weighs 2–4 lbs per linear foot for 2-inch Schedule 40; aluminum runs 0.8–1.5 lbs per foot.
- Mounting bracket or base plate: 10–30 lbs depending on design; triangulated frames are heavier but spread load across more rafters.
- Guy-wire hardware (if used): 5–15 lbs for turnbuckles, thimbles, and anchors.
A Primus Air 40 mounted on an 8-foot aluminum mast with a four-corner bracket totals roughly 75 lbs dead load. Distributed across four lag bolts into three rafters, each rafter sees about 25 lbs static. That sounds trivial, but it's the starting point—the dynamic wind loads will dwarf this number.
When multiple rafters share the load, installers must ensure the mounting plate or bracket footprint spans at least two, preferably three, rafter bays. A single-rafter attachment concentrates force and risks splitting the wood grain or pulling fasteners through the sheathing.
Live wind load: thrust, moment, and the cantilever effect
Live load from wind has three components:
- Thrust (horizontal push): Wind hitting the rotor disk creates a force proportional to swept area and wind speed squared. A 1-meter-diameter rotor in 30 mph wind sees roughly 50–70 lbs of thrust; at 50 mph that jumps to 140–190 lbs.
- Overturning moment: The mast height acts as a lever arm. A 60 lb thrust at 12 feet above the roof deck produces 720 foot-pounds of bending moment trying to tip the turbine.
- Vibration and cyclic loading: Blade rotation induces small oscillations; poorly balanced rotors or turbulent wind can cause harmonic resonance that fatigues fasteners and framing over years.
The IBC and IRC don't provide turbine-specific load tables, so structural engineers typically model the turbine as a "wind sign" or "antenna" and apply ASCE 7 wind-load provisions. For residential retrofit, a conservative approach assumes the turbine will encounter wind speeds equal to the local 3-second gust speed (available from ASCE 7 maps or local building departments). In much of the Midwest that's 90–115 mph; coastal zones can exceed 140 mph.
A rule of thumb: multiply the turbine's rated power (in watts) by 0.15 to estimate peak thrust in pounds at survival wind speed. A 400 W unit might see 60 lbs thrust; an 800 W machine, 120 lbs. Then multiply thrust by mast height in feet to get the overturning moment in foot-pounds. Divide that moment by the mounting bracket's bolt spacing to find the tensile and compressive loads on individual fasteners and rafters.
Rafter sizing and allowable span tables
Most residential roofs use 2×6, 2×8, or 2×10 rafters spaced 16 or 24 inches on center. Allowable load depends on species, grade, span, and whether the rafters are supporting a ceiling below. Douglas Fir-Larch No. 2 is common; Southern Pine No. 2 offers slightly higher bending strength.
The IRC publishes rafter span tables (Table R802.4 series) that specify maximum horizontal span for a given lumber size, grade, spacing, and design snow load. Adding a turbine doesn't change the rafter span, but it does add point load at the attachment. To verify capacity:
- Identify existing rafter size and span (measure in the attic or check original plans).
- Look up the allowable uniform load from IRC span tables (typically 30–50 psf live + 10–20 psf dead for snow country).
- Calculate the additional point load from turbine dead load plus peak wind moment.
- Check if combined load exceeds 80 % of allowable—if so, reinforcement is needed.
For example, a 2×8 Douglas Fir No. 2 rafter at 16-inch spacing spanning 14 feet can carry roughly 40 psf live load. A turbine mounting bracket concentrated on one rafter that adds 200 lbs point load (dead + wind) is equivalent to about 30 psf over a 2-foot tributary width—approaching 75 % of capacity if the roof already carries 20 psf snow. In this case, sistering a second 2×8 alongside the loaded rafter or installing a load-distributing strongback perpendicular to several rafters spreads the force and restores margin.
Engineered lumber (LVL, glulam) offers higher strength-to-weight ratios and is often specified in retrofit reinforcements. A 1.75-inch × 9.25-inch LVL beam sistered to an existing 2×8 can nearly double the bending capacity.
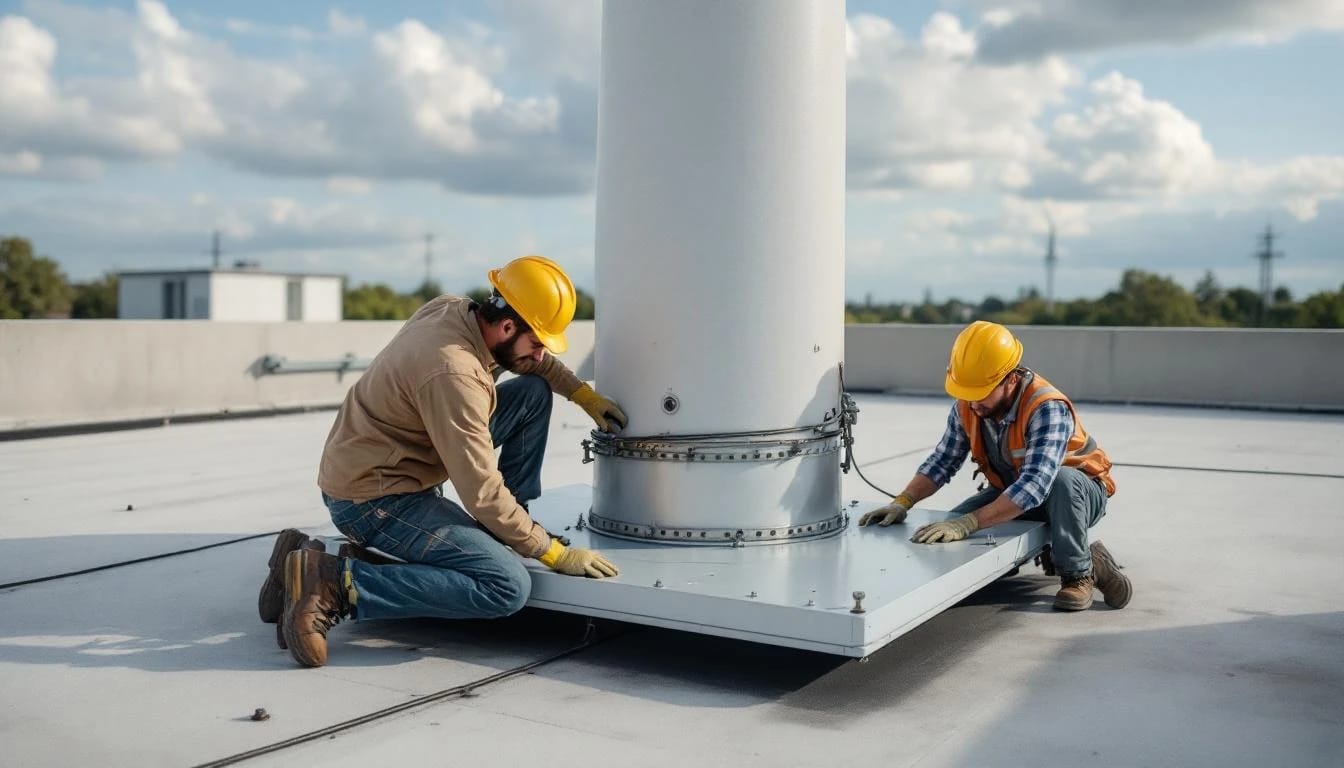
Fastener selection and pull-out resistance
Lag bolts or structural screws must penetrate at least 2.5 inches into solid rafter lumber (not just sheathing) to develop full pull-out resistance. For 2×6 rafters (actual thickness 1.5 inches), this means the fastener must pass through sheathing and embed deeply into the rafter face—often requiring angled installation or offsetting the bracket to hit the rafter center.
Withdrawal resistance for a 3/8-inch lag bolt in Douglas Fir is approximately 300 lbs per inch of thread engagement in side grain. A 4-inch lag with 2.5 inches in the rafter yields roughly 750 lbs pull-out capacity per bolt. Under peak wind, the windward bolts see tensile load; the leeward bolts, compression into the wood. A four-bolt bracket should have at least 2,000 lbs total withdrawal capacity to handle a 120 lb thrust turbine on a 10-foot mast with a safety factor of two.
Stainless-steel or hot-dip galvanized Grade 5 lag bolts resist corrosion better than zinc-plated hardware, which matters in climates with frequent freeze-thaw or coastal salt spray. Washers should be at least 1.5 inches in diameter to prevent the bolt head from crushing the bracket metal or pulling through during high wind events.
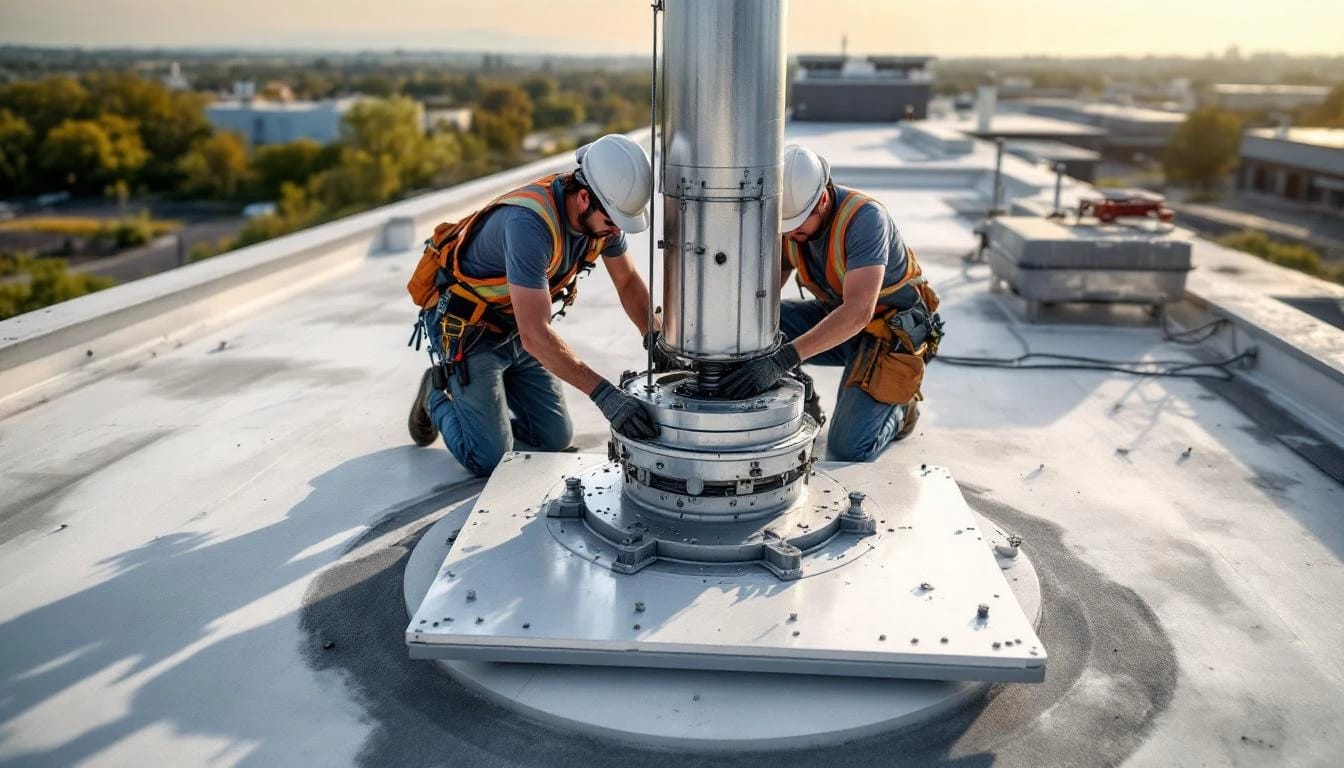
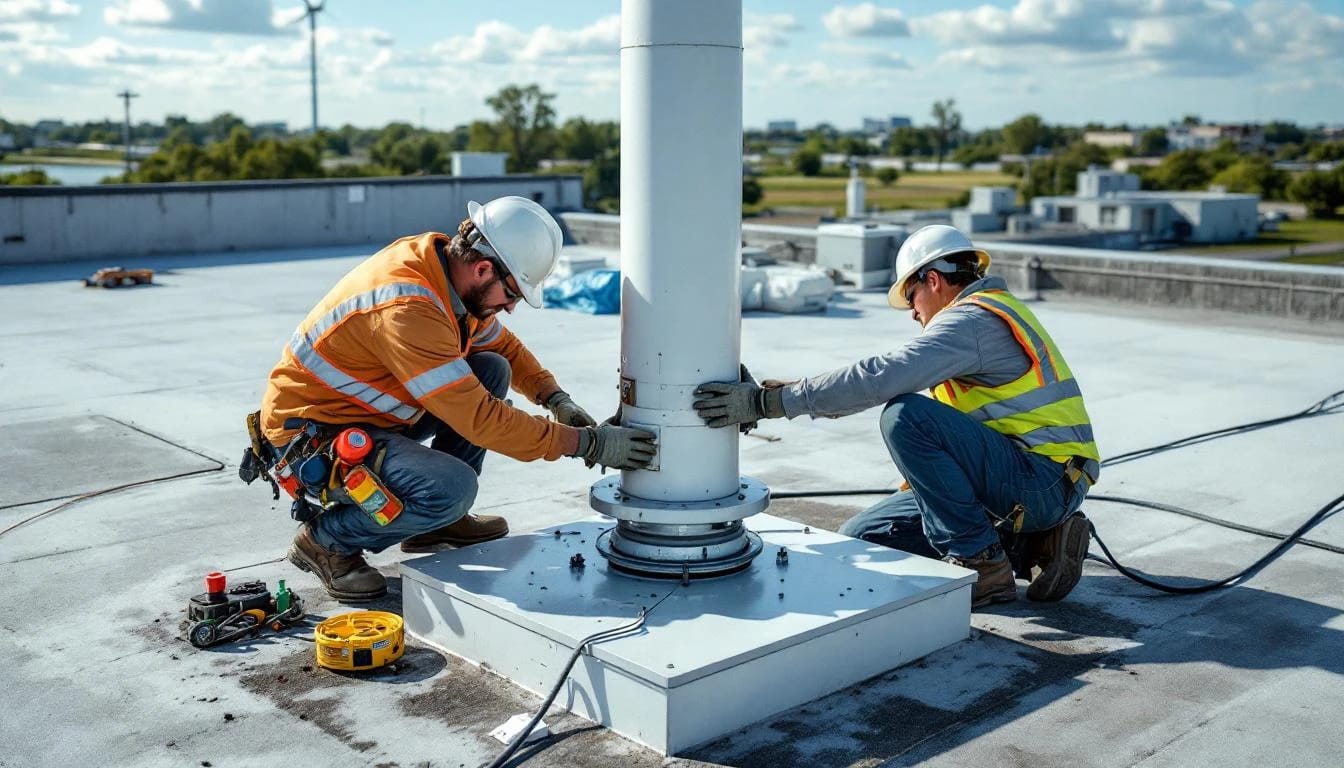
Guy-wire anchoring and roof penetration concerns
Taller masts—12 feet and above—often require guy wires to prevent excessive sway and vibration. On a pitched roof, guy anchors can attach to the same rafter system, to ridge blocking, or to separate framing members. Each anchor point introduces another roof penetration and potential leak path, so flashing and sealant details are critical.
Guy wires under tension add compressive load to the rafters near the anchor. A wire tensioned to 150 lbs at a 45-degree angle exerts roughly 106 lbs of downward force on the anchor rafter. When three or four guys radiate from the mast, the total compressive load on the roof framing can match or exceed the turbine's dead load, effectively doubling the structural demand.
Turnbuckles allow field adjustment of guy tension, but over-tightening can bow rafters or crack sheathing. A tension gauge (available for under $50) ensures each wire stays within the 100–200 lb range typical for small turbine installations.
Code compliance: NEC Article 705 and local building permits
NEC Article 705 governs interconnection of distributed generation sources, including wind turbines, to the utility grid or a standalone inverter system. While Article 705 focuses on electrical safety—overcurrent protection, disconnect location, labeling—it implicitly requires that the turbine mounting meet structural code so the system remains safe under worst-case wind and electrical fault conditions.
Most jurisdictions require a building permit for any roof-mounted turbine installation. The permit review checks:
- Structural adequacy: Engineered drawings or load calculations signed by a professional engineer.
- Setback and height limits: Compliance with zoning ordinances; FAA Part 77 notification if total height (roof peak + mast) exceeds 200 feet AGL near an airport.
- Electrical inspection: Conduit routing, bonding, grounding, and inverter interconnection per NEC.
- Fall protection: OSHA or local code may require guardrails or personal fall-arrest systems during installation and maintenance.
Skipping the permit risks liability if the turbine causes structural damage, fails inspection during a home sale, or voids homeowner's insurance. Insurance carriers increasingly require proof of engineered installation for roof-mounted generation equipment.
When to reinforce: sistering, strongbacks, and truss reinforcement
If calculations show the existing rafters are marginal, three reinforcement strategies are common:
- Sistering: Attaching a new rafter of equal or larger dimension alongside the existing one, glued and bolted every 16 inches. This effectively doubles bending capacity.
- Strongback: A horizontal 2× beam installed perpendicular to several rafters near the turbine mount, tied with metal hurricane straps or structural screws. Distributes point load across four to six rafters.
- Truss reinforcement: If the roof uses prefabricated trusses, any modification—even adding a mounting bracket—voids the truss manufacturer's warranty unless a truss engineer reviews and approves the change. Reinforcement typically involves steel gusset plates or additional web members.
Reinforcement adds labor and material cost—$500–$2,000 depending on complexity—but eliminates the risk of long-term sagging or catastrophic failure during a windstorm.
| Rafter size | Span (ft) | Spacing (in) | Allowable live load (psf) | Max turbine (W) without reinforcement |
|---|---|---|---|---|
| 2×6 DF No.2 | 12 | 16 | 35 | 300 |
| 2×8 DF No.2 | 14 | 16 | 40 | 500 |
| 2×10 DF No.2 | 16 | 16 | 45 | 800 |
| 2×8 DF No.2 | 14 | 24 | 30 | 400 |
Estimates assume 10 ft mast, 90 mph design wind, and existing roof at 50 % of allowable load. Always verify with site-specific engineering.
Membrane and flashing details to prevent leaks
Every fastener that penetrates the roofing membrane—whether asphalt shingle, metal panel, or TPO membrane—is a potential leak point. Best practices include:
- Pitch pans or curb mounts: Galvanized steel or aluminum housings that raise the mounting plate above the roof surface, with flanges that slide under shingles and seal with roofing cement.
- Neoprene or EPDM gaskets: Under every washer and around conduit entry points.
- Butyl or polyurethane sealant: Applied to fastener threads before insertion; not silicone, which degrades roofing materials and doesn't adhere in freezing weather.
- Ice-and-water shield underlayment: Self-adhering membrane installed under the mounting bracket area during new-roof projects or retrofit tear-off.
Inspecting flashing annually and re-sealing fasteners every three to five years extends roof life and prevents interior water damage that can weaken rafters and sheathing.
Cost implications: DIY versus engineered installation
Homeowners with carpentry skills can sometimes handle the framing inspection and reinforcement, but calculating wind loads and verifying rafter capacity almost always requires professional engineering. A stamped structural letter costs $400–$1,200 depending on region and complexity. Licensed electricians charge $800–$2,500 for turbine interconnection under NEC Article 705, including the required utility disconnect and inverter wiring.
Total installed cost for a 600 W roof-mount turbine:
- Turbine and mast: $800–$1,600
- Mounting bracket and hardware: $150–$400
- Structural engineering and permit: $500–$1,500
- Electrical installation: $800–$2,500
- Reinforcement (if needed): $500–$2,000
- Total: $2,750–$8,000
The federal Residential Clean Energy Credit (IRC §25D) offers a 30 % tax credit on equipment and installation costs through 2032, potentially saving $800–$2,400. Some states have additional incentives searchable via the DSIRE database. Labor for permit-required work qualifies; DIY labor does not.
Comparing roof-mount to ground-mount and pole-mount options
Roof mounting saves land and often places the turbine above ground-level turbulence, but the structural constraints and leak risks make it the most expensive mounting method per watt. Ground-mount turbines on 20–40 foot towers avoid roof loading entirely and allow for easier maintenance, though they require more land and deeper concrete foundations. Pole-mount systems on 15–30 foot steel pipes split the difference—less land than ground-mount, less roof risk than roof-mount, but still need guy wires and permitting.
For homes with adequate yard space and no restrictive covenants, ground or pole mounts typically deliver better long-term value. Roof mounts make sense in dense urban lots, HOA-restricted neighborhoods, or when aesthetics demand a low-profile installation.
Tools and methods for field verification
Before committing to a roof-mount design, measure and document:
- Rafter dimensions: Use a tape measure in the attic; confirm lumber stamp for species and grade.
- Rafter spacing: Measure center-to-center between adjacent rafters.
- Roof pitch: Use a digital level or pitch gauge; common pitches are 4/12, 6/12, 8/12.
- Existing loads: Look for ceiling drywall, insulation, HVAC ducts, or water tanks that add dead load.
- Sheathing type and thickness: OSB or plywood, 7/16 inch to 5/8 inch typical.
A moisture meter checks for hidden rot or water damage near roof penetrations. If readings exceed 20 %, the affected rafters must be dried or replaced before mounting hardware.
Many building departments offer free plan-check consultations where staff can review preliminary sketches and advise on reinforcement needs before formal permit application.
Can I mount a turbine on a truss roof without voiding the warranty?
Not without written approval from the truss manufacturer or a structural engineer's sealed drawings showing reinforcement. Trusses are engineered as complete systems; cutting, notching, or adding point loads voids the design. Some truss companies offer retrofit kits or will re-engineer the specific truss for a fee, typically $300–$800.
How do I find local wind speed for load calculations?
Check ASCE 7 wind maps (available free from the American Society of Civil Engineers website) or contact your local building department. Most jurisdictions have adopted ASCE 7 and can provide the design wind speed for your address. Online tools like the ATC Hazards by Location service also generate site-specific values.
What's the minimum roof pitch for a turbine mount?
There's no code-mandated minimum, but pitches below 4/12 complicate water drainage around mounting brackets and increase leak risk. Flat or low-slope roofs under 2/12 should use curb-mount systems identical to HVAC equipment, with welded steel frames and continuous membrane flashing. Steep pitches above 9/12 make installation dangerous and usually require scaffolding or fall-arrest anchors.
Do metal roofs handle turbine loads better than shingle roofs?
The roofing material itself contributes minimal strength; the rafters and sheathing carry the load. Standing-seam metal roofs offer easier flashing integration with clamp-on mounting brackets that don't penetrate the panels, reducing leak risk. Corrugated metal and shingles both require through-fastening, so structural capacity is identical if the underlying framing is the same.
How often should I inspect the mounting hardware?
Annually at minimum, ideally before storm season. Check for loose bolts, cracked welds, rust, or missing sealant. Guy wires should be re-tensioned if sag exceeds 2 inches over a 10-foot span. After any windstorm with gusts above 50 mph, do a visual inspection from the ground with binoculars and a close inspection if anything looks bent or misaligned.
Bottom line
Pitched-roof turbine mounting demands rigorous structural analysis, code-compliant reinforcement, and leak-proof flashing details that add cost and complexity compared to ground-based installations. Homeowners must verify rafter capacity through engineered calculations, reinforce framing as needed, and secure all required building and electrical permits before installation. When executed properly, a roof-mount system delivers clean energy without consuming yard space—but skipping the engineering or DIY-ing structural work risks roof damage, insurance denial, and safety hazards that outweigh any savings. The next step is to contact a local structural engineer with small wind experience and request a site evaluation and preliminary load calculation.
Share this article
windturbinehome.com/s/7ebbb0
Editorial note: This article was researched and written by a member of the Wind Turbine Home editorial team. AI-assisted tools were used for spell-checking and light grammar review only — all research, analysis, and conclusions are our own. Our editorial policy prohibits sponsored content and paid placements. Read our editorial policy →
Related reading
rooftop installation
Ballasted Flat-Roof Mounts for Vertical-Axis Turbines Guide
Ballasted flat-roof mounts secure vertical-axis wind turbines without roof penetration using concrete blocks or water ballast, ideal for commercial buildings with membrane roofs.
rooftop installation
Can You Put a Wind Turbine on a Roof? Engineering Reality
Rooftop wind turbines face structural, vibration, and wind-quality challenges that make them impractical for most homes. Tower-mounted systems deliver better performance.

rooftop installation
Roof-Mounted Wind Turbines for Homes: The Honest Verdict (2025)
Roof-mounted wind turbines rarely work for homes. Turbulence, noise, vibration, and structural limits undermine performance. Here's what the data shows.