How to Build a 1000W Wind Turbine at Home: Step-by-Step Guide
Learn how to build a 1000-watt wind turbine from scratch with our detailed guide covering materials, tools, alternator selection, blade design, and safe installation.
Share this article
windturbinehome.com/s/ba9490
Building a 1000-watt wind turbine at home requires careful planning, the right materials, and a solid understanding of electrical and mechanical principles. A DIY 1000W turbine can generate 2-4 kWh daily in sites averaging 12+ mph winds, offsetting 20-40% of a typical household's energy consumption. This guide walks through selecting an alternator or generator, fabricating blades, building a sturdy tower, and connecting to your home's electrical system while complying with NEC Article 705 requirements.
Why Build Instead of Buy
Commercial 1000W turbines from Pikasola or Primus cost $800-2,200 before shipping and installation. A DIY build typically runs $400-900 in materials, with savings concentrated in blade fabrication and tower construction. The trade-off is time—expect 40-80 hours of work spread over several weekends—and the need for welding, woodworking, or composite layup skills.
Homemade turbines rarely match factory efficiency curves. A well-executed DIY horizontal-axis wind turbine (HAWT) might achieve 25-35% efficiency at rated wind speed, compared to 40-45% for a Bergey Excel 1 or similar commercial unit. Vertical-axis designs (Savonius or Darrieus variants) built at home typically max out at 20-28% efficiency but offer simpler construction and omnidirectional operation.
The real value lies in learning. Builders gain hands-on knowledge of aerodynamics, three-phase alternators, charge controllers, and grid-tie or battery systems. Many proceed to second or third iterations, refining blade profiles and increasing capacity to 1,500-2,000W.
Selecting Your Generator or Alternator
The heart of any wind turbine converts rotational energy into electrical power. For a 1000W design, three paths dominate:
Permanent magnet alternators (PMAs) from golf carts, e-bikes, or purpose-built wind units deliver three-phase AC at variable frequency. Look for models rated 48V nominal, 1,200-1,500W peak. Missouri Wind and Solar, Windblue Power, and eBay sellers stock PMAs in the $180-350 range. Verify the unit includes mounting flanges and a weatherproof housing.
Modified car alternators are cheap ($40-80 at salvage yards) but inefficient. Standard automotive alternators require high RPM (1,800+ to excite the field windings) that small turbine blades cannot sustain in average wind. Re-winding the stator for lower RPM or swapping rotor magnets is possible but adds 15-25 hours of intricate work.
Brushless DC motors as generators (typically from electric scooters or hoverboards) function well in reverse. A 1,000-1,600W BLDC motor spun by wind produces usable DC voltage. These units cost $90-200 and weigh less than PMAs, but require custom mounting and may lack weather sealing.
Key specifications: target a cut-in speed of 6-8 mph (generator begins charging) and rated output at 24-28 mph. Heavier rotors store angular momentum, smoothing power delivery during gusts, but increase bearing loads.
Blade Design and Materials
Blade design separates functional turbines from lawn ornaments. For 1000W output, plan for a rotor diameter of 6.5-8 feet (three blades) or 5-6.5 feet (two blades). Larger diameters capture more wind but increase cut-in speed and structural loads.
Wood construction suits beginners. Use straight-grain spruce, pine, or fir planks (2×6 or 2×8, 6-8 feet long). Download NACA 4412 or Clark Y airfoil templates from airfoiltools.com and print at full scale. Trace onto wood, then carve with a drawknife, spokeshave, and sanding blocks. Seal with marine spar varnish or epoxy resin to prevent moisture absorption. Finished blades weigh 4-7 pounds each.
PVC pipe blades offer a faster route. Split 8-10 inch diameter Schedule 40 PVC lengthwise, heat with a heat gun, and reshape over a curved form to create a cambered airfoil. Edge reinforcement with aluminum or fiberglass tape prevents cracking. PVC blades perform adequately below 30 mph but can deform or shatter in sustained high winds.
Composite layup (fiberglass or carbon fiber over foam cores) produces the lightest, strongest blades. Shape blue or pink foam insulation into airfoil profiles using hot wire cutters or rasps. Laminate 4-6 oz fiberglass cloth with epoxy resin, adding carbon fiber spar caps along the leading edge for rigidity. Total material cost: $120-200 per set of three blades. Weight: 2.5-4 pounds each.
Balance is critical. Blades differing by more than 0.3 ounces create vibration that destroys bearings and generators. Use a simple pivot balance—suspend each blade at its bolt-hole and add epoxy or lead tape to the light side until all three hang level.
Pitch angle (the twist from root to tip) should range from 15-20° at the hub to 2-4° at the tip for optimal angle of attack across wind speeds. Fixed-pitch designs are simpler; variable pitch requires hinges and springs, adding complexity.
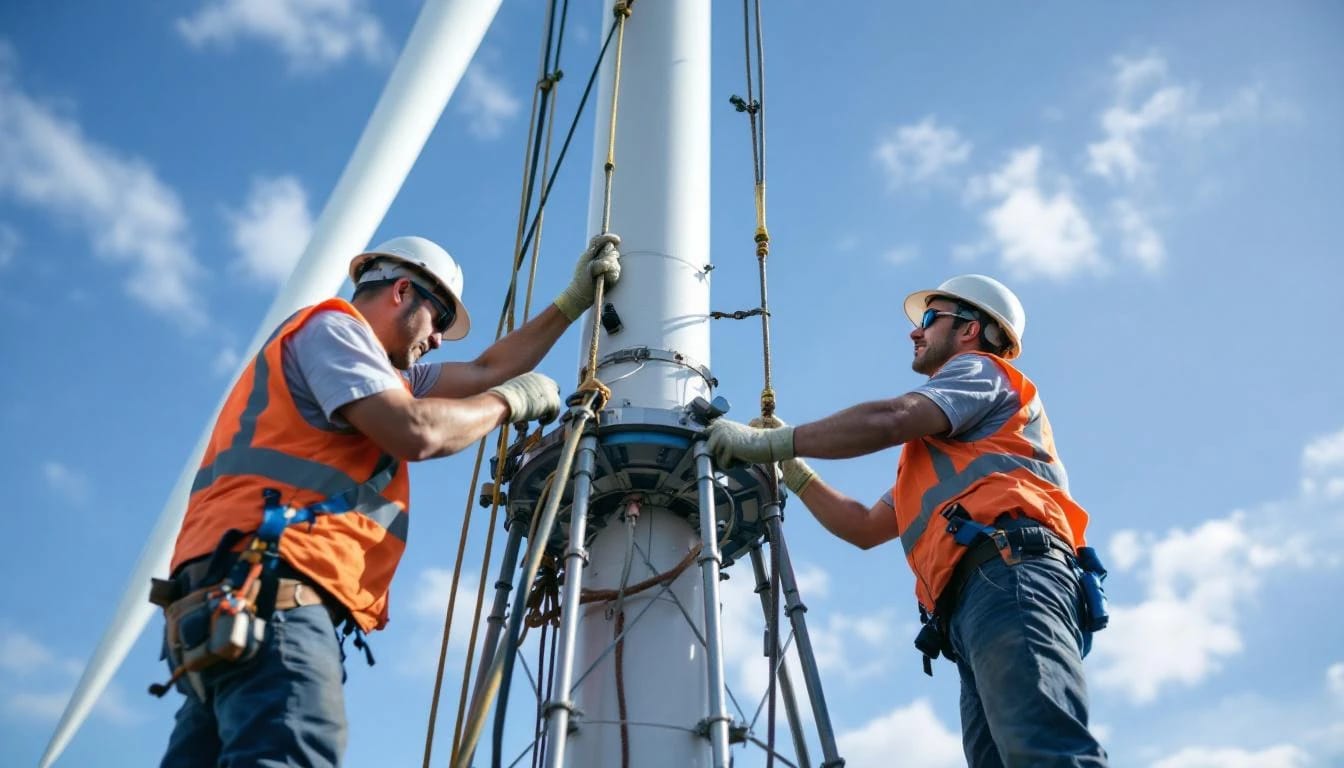
Hub and Rotor Assembly
The hub connects blades to the generator shaft. Steel plate (3/8 or 1/2 inch) cut into a triangular or circular pattern works well. Drill blade bolt holes (typically 3/8 or 1/2 inch bolts, Grade 5 minimum) at 120° spacing for three blades. A central bore matches your generator shaft diameter—common sizes are 5/8, 3/4, or 1 inch. Use a keyway and set screw or pin the hub to prevent slippage under load.
The rotor must spin freely with minimal wobble. Mount the generator on a sturdy bracket, then attach the hub. Spin by hand—any scraping or resistance indicates misalignment. Thrust bearings (sealed cartridge units rated for radial and axial loads) should flank the generator to absorb blade thrust during high winds.
A tail vane keeps horizontal-axis turbines facing into the wind. Fabricate from 1/8-inch aluminum sheet or plywood, 18-24 inches long by 10-14 inches tall. Mount on a boom extending 24-36 inches behind the generator. The tail's center of pressure should be well aft of the yaw axis to provide strong weathervaning force.
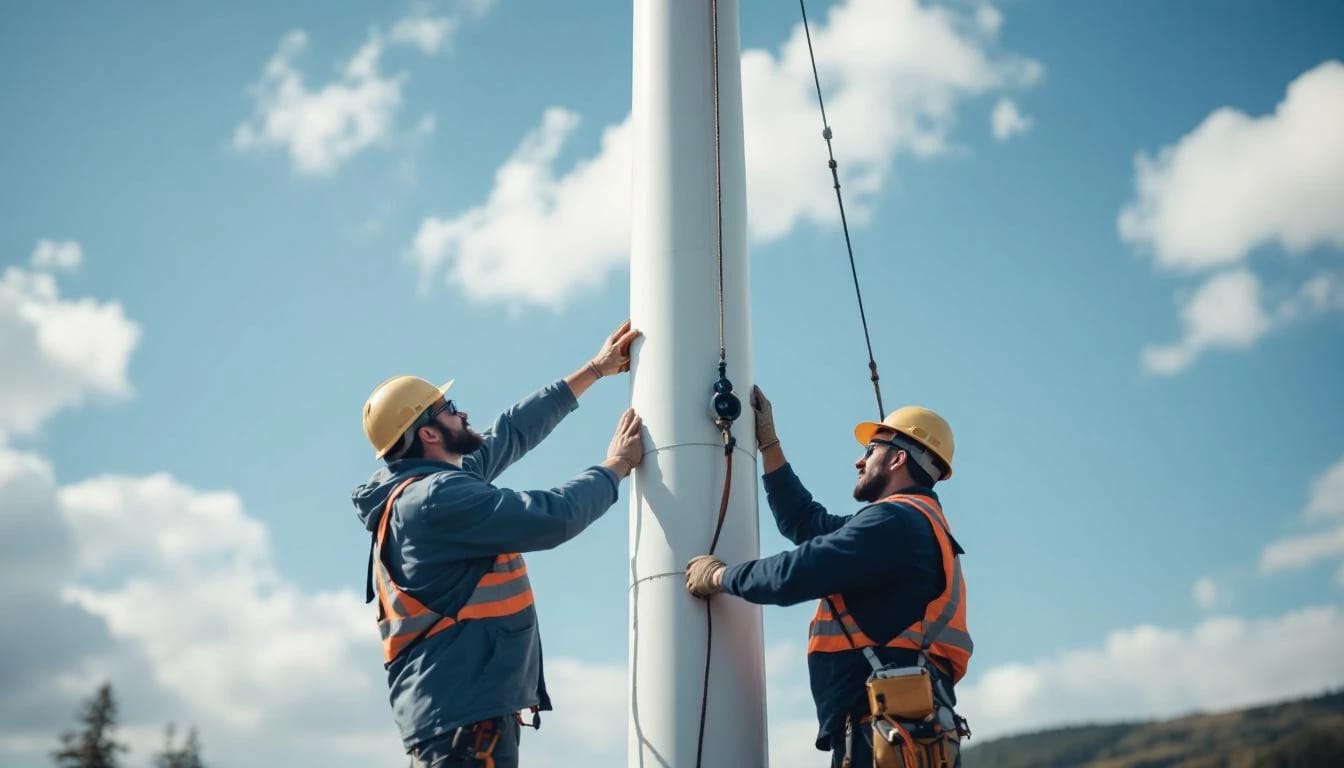
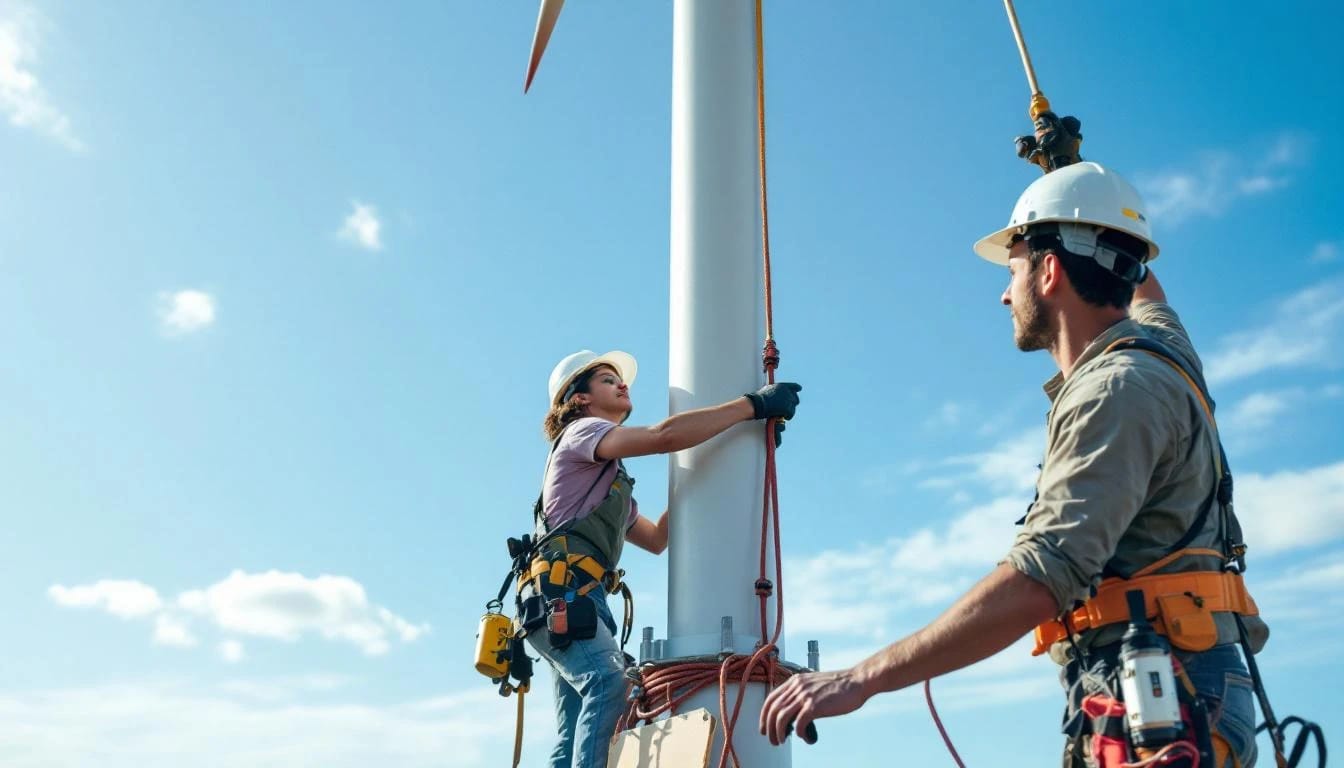
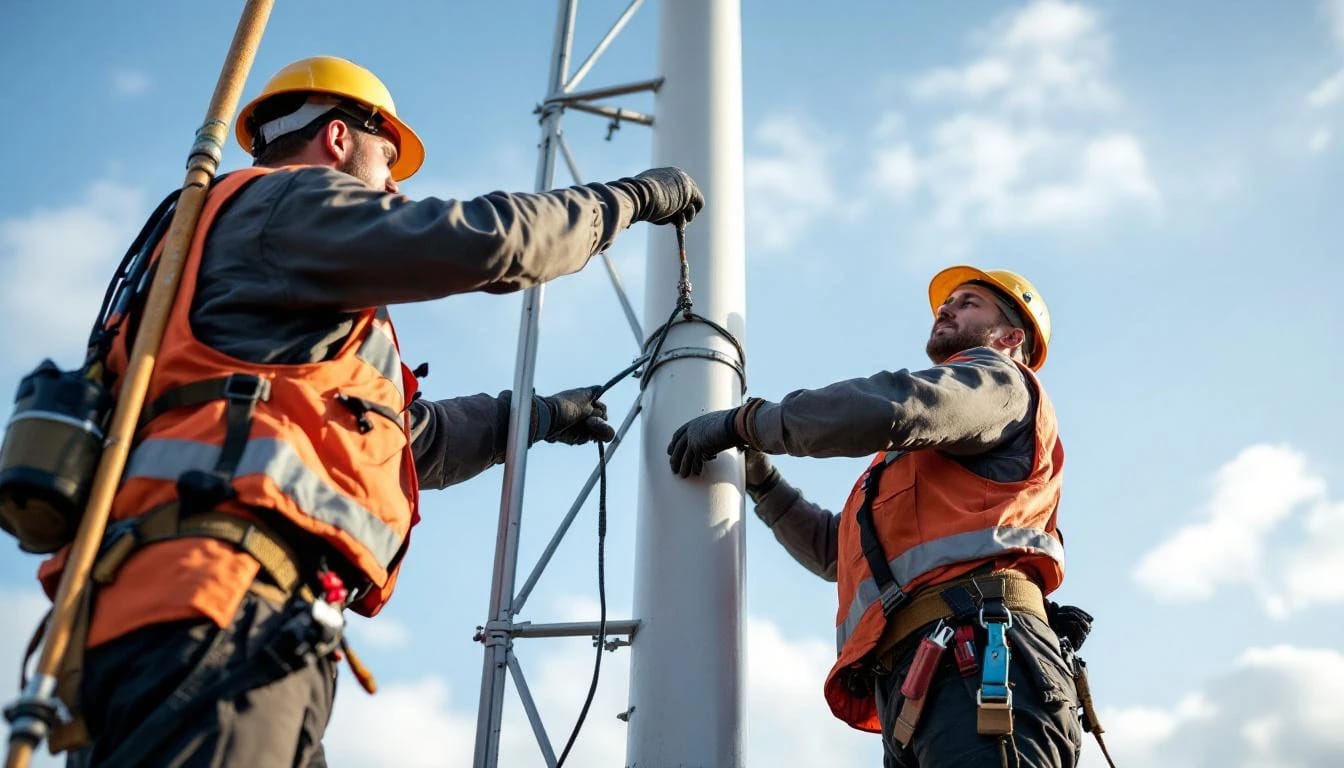
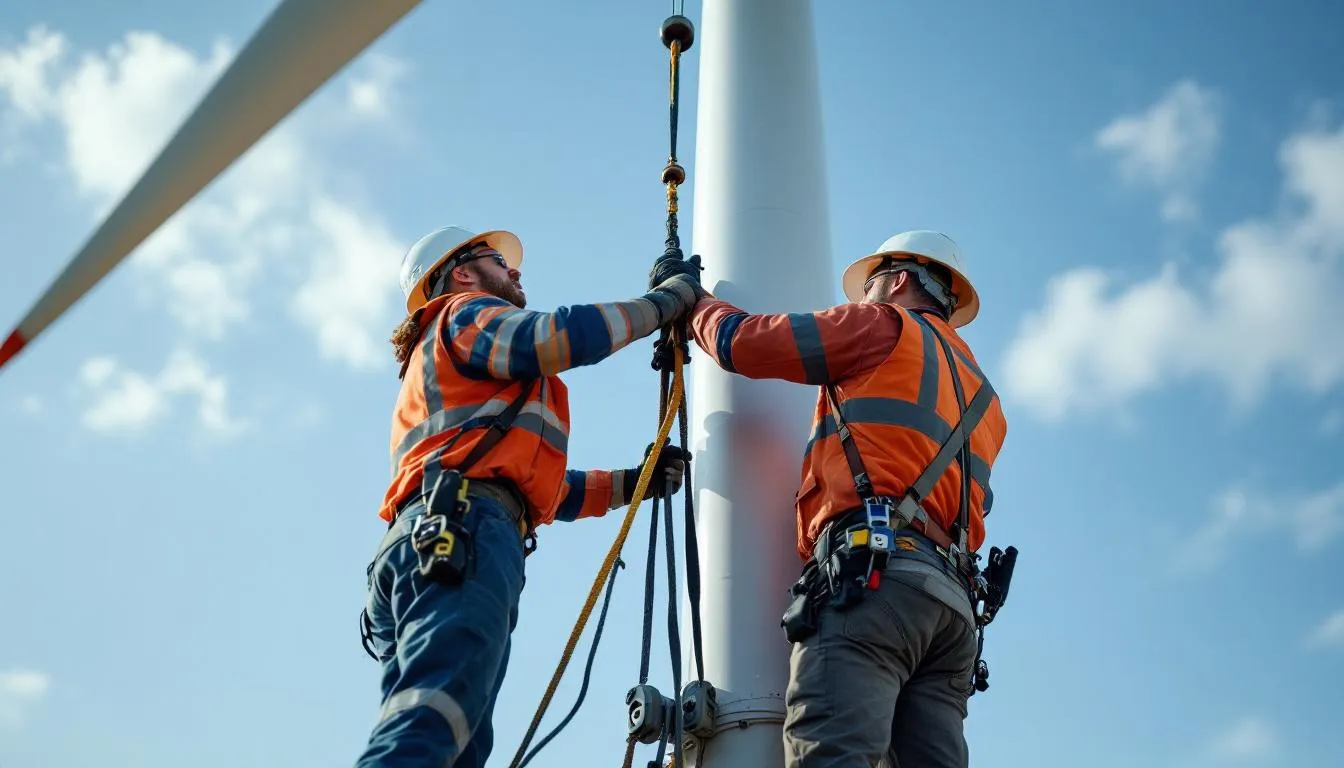
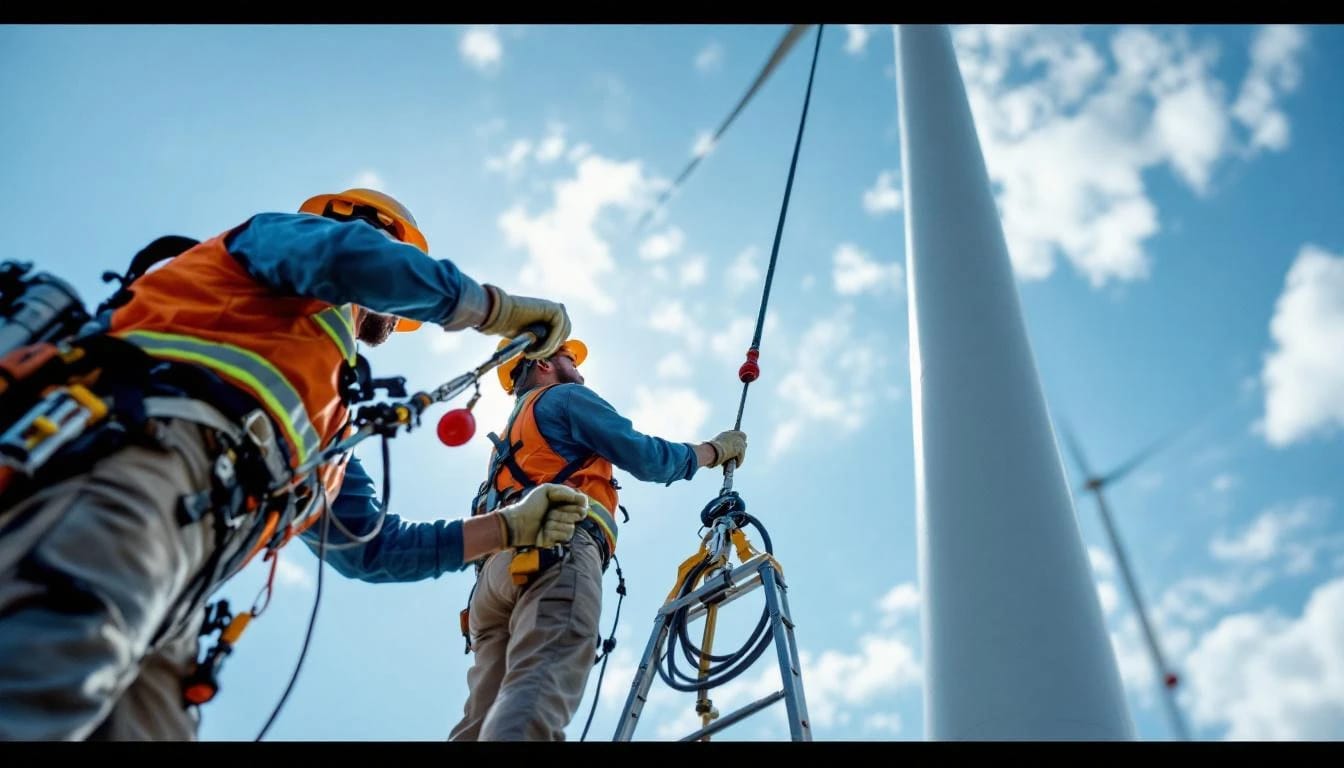
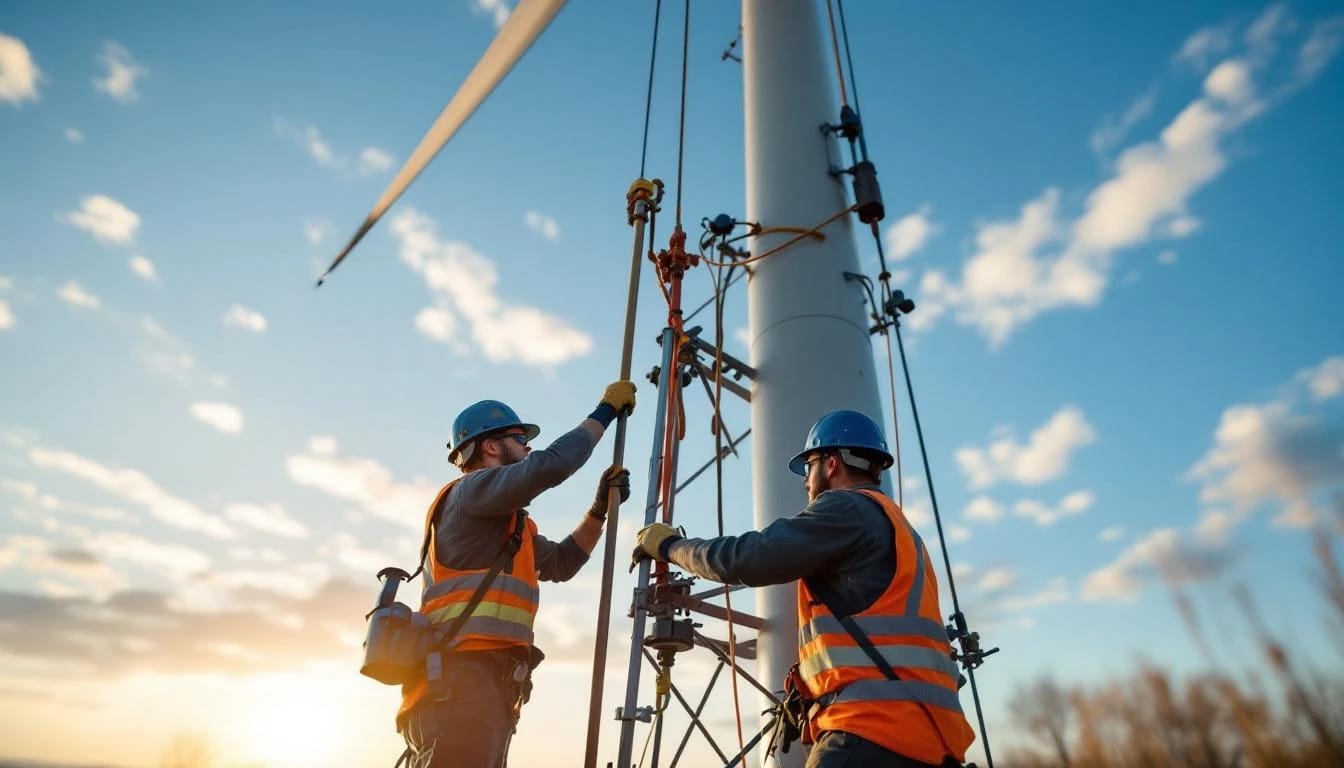
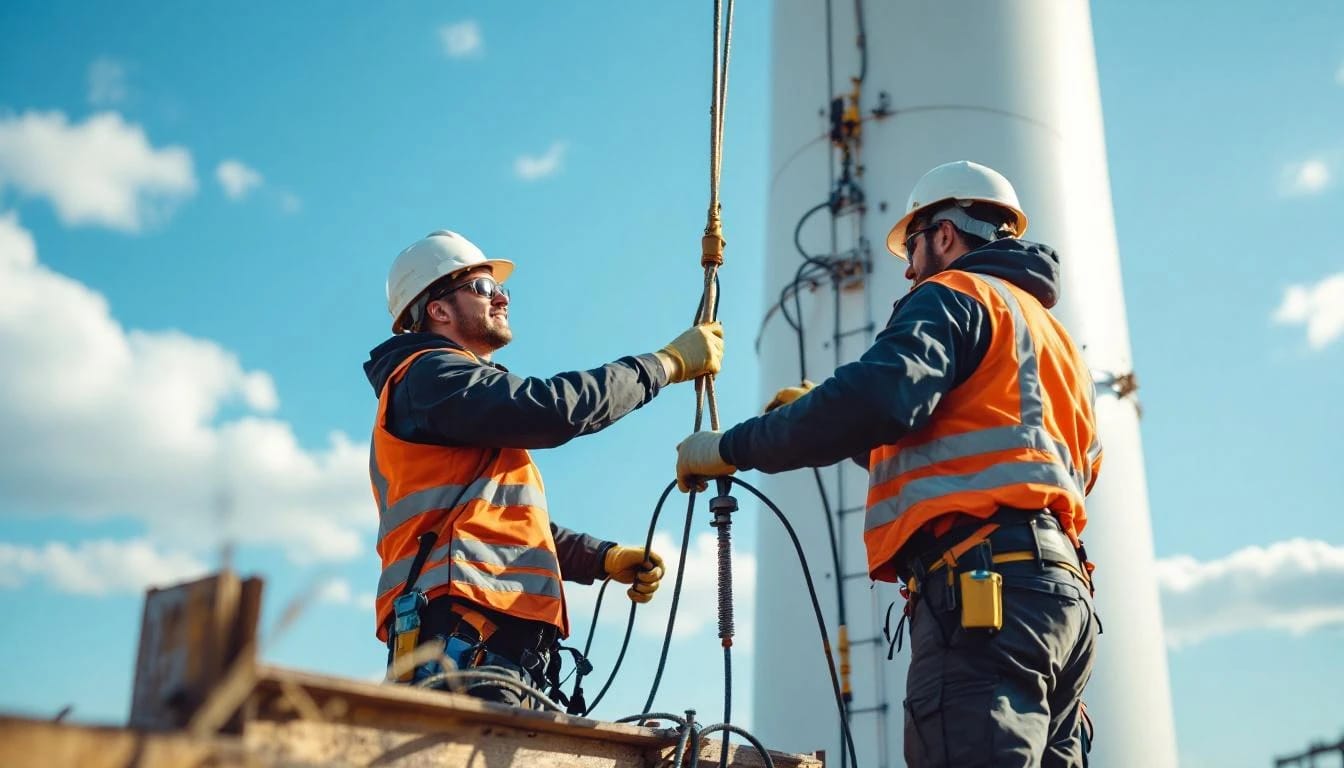
Tower and Mounting Options
Towers fall into three categories for backyard installations:
Tilt-up masts using steel pipe (2-3 inch Schedule 40) or telescoping aluminum poles allow lowering the turbine for maintenance. A ground hinge and gin pole (or vehicle winch) make raising and lowering a one-person job. Heights of 20-30 feet work well for residential sites, clearing roof turbulence and nearby trees.
Guyed lattice towers (Rohn 25G or similar) reach 40-60 feet but require guy anchors in three or four directions. Each guy set needs ground anchors (earth screws or concrete piers) and turnbuckles for tensioning. Building permits typically mandate these structures; consult local zoning.
Freestanding monopoles (4-6 inch steel pipe set in concrete) are simplest but limited to 15-25 feet without guys. A 1000W turbine in moderate winds generates lateral forces of 150-250 pounds; the base requires 3-4 cubic yards of concrete (30-inch diameter, 48-inch depth minimum) plus rebar cage for adequate moment resistance.
Guy wires (1/4-inch galvanized aircraft cable) should tension to 10-15% of breaking strength. Use three or four sets at 60-80% of tower height. Check FAA Part 77 rules—structures over 200 feet AGL or near airports require notification, but backyard towers under 50 feet are usually exempt.
Ground the tower with a copper grounding rod (5/8-inch diameter, 8-foot length) driven near the base and bonded with #6 AWG bare copper wire. NEC Article 705.12(D) requires turbine and tower grounding to meet the same standards as solar PV systems.
Electrical Integration: Charge Controller and Inverter
A 1000W turbine produces variable-voltage AC or DC depending on wind speed and generator type. Rectifying three-phase AC to DC requires a six-diode bridge rated for 40-60 amps continuous, 100-120 amps surge. Schottky diodes reduce voltage drop.
Off-grid battery systems are straightforward. A charge controller (PWM or MPPT type, rated 40-60A at 48V) regulates charging to prevent overcharge. Popular controllers from Morningstar, Xantrex, and Midnite Solar include dump-load terminals—essential for wind, as blocking current from a spinning turbine can overspeed the rotor. The dump load (a 1,000-1,500W resistor bank or water heater element) dissipates excess energy when batteries are full.
Connect batteries in series for 48V nominal (four 12V or sixteen 3.2V LiFePO₄ cells). Minimum capacity: 200-300 Ah to buffer the turbine's intermittent generation. An inverter (pure sine wave, 2,000-3,000W continuous) converts DC to 120V AC for household loads.
Grid-tie systems are legally complex. NEC Article 705.12 mandates anti-islanding protection, meaning the inverter must disconnect within two seconds if grid voltage drops. Grid-tie inverters for wind (Ginlong, SMA Windy Boy, or micro-inverters adapted for DC input) cost $400-900 and require utility interconnection agreements in most jurisdictions. Some utilities refuse DIY interconnections; check local rules before wiring to the service panel.
Include a manual disconnect switch (30-60A, weatherproof) between turbine and controller for maintenance shutdowns. Braking (shorting the generator terminals through a resistor) stops the rotor when needed.
Blade Angle and Performance Tuning
Initial tests often show disappointing output. Blade pitch errors are the usual culprit. At the rated wind speed (24-28 mph for most 1000W designs), blades should spin at 250-400 RPM, depending on generator specs. Higher RPM risks over-speeding; lower RPM underutilizes the generator.
Measure pitch angles with a digital protractor at 25%, 50%, 75%, and 100% of blade radius. Compare to your design template. Adjust by shimming the blade root or re-drilling mounting holes. Small changes (2-3°) significantly affect performance.
Tip speed ratio (TSR)—blade tip speed divided by wind speed—should fall between 5 and 7 for efficient HAWTs. Calculate TSR as:
TSR = (RPM × π × diameter in feet) / (wind speed in mph × 88)
If TSR exceeds 8, blades are pitched too flat (low angle of attack), creating drag without lift. Below 4, pitch is too aggressive, stalling the airfoil. Adjust incrementally and retest.
A tachometer ($15-30 reflective optical type) and anemometer ($40-120 cup or ultrasonic) are essential tuning tools.
Safety and Code Compliance Checklist
Before energizing your turbine:
- Structural inspection: Verify all bolts torqued to spec (3/8-inch Grade 5 to 30 ft-lbs, 1/2-inch to 75 ft-lbs). Check guy tensions.
- Electrical grounding: Confirm tower ground rod resistance below 25 ohms (use a ground resistance tester, $80-150 rental).
- Overspeed protection: Test dump load activates when battery voltage reaches absorb setpoint (typically 57.6V for 48V systems).
- Setback compliance: Most residential zones require turbines set back 1.5× tower height from property lines.
- Permit and inspection: Submit plans to building department. Inspections often cover foundation, electrical (per NEC 2020 or newer), and final. Costs vary widely ($150-800).
Hire a licensed electrician for the service panel connection. DIY wiring to the main panel violates code in many jurisdictions and voids homeowner's insurance if a fault causes fire or injury.
Operating around spinning turbine blades is inherently dangerous. Establish a 50-foot exclusion zone during high winds. Never attempt maintenance with the rotor spinning—short the terminals and engage a mechanical brake or use rope to tie blades before climbing.
Cost Breakdown and Material Sourcing
Typical spend for a DIY 1000W HAWT:
| Component | Cost Range | Notes |
|---|---|---|
| PMA or generator | $180–$350 | Missouri Wind and Solar, eBay |
| Blade materials (wood or composite) | $60–$200 | Lumber yard, fiberglass suppliers |
| Hub and hardware (steel plate, bolts) | $40–$80 | Local metal supplier, McMaster-Carr |
| Tail vane and boom | $25–$60 | Aluminum sheet, hardware store |
| Tower materials (pipe or lattice) | $150–$400 | Steel supplier, Rohn dealer |
| Guy cables and anchors | $80–$180 | For guyed designs |
| Charge controller | $120–$280 | Morningstar TriStar, Xantrex C40 |
| Rectifier and dump load | $40–$100 | Diode bridge, resistor bank |
| Wiring and connectors | $50–$120 | #10 or #8 AWG, MC4 or Anderson Power Pole |
| Total | $745–$1,770 | Excludes tools, permits, concrete |
Compare against a Pikasola 1000W turbine ($850 shipped) or Primus Air 40 (around $2,100 with controller). The DIY path saves money if you already own welding equipment, woodworking tools, and have fabrication skills.
Incentives and Financial Returns
The federal Residential Clean Energy Credit (IRC §25D) provides 30% tax credit on renewable energy system costs, including materials and professional installation labor. IRS Form 5695 captures DIY material costs; save all receipts. The credit runs through 2032, stepping down to 26% in 2033 and 22% in 2034.
State programs vary. Check the DSIRE database for rebates, performance-based incentives, or property tax exemptions. California's SGIP once covered small wind but now excludes most residential systems. New York's NY-Sun program includes small turbines in some service territories. Rural electric cooperatives (especially those participating in USDA programs) occasionally offer interconnection credits.
Payback periods stretch 10-20 years in typical installations, even with incentives. Wind resource quality dominates economics. A site averaging 11 mph yields roughly half the annual kWh of a 15 mph site, doubling payback time. Use the NREL Wind Prospector to estimate local wind speeds at hub height.
Common Pitfalls and How to Avoid Them
Underestimating wind resource: Home weather stations measure at 6-10 feet; turbine performance depends on wind at 25-40 feet. Expect 15-30% higher average speeds at hub height in open terrain. Order a $200-400 NRG Systems wind data logger for a 3-6 month assessment before building.
Blade imbalance: Vibration from unbalanced blades destroys generators. Spend the extra hour balancing to 0.2 ounces or better.
Inadequate braking: Wind turbines must dump power or mechanically brake to prevent overspeed in gusts. A 1000W turbine rotor accelerating above 600 RPM can destroy itself in seconds. Always install a robust dump load and manual short-circuit switch.
Poor siting: Turbulence from buildings and trees cuts output by 40-60%. The rule of 30/300 (30 feet above obstacles within 300 feet) is conservative but effective.
Ignoring maintenance: Bearings need greasing every 6-12 months. Blade surfaces erode in dusty or abrasive environments. Guy tensions slacken over time. Schedule quarterly inspections.
Vertical-Axis Alternatives
Vertical-axis wind turbines (VAWTs) simplify construction—no tail vane, and the generator mounts at ground level. Savonius designs use half-cylinder scoops (cut 55-gallon drums or large PVC pipe). Darrieus models use curved blades in an eggbeater shape, achieving higher efficiency but requiring complex bending jigs.
A 1000W VAWT typically needs 7-10 feet of swept height and 4-6 feet diameter. Savonius turbines self-start in light winds but peak at 20-25% efficiency. Darrieus types may require a starting motor but reach 30-35% efficiency in strong winds.
VAWTs suit urban sites with shifting wind directions but struggle in very high winds (over 40 mph), where the whole structure acts as a sail. Braking is harder than with HAWTs.
For a DIY Savonius, split two 55-gallon steel drums lengthwise, weld four half-cylinders to a central shaft, mount in pillow-block bearings, and couple to a PMA. Total cost: $250-450. Output is lower per swept area than HAWTs, but fabrication is faster.
Testing and Commissioning
First spin tests should occur with blades disconnected from the electrical system. Check for wobble, bearing noise, and smooth rotation. Reconnect electrically and load with a resistor bank. Monitor voltage, current, and RPM across a range of wind speeds (use a handheld anemometer at hub height).
Plot a power curve: wind speed on the X-axis, watts out on the Y-axis. Compare to your design predictions. Significant deviations suggest blade pitch errors, generator mismatch, or excessive friction.
Run for 48-72 hours before connecting batteries or grid-tie. Watch for overheating (touch generator housing after 30 minutes at rated wind—should be warm but not painful). Inspect bolts for loosening due to vibration. Tighten as needed and apply thread-locking compound.
Document baseline performance. Annual output comparisons reveal degradation from blade erosion, bearing wear, or corrosion.
Can a 1000W wind turbine power an entire house?
A 1000W turbine generates 2-5 kWh per day depending on average wind speeds, covering 20-50% of a typical U.S. household's 30 kWh daily use. Pairing with battery storage and grid-tie allows the turbine to offset peak-rate consumption. Complete off-grid power requires 3,000-5,000W capacity plus substantial battery banks or supplemental solar PV.
Do I need a building permit for a backyard wind turbine?
Most jurisdictions require permits for structures over 10-15 feet or any electrical work tied to the home. Submit tower foundation plans, electrical schematics meeting NEC Article 705, and manufacturer specs (or detailed DIY drawings). Setback rules, homeowner association covenants, and FAA notification (structures near airports or over 200 feet) also apply. Budget $200-800 for permits and inspections.
How long do homemade wind turbine blades last?
Wood blades sealed with marine varnish last 5-10 years before UV damage and moisture cycling cause cracks. PVC blades degrade faster (3-6 years) in high-UV climates. Fiberglass-epoxy composite blades endure 12-20 years with occasional touch-up of the gelcoat. Blade leading-edge tape (3M or similar) extends life by reducing erosion from rain and insects.
What wind speed do I need for a DIY 1000W turbine?
A well-designed 1000W turbine cuts in around 6-8 mph, reaches rated output at 24-28 mph, and should furling or brake above 35-40 mph to prevent damage. Sites averaging below 10 mph annual mean rarely justify turbine investment; 12-15 mph average (at hub height) is the practical minimum for meaningful energy production.
Can I use a car alternator for a wind turbine?
Standard automotive alternators require 1,800+ RPM to produce 12-14V output—far higher than small turbine blades achieve. Re-winding the stator coils with heavier wire and replacing the rotor with neodymium magnets converts an alternator into a low-RPM permanent magnet generator, but this modification demands machine-shop skills and 20+ hours of work. Purpose-built PMAs are easier and more reliable.
Bottom Line
Building a 1000W wind turbine at home tests your fabrication skills and teaches renewable energy fundamentals. Invest in a quality permanent magnet alternator, balance blades meticulously, and design for your site's actual wind resource. Professional electrical work for grid interconnection ensures code compliance and safety. The result: a functional turbine delivering 2-4 kWh daily in good wind, tangible utility bill savings, and bragging rights at every backyard gathering.
Next step: Measure your site's wind resource for three months using a data logger or quality anemometer at planned hub height, then order your PMA and blade materials from suppliers like Missouri Wind and Solar or local composites distributors.
Share this article
windturbinehome.com/s/ba9490
Editorial note: This article was researched and written by a member of the Wind Turbine Home editorial team. AI-assisted tools were used for spell-checking and light grammar review only — all research, analysis, and conclusions are our own. Our editorial policy prohibits sponsored content and paid placements. Read our editorial policy →
Related reading
installation guides
Free Wind Turbine Plans: Where to Find Honest Ones (and What to Avoid)
Free wind turbine plans exist, but most are dangerously incomplete or wildly optimistic. We identify legitimate sources and red flags to help you decide if DIY is realistic.
installation guides
Best Motors for a DIY Wind Turbine Generator (2025 Guide)
Permanent magnet DC motors, automotive alternators, and brushless outrunner motors each bring distinct trade-offs for DIY wind turbines—start-up torque, cogging, and voltage regulation determine real-world output.
installation guides
DIY Wind Turbine From Car Alternator: Works, But With Caveats
A car alternator can generate electricity from wind, but produces AC at variable frequency, requires high RPM, and needs rectification plus voltage regulation to charge batteries safely.

installation guides
How to Build a Wind Turbine for Your Home: A Realistic DIY Plan
Building a home wind turbine DIY requires electrical expertise, structural engineering knowledge, and 40-80 hours of work. Most homeowners save money and reduce risk by buying certified turbines like the Primus Air 40 or Bergey Excel 1 instead.
installation guides
Grounding and Bonding a Small Wind Installation Per NEC
Proper grounding and bonding per NEC Article 705 protects your small wind turbine from lightning strikes and electrical faults. Learn equipment, system, and tower grounding requirements.

installation guides
Raising a Tilt-Up Tower Safely: The Procedure Most Installers Follow
Professional installers follow a strict 11-step procedure when raising tilt-up wind turbine towers, using gin poles, winches, and safety gear to prevent injury and equipment damage.
installation guides
Concrete vs Ground Screw Turbine Foundation: Cost & Time Guide
Ground screws install in 4-8 hours for $1,200-$2,800, concrete takes 3-5 days at $2,500-$5,000. Both last 25-30+ years when engineered correctly for soil type.
installation guides
How to Install a Home Wind Turbine: Complete Step-by-Step Guide
Installing a home wind turbine requires site assessment, permitting, foundation work, tower assembly, electrical hookup, and inspection—averaging 3-7 days total labor.
installation guides
Installing a Home Wind Turbine: The Complete Guide (2024)
Step-by-step guide to installing a residential wind turbine—from site assessment and permits to foundation work, electrical hookup, and grid connection.