Raising a Tilt-Up Tower Safely: The Procedure Most Installers Follow
Professional installers follow a strict 11-step procedure when raising tilt-up wind turbine towers, using gin poles, winches, and safety gear to prevent injury and equipment damage.
Share this article
windturbinehome.com/s/2c0fef
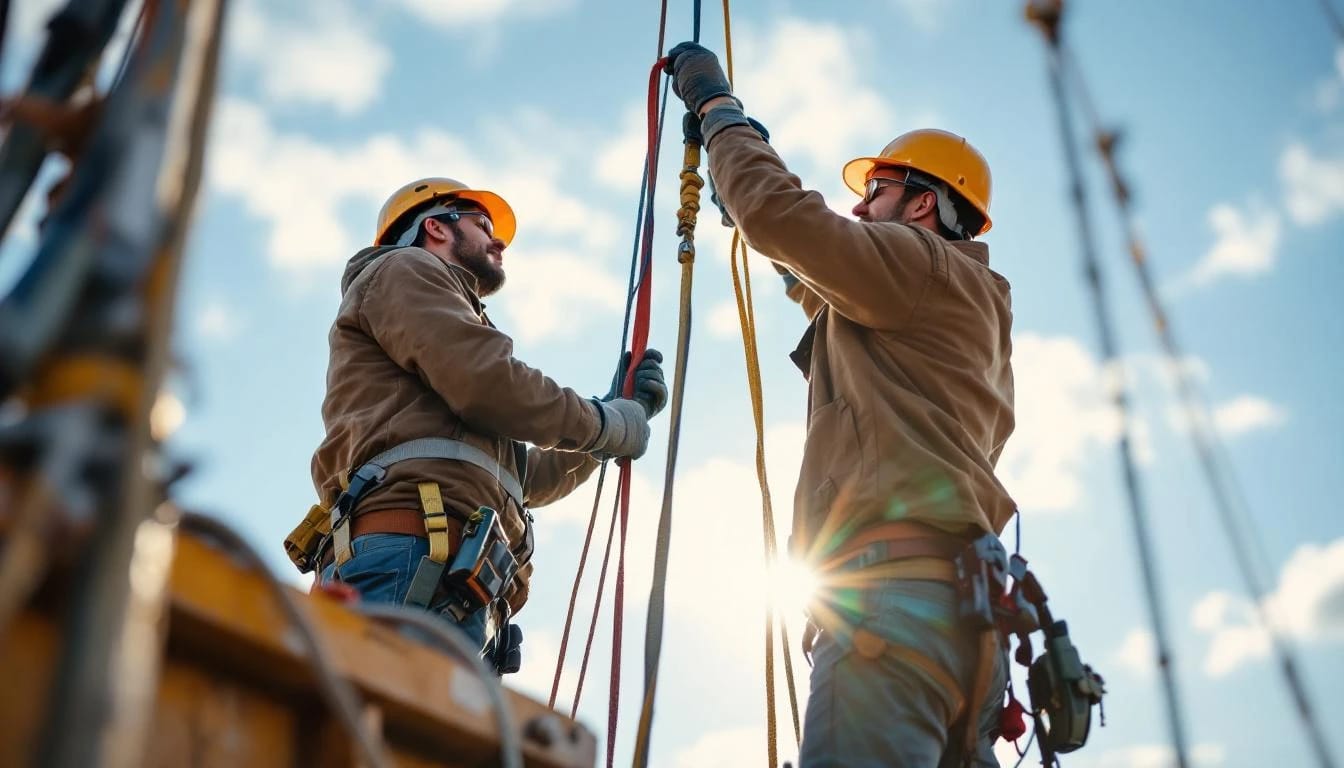
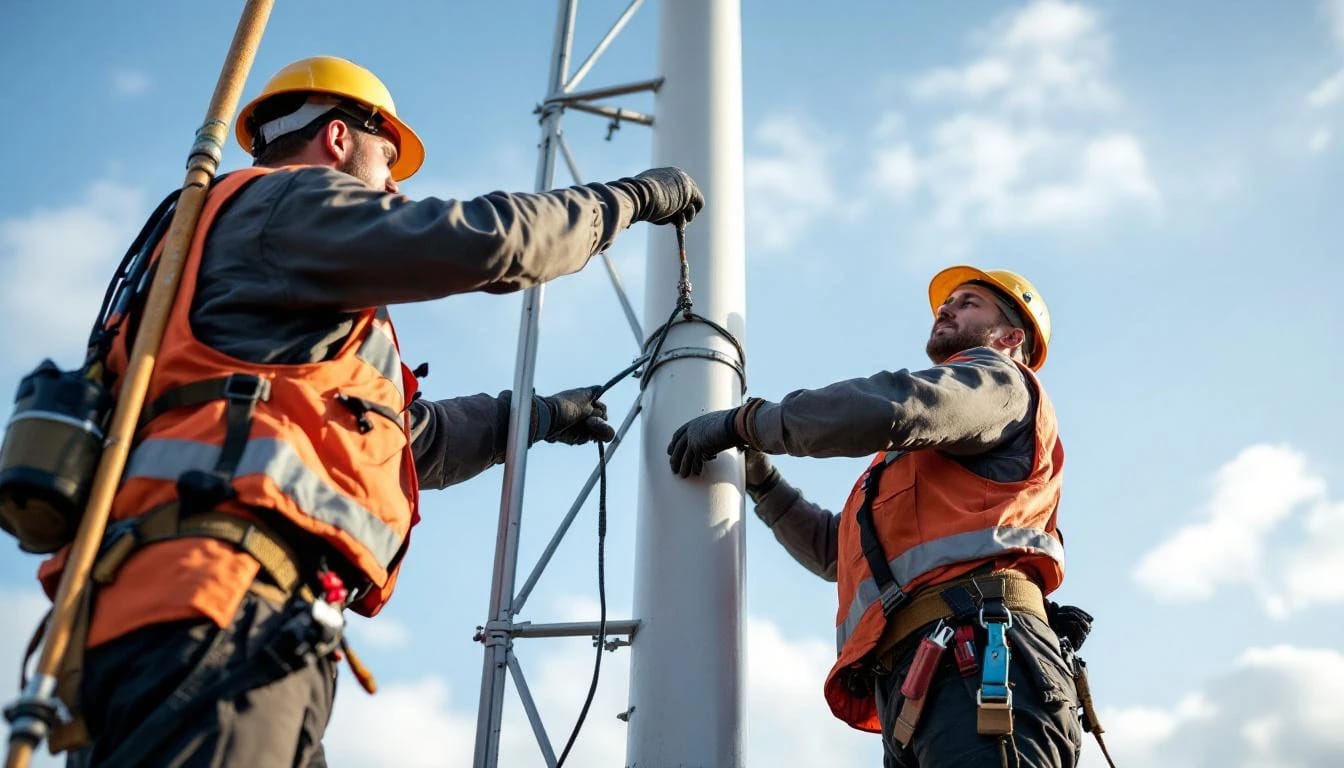
Raising a tilt-up tower is the most dangerous phase of small wind turbine installation. Professional installers follow a methodical procedure that involves positioning the assembled tower horizontally, attaching lifting equipment to a pivot point, and using mechanical advantage to raise the structure to vertical—all while maintaining control at every degree of rotation. The process requires at least two people, proper rigging hardware rated for 3× the tower weight, and continuous communication to prevent the tower from swinging, dropping, or striking ground crew.
Understanding the tilt-up tower advantage
Tilt-up towers—also called hinged or lowering towers—pivot at a base hinge that allows the structure to move from horizontal to vertical without a crane. This design cuts installation costs by $1,200-$3,800 compared to fixed guyed towers and permits routine maintenance at ground level. Bergey, Primus Wind Power, and Southwest Windpower standardized the configuration for residential turbines in the 20-40 ft height range.
The hinge itself is a galvanized steel assembly bolted to a concrete foundation. It supports the full tower weight when horizontal and transfers lateral wind loads to guy cables when vertical. Most hinges use a 1.5-inch through-bolt that seats in sealed bearings rated for 10,000+ rotation cycles.
Tilt-up systems work best for towers under 80 feet. Beyond that height, the moment arm during raising creates bending stresses that require specialized gin poles and hydraulic winches outside the scope of residential installations.
Pre-raise safety checklist
Before touching the tower, installers complete a site audit. Wind speed at ground level must stay below 12 mph—even light gusts create unpredictable lateral forces on a partially raised tower. The raising path must be clear of overhead power lines with a minimum separation of 1.5× the tower height plus 10 feet per NEC Article 705.
Crew members wear hard hats, steel-toe boots, leather work gloves, and high-visibility vests. The site perimeter is roped off at twice the tower height radius. At least one crew member holds current CPR certification, and a first-aid kit with burn dressings and trauma shears stays within 50 feet of the work zone.
The tower assembly—complete with turbine, blades, guy cables, and electrical conduit—rests on sawhorses or foam-padded blocks. The turbine blades are lashed together or removed entirely; free-spinning blades during the raise have caused hand injuries and damaged control electronics. Guy cables are pre-attached to tower anchors but left slack, coiled on the ground in figure-eight patterns to prevent tangles.
Rigging the gin pole and winch system
The gin pole is a temporary mast that extends 6-10 feet above the tower top when both are horizontal. Installers bolt it to the tower back (the side opposite the hinge) using four Grade 8 bolts torqued to 60-80 ft-lbs. The pole angle is set at 15-20° from vertical using an inclinometer—this geometry ensures the lift cable maintains optimal mechanical advantage throughout the raise.
A cable winch mounts to the base anchor 20-30 feet from the hinge. Hand-crank models rated for 2,000-3,000 lbs suffice for towers under 40 feet; hydraulic or electric winches handle taller structures. The lift cable—7×19 stranded galvanized steel, 3/16 to 1/4 inch diameter—runs from the winch through a pulley block at the gin pole tip, then back to a ground anchor or vehicle hitch. This 2:1 mechanical advantage halves the force required.
Cable terminations use thimbles and three wire rope clips per end, installed with the saddle on the live (load-bearing) side and U-bolt on the dead end. Clips are spaced at six cable diameters apart and torqued to 15 ft-lbs, then re-torqued after the cable has been under load for five minutes.
Installers attach a safety line—separate from the lift cable—from the gin pole or tower top to a second anchor 45° off-axis from the primary winch. This prevents lateral swing if the main cable slips or the tower pivots unexpectedly.
Communication protocols during the raise
One person operates the winch. A second person stands 15 feet behind the hinge, watching tower alignment and guy cable tension. Both use two-way radios on a dedicated channel, not phones. Commands follow a standard lexicon: "Take up slack," "Raise slow," "Stop," "Hold," and "Emergency stop." The operator repeats each command back before acting.
The raise begins only after both crew members confirm "Ready to raise" and the site supervisor (if present) calls "Clear to proceed."
The raising sequence step-by-step
Step 1: Remove tower supports. The crew lifts the tower off sawhorses, confirming the hinge bolt turns freely. The tower weight now rests on the hinge and gin pole base.
Step 2: Take up slack. The winch operator cranks until the lift cable is taut but exerts no lifting force. The tower remains horizontal.
Step 3: Initial raise to 10°. The operator advances the winch slowly—one click per second on ratchet models, 6-8 inches per minute on powered units. The spotter watches the hinge for binding and confirms the tower begins rotating upward without lateral drift.
Step 4: First stop at 30°. At this angle, the tower's center of gravity crosses the hinge vertical axis. The winch operator holds position while the spotter checks guy cable alignment and verifies no interference with ground obstacles.
Step 5: Advance to 45°. The tower lifts faster now as the moment arm decreases. The spotter alerts for any cable slack on the windward side—wind loading can push the tower faster than the winch if gusts exceed 8 mph.
Step 6: Approach vertical (70-85°). Raising slows dramatically. The tower wants to fall backward past vertical if the winch releases. Some installers add a temporary guy line to the tower front (hinge side) to prevent over-rotation.
Step 7: Final positioning at 88-90°. The operator inches the tower to plumb, confirmed by a 4-foot level or digital inclinometer on the tower face. The spotter signals "On vertical."
Step 8: Lock the hinge. Most hinges have a drop pin or lock collar. With the tower vertical, the crew inserts the pin through pre-drilled holes in the hinge plates, securing the tower against accidental lowering.
Step 9: Tension guy cables. Working in a star pattern, the crew tightens turnbuckles on each guy anchor to equal tension—typically 10-15% of the cable breaking strength. A Loos tension gauge provides objective readings; installers aim for 200-400 lbs per cable on residential towers.
Step 10: Remove gin pole. The temporary mast unbolts once guys are secure. Some crews leave it attached for the first 30 days to simplify re-lowering if adjustments are needed.
Step 11: Final inspection. The crew checks hinge bolts with a torque wrench, examines cable terminations for fraying, and confirms the tower is plumb in two axes using a transit or laser level.
Common mistakes that cause injuries or damage
The leading failure mode is insufficient crew—one person operating the winch while the tower swings laterally and strikes the hinge anchor or guy stakes. The minimum crew size is two; three is standard for towers above 50 feet.
Undersized winches create a second hazard. If the winch cannot hold the tower's weight at 45-60° of raise, the structure accelerates downward, slamming into the ground or the operator. The winch's static load rating must exceed the tower's weight multiplied by the sine of the maximum raise angle (typically 1.5-2× for 60°).
Wind gusts above 12 mph have collapsed partially raised towers. Installers abort if sustained winds reach 10 mph or gusts exceed 15 mph. The tower acts as a sail during the raise; even 15 mph winds exert 80-120 lbs of lateral force on a 40-foot tower with attached turbine.
Failing to tension guy cables evenly causes the tower to lean, overloading one set of cables and creating a fatigue failure point. Installers measure guy tension with a cable tension meter, not by feel or visual sag.
Mechanical advantage systems for larger towers
Towers above 60 feet often use a 4:1 or 6:1 pulley system instead of a simple 2:1 gin pole rig. A compound block-and-tackle multiplies pulling force at the cost of cable travel distance—a 6:1 system requires pulling 60 feet of cable to raise the tower 10 feet.
Hydraulic winches powered by a portable pump deliver smooth, controllable force. Models like the Dutton-Lainson StrongArm series output 6,000-8,000 lbs of line pull with variable speed control. They cost $800-$1,400 but reduce crew fatigue and improve safety margins on heavy towers.
Some installers use a come-along hand winch for initial slack removal, then switch to a powered winch for the critical 30-70° phase. This hybrid approach saves battery power while maintaining mechanical control during high-force portions of the raise.
Electrical and code considerations before raising
NEC Article 705 requires turbine circuits to be de-energized during installation. Installers confirm the disconnect is in the OFF position and locked out with a padlock and tag. The turbine controller should be disconnected or set to manual brake mode to prevent the rotor from turning.
Conduit runs from the tower base to the inverter or controller must be buried to NEC-specified depths—18 inches for rigid conduit, 24 inches for direct-burial cable—before the tower goes vertical. Raising a tower with loose conduit on the ground creates trip hazards and risks damaging the wire jacket.
Grounding conductors must be attached to the tower and hinge assembly per NEC 250.52 and 250.53. A single 8-foot ground rod is insufficient for wind turbines; most jurisdictions require two rods spaced 8-10 feet apart, bonded with #6 AWG bare copper. The tower itself is bonded to this grounding electrode system with a #6 or #4 conductor, depending on service entrance rating.
Post-raise inspection and function testing
After the tower is vertical and guys are tensioned, the crew performs a walk-around inspection. They check for:
- Hinge bolt torque: 60-80 ft-lbs on 3/4-inch bolts, 100-120 ft-lbs on 1-inch bolts
- Guy cable tension: within 50 lbs of each other across all anchors
- Tower plumb: ≤1° deviation from vertical in any axis
- Conduit entry: weatherhead orientation prevents water ingress
- Turbine mounting bolts: torqued to manufacturer specs, typically 40-70 ft-lbs for yaw bearing bolts
The turbine is then reconnected electrically. Installers confirm voltage polarity with a multimeter before connecting the controller. The turbine should be in manual stop mode or blades should be lashed until all electrical testing is complete.
Once the controller shows normal system voltage and no fault codes, the blades are released (or re-installed if removed). The turbine should yaw freely into the wind and begin producing power within 2-3 minutes at wind speeds above its cut-in threshold (typically 6-9 mph).
When to hire professionals versus DIY
DIY tower raising is feasible for experienced builders working on towers under 40 feet with access to proper rigging equipment. The installer must understand load calculations, cable termination methods, and NEC grounding requirements. Many jurisdictions require a licensed electrician to make final connections from the turbine controller to the service panel, even if the tower raising is DIY.
Professional installation costs $1,500-$4,500 depending on tower height, site accessibility, and regional labor rates. This includes engineering stamped drawings for the local building department, equipment rental, crew labor, and liability insurance. For towers above 60 feet or sites with difficult access, professional installation is effectively mandatory—the rigging complexity and equipment costs exceed the capabilities of most property owners.
A licensed professional is required for all electrical work per NEC Article 705, which governs interconnection of distributed generation. Violations can void homeowner's insurance and disqualify systems from the Federal Residential Clean Energy Credit (IRS Form 5695, IRC §25D, 30% credit through 2032).
Long-term maintenance and lowering procedures
Tilt-up towers simplify maintenance because the turbine can be lowered to ground level for blade inspection, bearing lubrication, and generator service. Most manufacturers recommend annual lowering for systems in high-wind or salt-air environments, every 2-3 years otherwise.
The lowering procedure reverses the raising sequence. The winch is repositioned to control descent speed, preventing the tower from free-falling once it passes 60° from vertical. Guy cables are loosened sequentially, not all at once, to maintain stability.
Hinge bearings should be greased every 5-10 cycles with marine-grade lithium grease. The hinge bolt is inspected for wear or elongation of the hole; replacement is required if the bolt has more than 1/16 inch of play.
How many people are needed to raise a tilt-up tower?
Two people is the minimum for towers under 40 feet, but three is safer—one on the winch, one spotting from behind, and one managing guy cables. Towers above 60 feet typically require four crew members due to the longer guy cables and heavier loads.
Can I raise a tower in light rain?
Rain is acceptable if wind speed stays below 10 mph and crew members wear gloves with good grip. Lightning risk requires immediate work stoppage—metallic towers attract strikes. Installers monitor weather radar and abort if thunderstorms are forecast within 50 miles of the site.
What happens if the winch cable breaks during the raise?
This is why the safety line is mandatory. If the lift cable fails, the secondary line arrests the tower's fall and holds it at the current angle. The crew then secures the tower with temporary guy lines, replaces the failed cable, and resumes the raise. Cable failure is rare if the rigging is properly rated and inspected before use.
How much wind is too much for raising a tower?
Sustained winds above 12 mph at ground level, or gusts above 15 mph, require delaying the raise. Wind exerts lateral force proportional to the square of velocity—a 15 mph gust hits twice as hard as 10 mph. Installers use a handheld anemometer or reference NOAA weather station data for the site zip code.
Do I need a permit to raise a residential wind turbine tower?
Most counties require a building permit and electrical permit. The building department reviews structural drawings stamped by a licensed engineer and checks compliance with setback requirements (typically 1.5× tower height from property lines). FAA Part 77 notification is required for structures exceeding 200 feet above ground level, though residential turbines rarely reach that height. State-specific incentives tracked in the DSIRE database may require proof of permitted installation to claim rebates or tax credits.
Bottom line
Raising a tilt-up tower safely demands methodical execution, proper equipment, and constant communication between crew members. The procedure—rigging gin pole and winch, lifting in controlled increments, tensioning guy cables, and performing post-raise inspection—protects both personnel and expensive turbine hardware. DIY installation is possible for shorter towers if the installer has rigging experience and access to rated hardware, but professional crews provide liability coverage and engineered drawings that satisfy permit requirements. Either way, local code compliance under NEC Article 705 and a licensed electrician for final connections are non-negotiable requirements.
Share this article
windturbinehome.com/s/2c0fef
Editorial note: This article was researched and written by a member of the Wind Turbine Home editorial team. AI-assisted tools were used for spell-checking and light grammar review only — all research, analysis, and conclusions are our own. Our editorial policy prohibits sponsored content and paid placements. Read our editorial policy →
Related reading
installation guides
Free Wind Turbine Plans: Where to Find Honest Ones (and What to Avoid)
Free wind turbine plans exist, but most are dangerously incomplete or wildly optimistic. We identify legitimate sources and red flags to help you decide if DIY is realistic.
installation guides
Best Motors for a DIY Wind Turbine Generator (2025 Guide)
Permanent magnet DC motors, automotive alternators, and brushless outrunner motors each bring distinct trade-offs for DIY wind turbines—start-up torque, cogging, and voltage regulation determine real-world output.
installation guides
How to Build a 1000W Wind Turbine at Home: Step-by-Step Guide
Learn how to build a 1000-watt wind turbine from scratch with our detailed guide covering materials, tools, alternator selection, blade design, and safe installation.
installation guides
DIY Wind Turbine From Car Alternator: Works, But With Caveats
A car alternator can generate electricity from wind, but produces AC at variable frequency, requires high RPM, and needs rectification plus voltage regulation to charge batteries safely.

installation guides
How to Build a Wind Turbine for Your Home: A Realistic DIY Plan
Building a home wind turbine DIY requires electrical expertise, structural engineering knowledge, and 40-80 hours of work. Most homeowners save money and reduce risk by buying certified turbines like the Primus Air 40 or Bergey Excel 1 instead.
installation guides
Grounding and Bonding a Small Wind Installation Per NEC
Proper grounding and bonding per NEC Article 705 protects your small wind turbine from lightning strikes and electrical faults. Learn equipment, system, and tower grounding requirements.
installation guides
Concrete vs Ground Screw Turbine Foundation: Cost & Time Guide
Ground screws install in 4-8 hours for $1,200-$2,800, concrete takes 3-5 days at $2,500-$5,000. Both last 25-30+ years when engineered correctly for soil type.
installation guides
How to Install a Home Wind Turbine: Complete Step-by-Step Guide
Installing a home wind turbine requires site assessment, permitting, foundation work, tower assembly, electrical hookup, and inspection—averaging 3-7 days total labor.
installation guides
Installing a Home Wind Turbine: The Complete Guide (2024)
Step-by-step guide to installing a residential wind turbine—from site assessment and permits to foundation work, electrical hookup, and grid connection.