How to Install a Home Wind Turbine: Complete Step-by-Step Guide
Installing a home wind turbine requires site assessment, permitting, foundation work, tower assembly, electrical hookup, and inspection—averaging 3-7 days total labor.
Share this article
windturbinehome.com/s/f607a0
Installing a home wind turbine is a multi-day project that demands careful planning, structural precision, and electrical expertise. The process follows seven critical phases: site evaluation and permitting, foundation construction, tower assembly, turbine mounting, electrical interconnection, system commissioning, and final inspection. Most residential installations for turbines rated 1-10 kW take three to seven working days, not counting permit approval wait times. This guide walks through each stage with the specificity needed to coordinate contractors, understand code requirements under NEC Article 705, and claim the 30% federal tax credit through IRS Form 5695.
Site evaluation and pre-installation planning
The foundation of any successful wind turbine installation begins months before the first shovelful of dirt. A thorough site assessment measures average wind speed at the proposed hub height using an anemometer for at least 30 days—ideally three to six months. Turbines perform optimally at sites with annual average wind speeds above 10 mph at hub height, though horizontal-axis models like the Bergey Excel 10 can generate meaningful power down to 7.5 mph.
Zoning verification comes next. Municipal ordinances typically regulate tower height (often capped at 35-80 feet in residential zones), setback distances (commonly 1.1 to 1.5 times tower height from property lines), and noise limits (usually 45-55 dBA at the nearest dwelling). Homeowners association covenants may impose stricter limits or outright bans. Towers exceeding 200 feet above ground level trigger FAA Part 77 notification requirements, though residential installations rarely approach this threshold.
The electrical service panel requires evaluation by a licensed electrician. Most grid-tied systems need a dedicated 240V circuit breaker sized to the turbine's maximum output—a 5 kW unit typically requires a 30-amp breaker, while a 10 kW model needs 50 amps. Service panels with insufficient capacity may need a costly upgrade before installation can proceed. Off-grid systems demand battery bank sizing calculations based on household load profiles and desired autonomy days.
Permitting and interconnection agreements
Building permits typically cost $150-$800 depending on jurisdiction and system size. The application packet includes stamped structural drawings for the tower foundation (prepared by a licensed professional engineer), electrical single-line diagrams showing the turbine-to-panel connection path, and manufacturer spec sheets proving compliance with UL 6140 or IEC 61400-2 standards for small wind turbines.
Grid-tied installations require an interconnection agreement with the local utility. This process, governed by state public utility commission rules, can take 20-90 days. The utility reviews the application to ensure the turbine's anti-islanding protection meets IEEE 1547 standards—preventing backfeed during grid outages that could endanger line workers. Net metering arrangements, where available, allow the turbine to spin the meter backward during high-production periods, crediting the homeowner's account at retail electricity rates.
Electrical permits invoke NEC Article 705 (Interconnected Electric Power Production Sources) and Article 690 for DC systems paired with batteries. The authority having jurisdiction will inspect wire sizing, overcurrent protection, grounding electrode systems, and disconnecting means. Some jurisdictions also require separate mechanical permits for the tower foundation and structural attachment points.
Foundation construction for tower stability
The tower foundation must resist overturning moments from wind loading while anchoring the structure against uplift forces during extreme weather. Three foundation types dominate residential installations:
Concrete pier foundations suit monopole and lattice towers. A licensed contractor excavates a cylindrical hole 3-5 feet in diameter and 4-8 feet deep, depending on frost depth and soil bearing capacity. Steel anchor bolts, typically 1 to 1.5 inches in diameter, embed in 3,000-4,000 PSI concrete with the threaded ends protruding at precise spacing and elevation. Cure time before loading runs 7-14 days at temperatures above 50°F.
Helical pier systems offer faster installation in suitable soils. A hydraulic drive unit screws steel shafts with helical bearing plates into the ground until reaching design torque—typically 8,000-15,000 foot-pounds for residential turbines. Load testing verifies capacity before tower mounting. These piers work immediately after installation but cost 20-40% more than poured concrete.
Guy-wire anchor foundations for guyed lattice towers require three to four smaller concrete pads or earth anchors positioned at 120-degree intervals around the tower base. Each anchor resists 50-70% of the tower's rated load capacity through steel guy cables tensioned to manufacturer specifications—usually 500-800 pounds for residential systems.
A professional engineer stamps the foundation design based on site-specific soil reports and local wind load factors from ASCE 7. Attempting to use generic plans or eliminating the PE stamp voids turbine warranties and invites permit rejection.
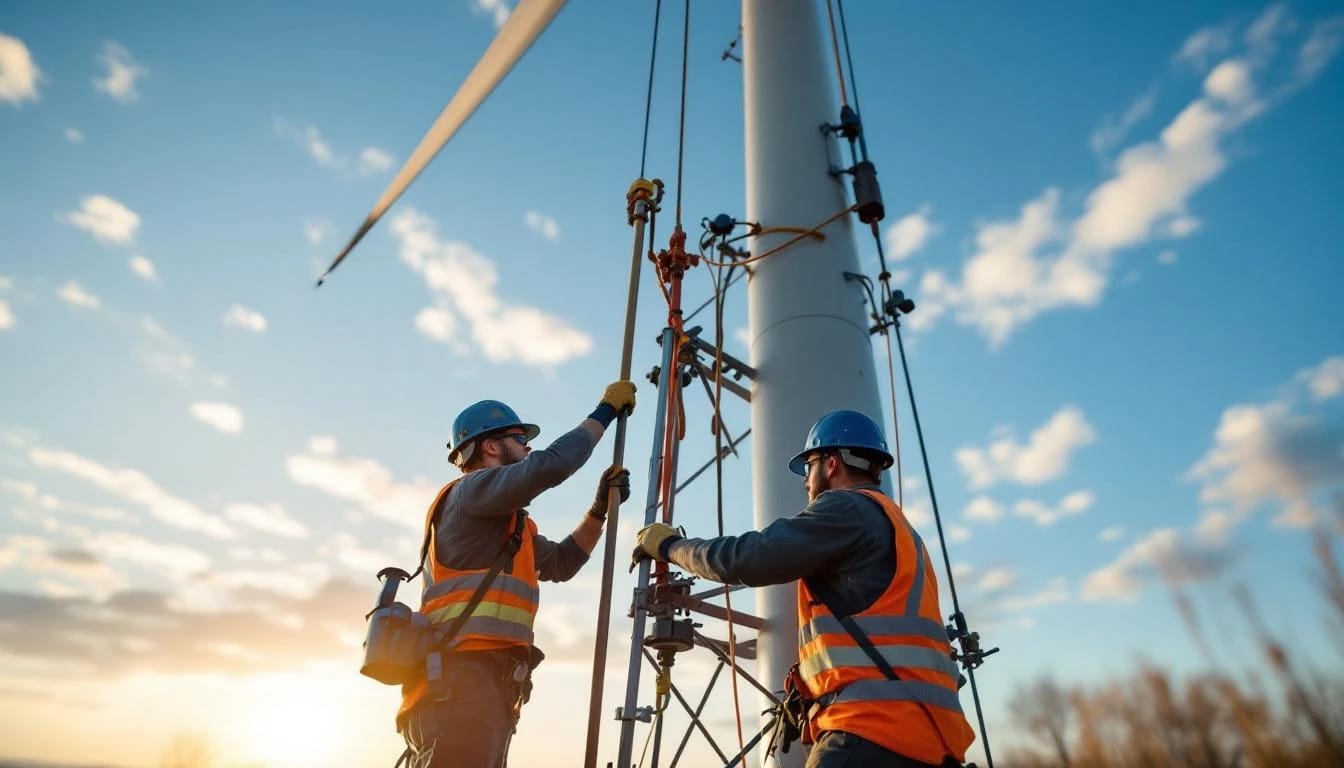
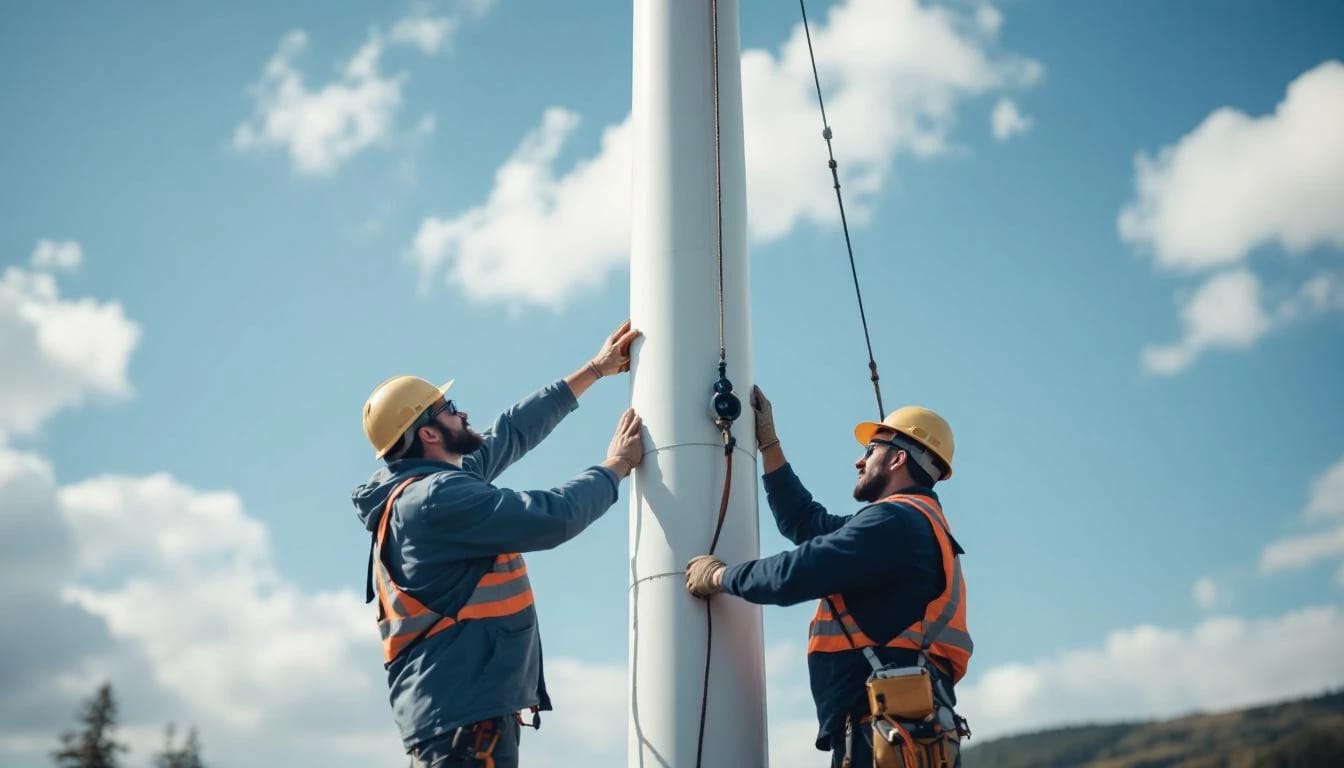
Tower assembly and erection sequence
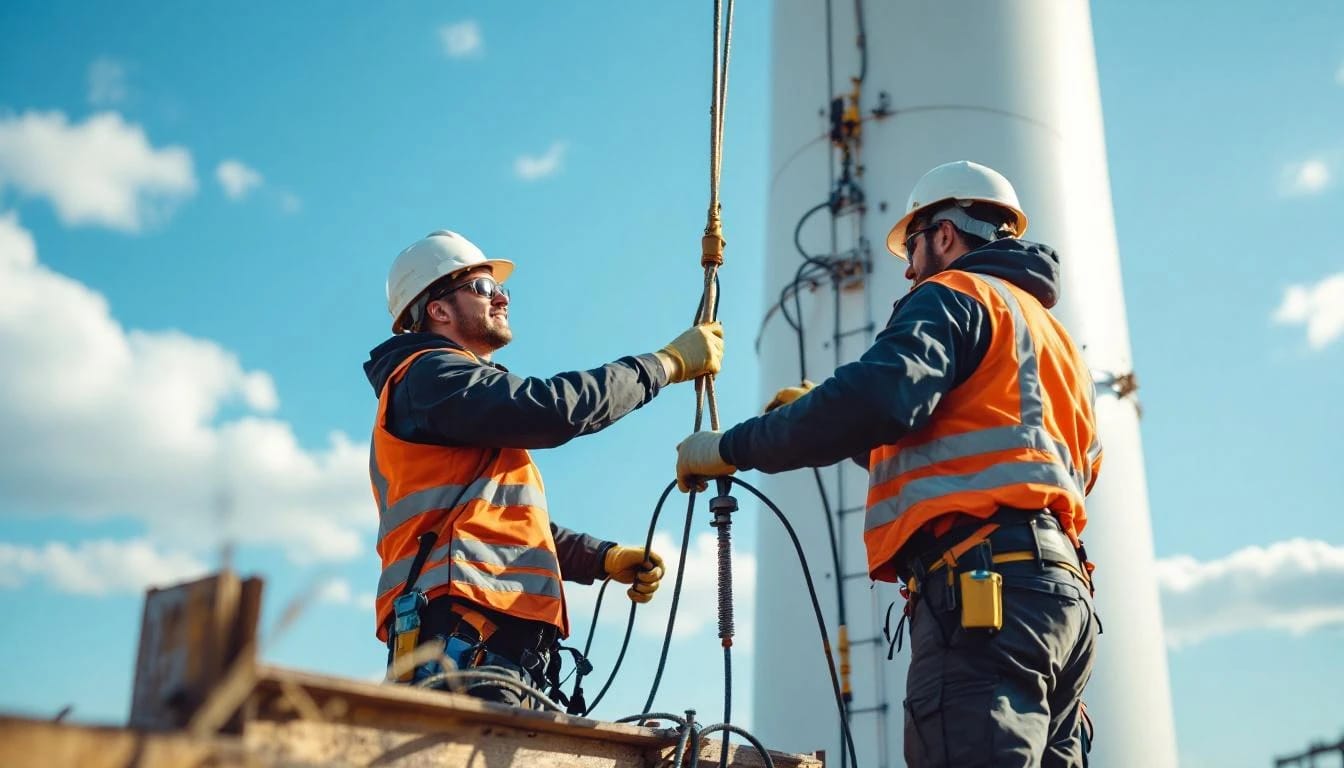
Tower assembly methods depend on design type. Tilt-up monopole towers like those sold with Primus Air turbines allow ground-level assembly before raising the turbine into position using a gin pole and winch system or small crane. The tower base hinge bolts to the foundation, and the entire assembly tilts upward—requiring 2-4 workers and taking 3-6 hours for towers under 100 feet.
Free-standing lattice towers require crane-assisted assembly. The crane lifts pre-assembled 10-20 foot sections one at a time, with workers aloft bolting flanges at each joint. Safety harnesses and fall protection meeting OSHA 1926.502 standards are mandatory. Crane rental runs $800-$2,000 per day depending on capacity and boom length needed.
Guyed lattice towers use the same section-by-section method but add guy wire attachment at specified intervals. Each guy cable threads through a turnbuckle for tension adjustment and terminates at a ground anchor with a thimble and cable clamps. Proper tensioning—verified with a Loos tension gauge—prevents tower oscillation that accelerates fatigue failures.
Before turbine mounting, a digital level or theodolite verifies the tower stands within 0.5 degrees of true vertical. Shims under the base plate correct minor deviations. Torque wrenches set all anchor bolts and tower section bolts to manufacturer specifications, typically 150-300 foot-pounds for primary structural connections.
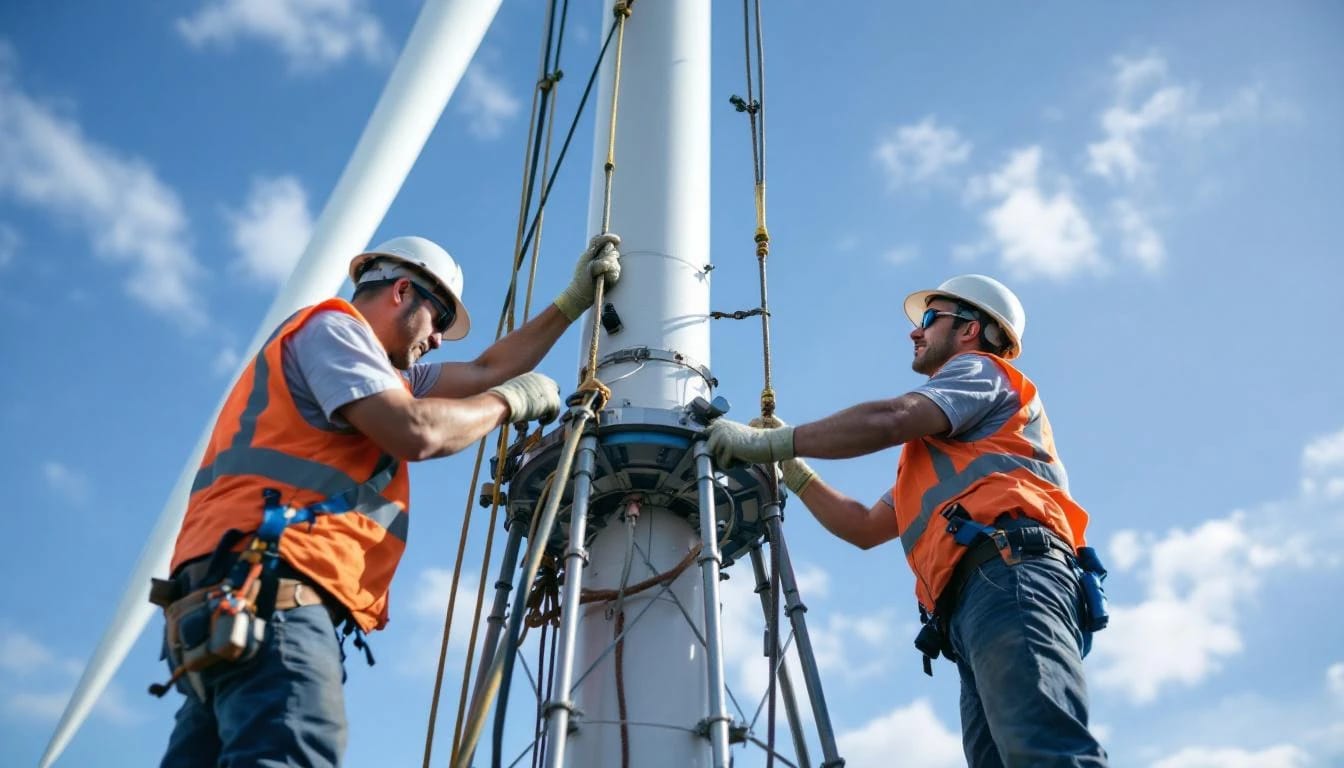
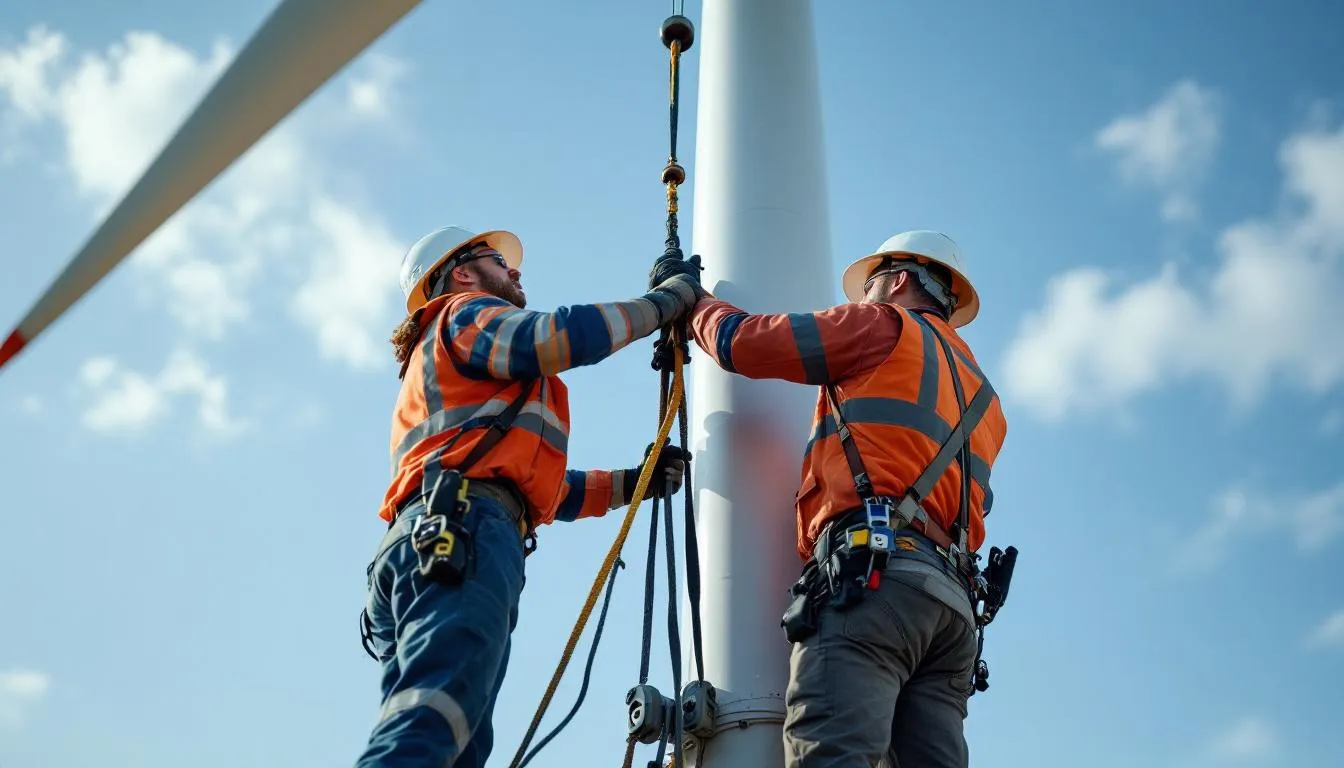
Turbine mounting and blade installation
Most residential horizontal-axis turbines ship with the nacelle (generator housing) and tail assembly pre-mounted on the main shaft. The turbine head weighs 80-300 pounds depending on rated capacity—Bergey Excel 10 units weigh about 175 pounds without blades. Two workers guide the head onto the tower top pipe or flange while a third secures mounting bolts from below or via crane-assisted positioning.
Blade attachment follows strict torque sequences to prevent imbalanced loading. Each blade bolts to the hub with 3-6 fasteners tightened in a star pattern to manufacturer specs—typically 45-75 foot-pounds for 1-5 kW turbines, 80-120 foot-pounds for 6-10 kW models. A blade pitch gauge or protractor ensures all blades sit at identical angles relative to the hub plane—variations exceeding 1 degree cause vibration and noise complaints.
Vertical-axis turbines like the Pikasola 600W or Aeolos-V 3 kW ship with blade-to-strut assemblies that bolt to a central rotating shaft. Assembly occurs at ground level before hoisting the complete rotor. Balance verification uses a static balance stand or dynamic balancing performed by the manufacturer—DIY balancing risks catastrophic failure at operating speeds of 200-400 RPM.
Yaw bearing lubrication points receive marine-grade grease, and all exposed fasteners get lock washers or thread-locking compound. The turbine rotates freely by hand before electrical connection, with the tail vane centering the rotor into the wind within 10-15 degrees of wind direction.
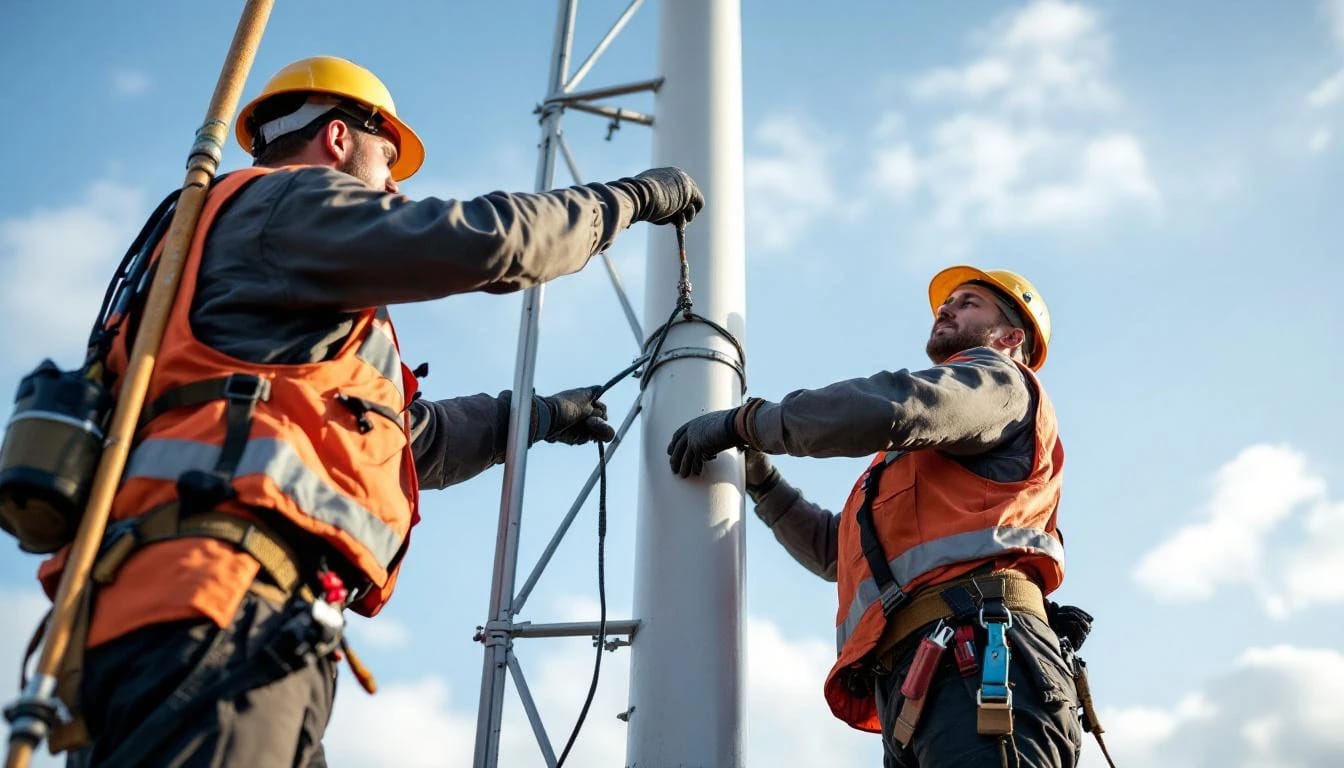
Electrical interconnection and safety systems
Electrical work must be performed by or under direct supervision of a licensed electrician in all US jurisdictions. The conduit run from tower base to the main service panel follows NEC requirements: buried direct-burial cable at 18-24 inch depth, or schedule 40 PVC conduit protected from physical damage. Wire sizing accounts for voltage drop—residential turbines 500 feet from the panel typically need one or two AWG sizes larger than ampacity alone would indicate.
The tower base junction box contains the first critical components. Three-phase turbines have six conductors (A-B-C plus neutral/ground), while single-phase models use three. A manual disconnect switch rated for DC voltage (if the turbine's rectifier sits at the tower base) or AC voltage (for nacelle-mounted rectifiers) provides lockout/tagout capability for maintenance. Lightning arrestors—metal oxide varistors rated for the system voltage—shunt surge energy to the grounding electrode.
The charge controller or grid-tie inverter sits indoors near the main panel. Battery-based systems use MPPT charge controllers from manufacturers like Xantrex or Morningstar, rated 20-50% above the turbine's maximum amperage. Grid-tied installations use inverters meeting UL 1741 and IEEE 1547 standards—popular models include SMA Windy Boy and Fronius IG Plus series. These inverters synchronize turbine AC output to grid voltage and frequency while providing required anti-islanding protection.
Inside the main service panel, a dedicated backfeed breaker connects the inverter output. This breaker sits on the opposite bus end from the main breaker to prevent exceeding busbar ratings—the sum of all breaker ratings on one bus must not exceed 120% of the busbar rating per NEC 705.12(D)(2). A placard above the breaker identifies the circuit as a power production source.
The grounding electrode system ties the tower structure, turbine frame, and electrical ground to earth. A ground rod (5/8-inch diameter copper, 8 feet long) driven within 2 feet of the tower base connects via #6 AWG bare copper to the tower and equipment ground conductor. Sites with resistive soil may need multiple rods spaced 6-10 feet apart or a ground ring to achieve the 25-ohm maximum resistance. Testing with a ground resistance meter verifies compliance.
System commissioning and performance verification
With all mechanical and electrical work complete, commissioning begins with a full systems check. The turbine blades spin freely without binding or unusual noise. Guy wires show equal tension across all cables. Electrical connections show tight, corrosion-free terminals with no signs of overheating.
Initial startup occurs at low wind speeds—ideally 8-12 mph—to verify cut-in performance. The turbine should begin generating at the manufacturer's specified cut-in speed, typically 6-9 mph for horizontal-axis models. An ammeter or the inverter display confirms current flow increases with wind speed. Voltage readings at the inverter input match expected values—48V battery-based systems should show 50-58V during charging, while grid-tie inverters display 250-400V DC input depending on turbine configuration.
Vibration monitoring during the first 48 hours identifies balance issues or loose fasteners. Excessive nacelle vibration—felt by hand on the tower—indicates blade imbalance or yaw bearing problems requiring immediate shutdown and correction. Normal operation produces steady hum audible within 150-200 feet, increasing in pitch with wind speed but without grinding, clicking, or rattling sounds.
Performance verification compares actual output to manufacturer power curves. A week of data logging through the inverter monitoring system or a separate data logger tracks kilowatt-hour production against simultaneous wind speed measurements. Underperformance exceeding 15-20% of curve predictions suggests blade pitch errors, generator problems, or turbine damage during shipping.
Final inspection and interconnection approval
The authority having jurisdiction schedules a final inspection after the installer notifies them of project completion. The inspector verifies:
- Tower foundation meets stamped engineering drawings
- All structural bolts torqued to specification with no missing hardware
- Electrical conduit, wire sizing, and overcurrent protection comply with NEC
- Grounding electrode system properly installed and bonded
- Disconnect switches accessible and properly labeled
- Anti-islanding protection functional (grid-tie systems)
- Guy wire tensions equal and anchors secure (guyed towers)
Failed inspections most commonly result from missing labels, incorrect breaker placement in the panel, inadequate grounding, or deviation from approved plans. Corrections typically take 1-3 hours and require a re-inspection appointment.
For grid-tied systems, utility interconnection approval follows municipal inspection. A utility representative verifies the anti-islanding protection and installs a bidirectional meter or reprograms the existing meter for net metering. Approval to energize arrives as a written letter or email—operating before receiving this authorization violates the interconnection agreement and may result in disconnection or penalties.
Off-grid systems require functional verification of the battery disconnect, inverter operation during no-wind periods, and proper load transfer between turbine and battery bank. Most installers perform a 24-hour monitored test run before final handoff to the homeowner.
Documentation and tax credit filing
Successful installation generates a paper trail worth preserving. Retain copies of:
- Final stamped engineering drawings and foundation design
- All permits and inspection certificates
- Interconnection agreement and utility approval letter
- Equipment invoices showing make, model, and serial numbers
- Installer certifications and warranty documents
- System commissioning report with baseline performance data
These documents support the federal residential clean energy credit under IRC §25D. Homeowners claim 30% of qualified installation costs on IRS Form 5695, filed with their tax return. Qualified costs include turbine equipment, tower and foundation, electrical materials, labor for installation, permitting fees, and engineering services. The credit applies to installations placed in service through December 31, 2032, stepping down to 26% in 2033 and 22% in 2034.
State-level incentives vary widely. The Database of State Incentives for Renewables & Efficiency (DSIRE) catalogs state-by-state programs—California's Self-Generation Incentive Program, New York's NY-Sun initiative, and Massachusetts' SMART program each handle small wind differently. Some states offer additional tax credits, property tax exemptions, or performance-based payments. Rebate programs through rural electric cooperatives may stack with federal incentives, though most utility incentive programs have shifted funding away from wind toward solar in recent years.
Warranty registration with the turbine manufacturer must occur within 30-90 days of installation. Manufacturers like Bergey and Primus Air require proof of professional installation and documentation of proper commissioning to honor warranties covering 5-10 years on turbines and 2-3 years on inverters.
Common installation mistakes and how to avoid them
Undersized foundations lead to catastrophic failures. Generic "backyard" pier designs found online ignore local soil conditions and wind load factors. Always use a PE-stamped foundation design based on a geotechnical soil report. The $800-$1,500 cost prevents $15,000-$30,000 tower replacement after a failure.
Improper guy wire tensioning creates oscillating loads that crack welds and fatigue cables. Each guy wire needs equal tension measured with a cable tension gauge—finger-tight guessing doesn't work. Retension all guys after 48 hours of operation as cables stretch under initial loading.
Voltage drop miscalculations rob system performance. A 5 kW turbine 400 feet from the panel operating at 240V and 21 amps needs #6 AWG copper to keep voltage drop below 3%. Using #10 AWG "because it's cheaper" wastes 8-12% of production to I²R losses. Online voltage drop calculators from Southwire or Cerrowire prevent this mistake.
Skipping the PE stamp to save $400-$800 invalidates permits, warranties, and homeowner's insurance coverage. When a 60-mph gust topples an under-engineered tower through a neighbor's roof, the homeowner faces full liability—typically $50,000-$150,000 in damages plus legal fees.
DIY electrical work in jurisdictions requiring licensed electricians creates liability nightmares. A house fire traced to improper wind turbine wiring leads to denied insurance claims, loss of the dwelling, and potential criminal charges for code violations. Hire licensed professionals for all electrical work.
Maintenance requirements and long-term care
Residential wind turbines demand more maintenance than solar panels but less than backup generators. Quarterly visual inspections check for loose bolts, guy wire tension, unusual noises, and cracked blades. Annual maintenance includes gearbox oil changes (if equipped), yaw bearing greasing, and brake system inspection. Bergey Excel turbines use permanently lubricated sealed bearings requiring no service, while Primus Air models specify annual greasing at four points.
Guy wires need re-tensioning annually or after major storms. Blade surfaces accumulate dirt, ice, and insect residue that degrade aerodynamic performance 3-7% per year without cleaning. A soft brush and mild detergent applied during low-wind periods restores efficiency.
Inverter firmware updates improve performance and fix bugs discovered post-installation. Most manufacturers release updates every 12-18 months available through USB connection or internet-connected monitoring systems. Battery-based systems require equalization charging every 6-12 months to extend battery life beyond the typical 5-8 year replacement cycle.
Tower climbing for maintenance should only be performed by professionals with proper fall protection and training. Never climb during winds exceeding 15 mph or with thunderstorms forecast. Most installers offer annual maintenance contracts for $300-$600 covering inspections, minor adjustments, and emergency response.
How long does a complete wind turbine installation take?
Most residential installations require three to seven working days once permits are approved. Foundation curing adds 7-14 days before tower erection can proceed. Permit approval typically takes 30-90 days, and utility interconnection adds another 30-60 days for grid-tied systems. Total elapsed time from permit application to final energization averages 90-150 days, though off-grid installations without utility coordination can complete in 45-60 days.
Can I install a wind turbine myself without hiring contractors?
Homeowners can legally perform their own installation in most jurisdictions, but three critical tasks typically require professionals: foundation design by a licensed PE ($800-$1,500), electrical work by a licensed electrician ($1,200-$2,800), and crane operation or professional rigging for towers above 60 feet ($800-$2,000). DIY installation without these professionals voids warranties, creates liability exposure, and results in permit denial. The labor savings of $3,000-$6,000 rarely justifies the risk for systems costing $15,000-$40,000 installed.
What's the typical cost breakdown for a residential wind turbine installation?
A complete 5 kW system installed on a 100-foot monopole tower averages $28,000-$35,000 broken down approximately as: turbine and tower equipment 45-50%, foundation and site work 15-20%, electrical materials and labor 15-20%, crane rental and rigging 8-12%, engineering and permits 8-10%. After the 30% federal tax credit, net cost drops to $19,600-$24,500. Off-grid systems with battery banks add $8,000-$15,000 for batteries, charge controllers, and backup power equipment.
Do I need to notify the FAA before installing a residential wind turbine?
FAA notification under Part 77 is required for structures exceeding 200 feet above ground level, or if the site lies within the approach path to an airport. Most residential turbines on 60-120 foot towers fall below these thresholds and require no FAA interaction. However, towers near small airports, helipads, or within 20,000 feet of public-use airports may trigger additional review. The FAA's online Notice Criteria Tool determines if notification is necessary based on coordinates, elevation, and structure height.
What happens to my wind turbine during severe storms or hurricanes?
Properly engineered residential wind turbines include multiple storm-protection mechanisms. Most models enter "furling" mode at sustained winds above 35-45 mph, turning the rotor sideways to the wind or activating blade pitch control to reduce loading. Dynamic braking systems stop rotation at sustained winds above 55-65 mph—Bergey Excel turbines automatically brake at 56 mph, while Primus Air units brake at 60 mph. The tower foundation must be designed for the local 50-year wind speed (typically 90-115 mph in most US regions, 130-150 mph in coastal hurricane zones). Operators should manually shut down turbines when hurricane warnings are issued if the storm track predicts sustained winds exceeding the brake threshold.
Bottom line
Installing a home wind turbine transforms from an overwhelming project into a manageable sequence when broken into discrete phases: thorough site evaluation, proper permitting and engineering, foundation construction, professional tower erection, code-compliant electrical work, careful commissioning, and final inspection. The process rewards attention to detail and investment in qualified professionals—cutting corners on foundation engineering or electrical work creates liability exposure far exceeding the savings. For sites with average wind speeds above 10 mph at hub height, a properly installed turbine delivers 20-35 years of clean energy production and meaningful utility bill reduction. Start by downloading wind data from your local weather station and contacting three certified installers for site assessments and comparative quotes—most offer free initial consultations that reveal whether your property can support a productive installation.
Share this article
windturbinehome.com/s/f607a0
Editorial note: This article was researched and written by a member of the Wind Turbine Home editorial team. AI-assisted tools were used for spell-checking and light grammar review only — all research, analysis, and conclusions are our own. Our editorial policy prohibits sponsored content and paid placements. Read our editorial policy →
Related reading

installation guides
Free Wind Turbine Plans: Where to Find Honest Ones (and What to Avoid)
Free wind turbine plans exist, but most are dangerously incomplete or wildly optimistic. We identify legitimate sources and red flags to help you decide if DIY is realistic.
installation guides
Best Motors for a DIY Wind Turbine Generator (2025 Guide)
Permanent magnet DC motors, automotive alternators, and brushless outrunner motors each bring distinct trade-offs for DIY wind turbines—start-up torque, cogging, and voltage regulation determine real-world output.
installation guides
How to Build a 1000W Wind Turbine at Home: Step-by-Step Guide
Learn how to build a 1000-watt wind turbine from scratch with our detailed guide covering materials, tools, alternator selection, blade design, and safe installation.
installation guides
DIY Wind Turbine From Car Alternator: Works, But With Caveats
A car alternator can generate electricity from wind, but produces AC at variable frequency, requires high RPM, and needs rectification plus voltage regulation to charge batteries safely.

installation guides
How to Build a Wind Turbine for Your Home: A Realistic DIY Plan
Building a home wind turbine DIY requires electrical expertise, structural engineering knowledge, and 40-80 hours of work. Most homeowners save money and reduce risk by buying certified turbines like the Primus Air 40 or Bergey Excel 1 instead.
installation guides
Grounding and Bonding a Small Wind Installation Per NEC
Proper grounding and bonding per NEC Article 705 protects your small wind turbine from lightning strikes and electrical faults. Learn equipment, system, and tower grounding requirements.

installation guides
Raising a Tilt-Up Tower Safely: The Procedure Most Installers Follow
Professional installers follow a strict 11-step procedure when raising tilt-up wind turbine towers, using gin poles, winches, and safety gear to prevent injury and equipment damage.
installation guides
Concrete vs Ground Screw Turbine Foundation: Cost & Time Guide
Ground screws install in 4-8 hours for $1,200-$2,800, concrete takes 3-5 days at $2,500-$5,000. Both last 25-30+ years when engineered correctly for soil type.
installation guides
Installing a Home Wind Turbine: The Complete Guide (2024)
Step-by-step guide to installing a residential wind turbine—from site assessment and permits to foundation work, electrical hookup, and grid connection.