Wind Turbine for a Tiny Home on Wheels: Deployable Picks
Portable wind turbines for tiny homes on wheels face unique deployment challenges. Telescoping poles and foldable VAWTs offer the best balance of power and packability.
Share this article
windturbinehome.com/s/18f34b
A fixed tower won't work when your home hits the highway every few months. For tiny homes on wheels, the turbine needs to break down, store flat, and redeploy in under an hour at each new site. Telescoping mast systems paired with compact horizontal-axis turbines (400–1,000 W) deliver the most reliable power per pound of gear. Vertical-axis models fold smaller but typically max out around 600 W. Either way, expect to supplement with solar—wind alone rarely covers base load when you're parked in a valley or behind tree cover.
Why Permanent Towers Are Not an Option
A traditional guyed lattice tower weighs 300–800 pounds, requires concrete footings, and takes a crew half a day to dismantle. Tiny-home builders need something that fits in a roof-mounted cargo box or slide-out compartment and can be erected by two people with hand tools. That rules out anything over 30 feet of mast height and pushes the turbine rating below 1.5 kW. Weight and volume become the primary constraints, not just swept area or rated capacity.
Zoning adds another layer. Many RV parks and tiny-home communities prohibit structures over 10 feet, and even BLM dispersed camping sites require FAA Part 77 notification if the turbine exceeds 200 feet above ground level near airports. A telescoping system keeps you under radar—literally and bureaucratically.
Telescoping vs. Tilt-Up Mast Designs
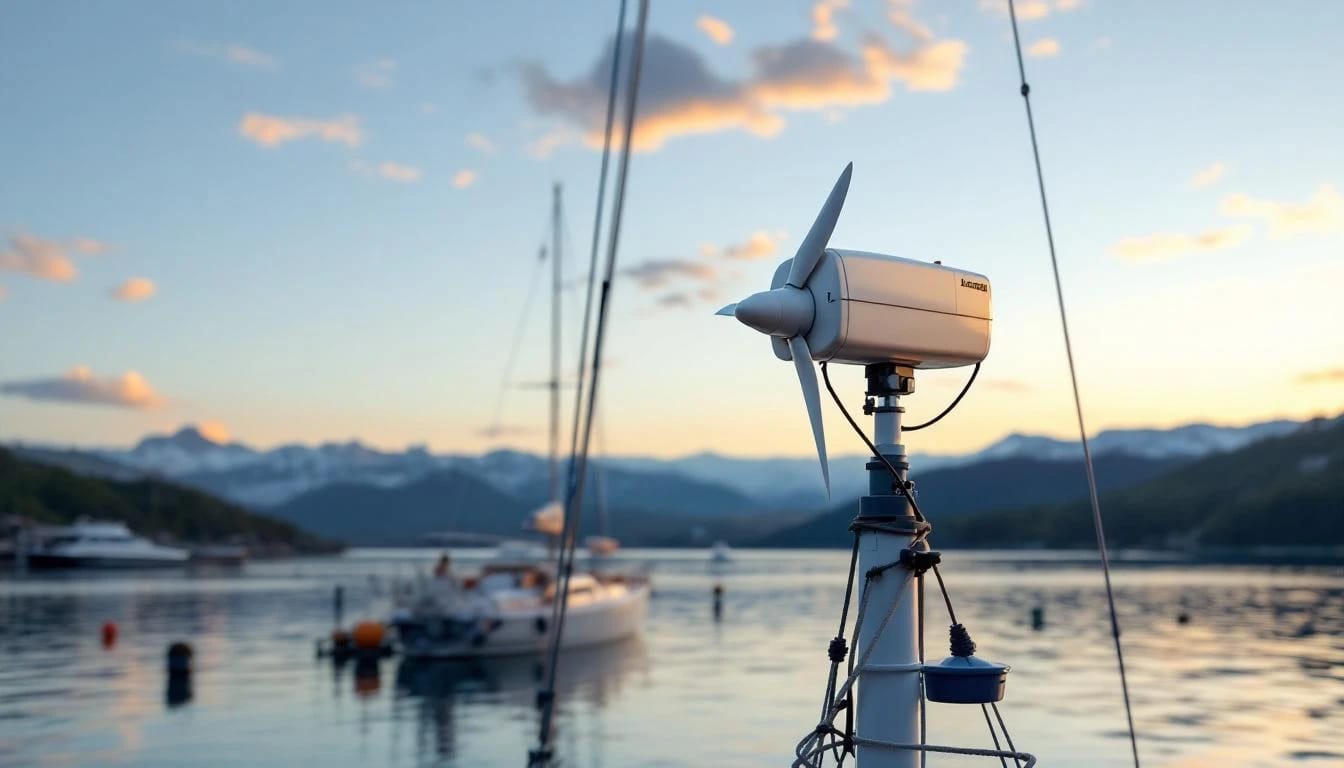
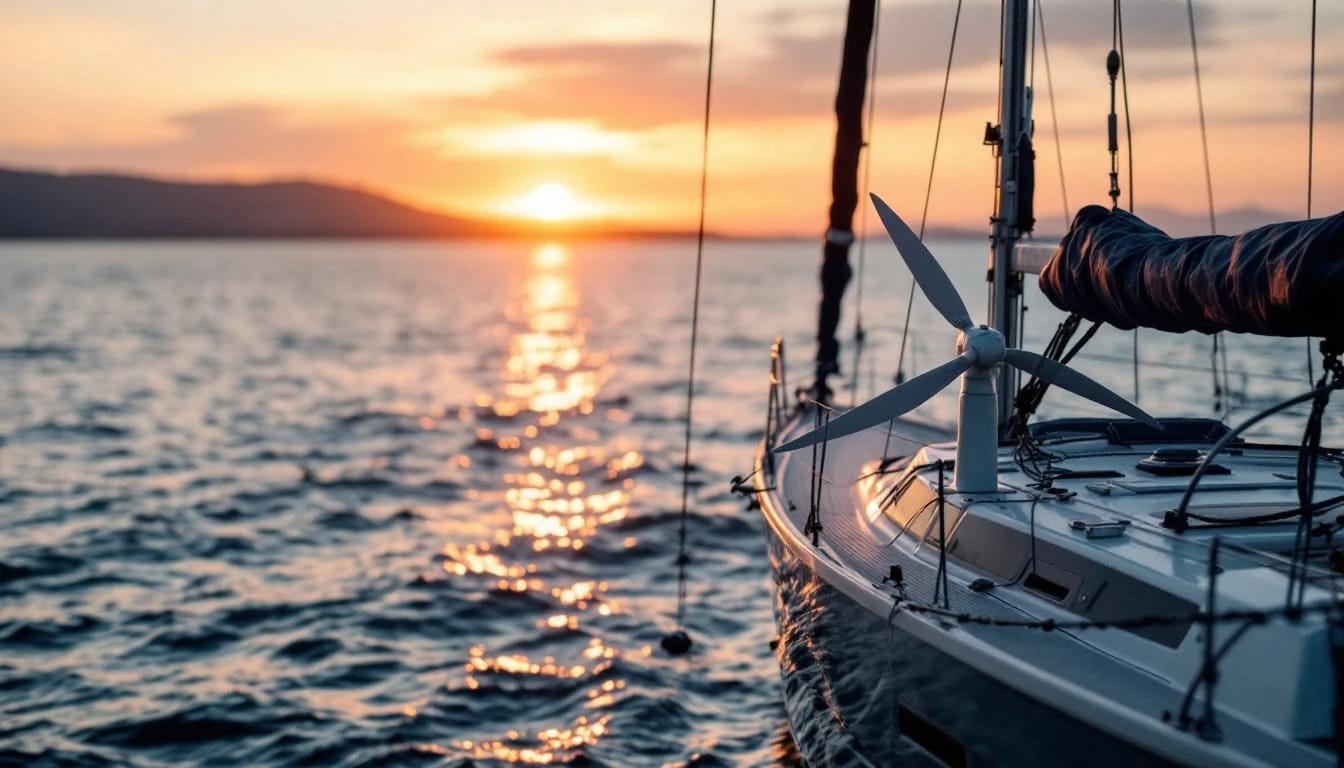
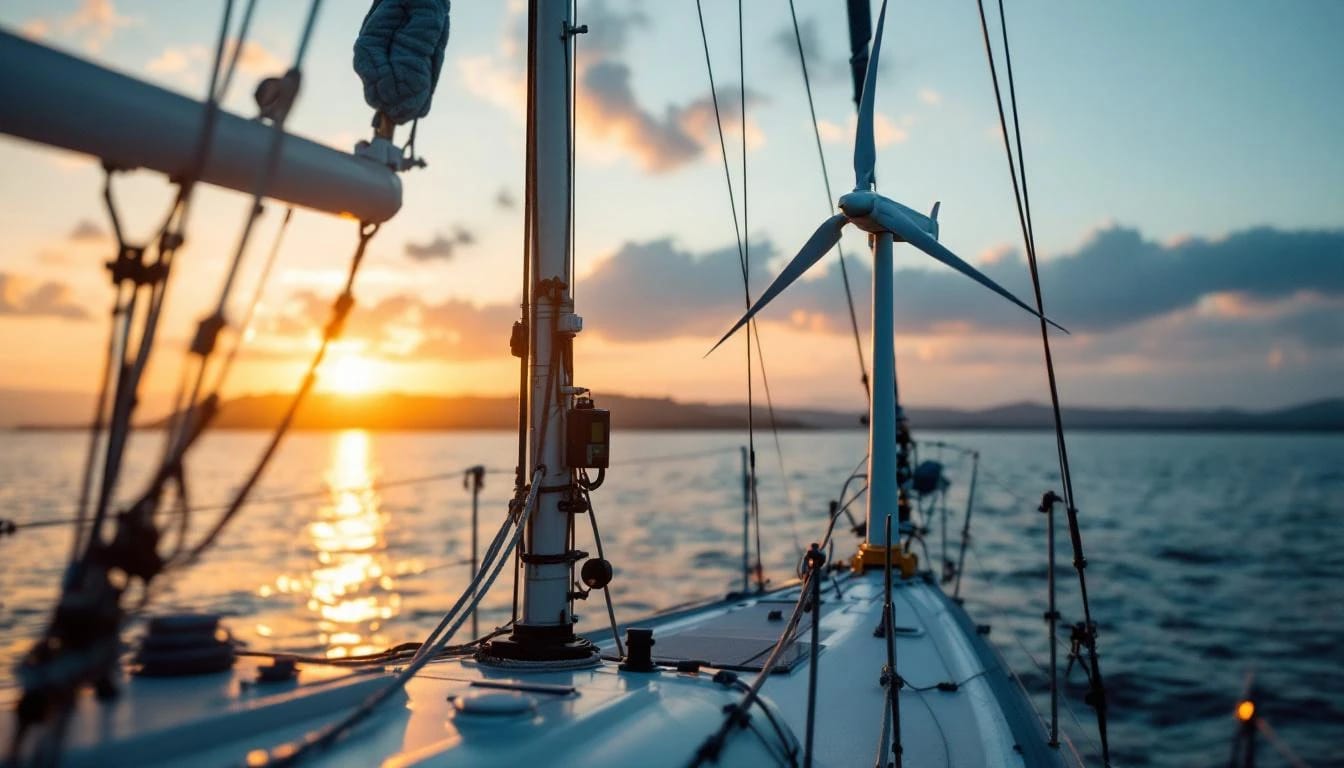
Telescoping masts use nested aluminum tubes that slide upward and lock with pins or compression collars. A four-section pole can collapse to 8 feet and extend to 24 feet, putting a small turbine above most RV rooflines and light tree clutter. The Primus WindPower AIR series pairs well with aftermarket telescoping poles sold by marine and ham-radio suppliers; expect to pay $400–$700 for a mast rated to 50 mph wind with a 15-pound turbine on top.
Tilt-up designs hinge at the base and raise the turbine via a winch or rope. They're faster to deploy but need guy lines staked in three or four directions, which eat up space around the tiny home. If you're on a tight lot or share a clearing with other campers, the footprint becomes a problem. Telescoping poles can be guyed at just one or two levels and still remain stable in 30 mph gusts.
Horizontal-Axis Turbines: Packable Three-Blade Models
The Primus AIR 40 (400 W rated, 12/24 VDC) weighs 13 pounds with a 46-inch rotor diameter. It ships as a hub, three blades, and tail vane that bolt together in ten minutes. Stored, it occupies a 50×12×12-inch space. Real-world output at the average tiny-home site—10–12 mph mean wind speed—runs 15–30 W continuous, enough to offset parasitic loads from a propane fridge control board and LED lighting. In a 20 mph blow, output jumps to 150 W, letting you bulk-charge a lithium house bank during the day.
The Pikasola 600 W (24/48 VDC, three-blade HAWT, 1.3 m rotor) delivers higher peaks but weighs 24 pounds and needs a beefier mast. The carbon-fiber blades detach via quick-release pins, and the entire assembly fits in a 60-inch roof cargo box. Expect 40–80 W at 12 mph and 200+ W at 18 mph. Both turbines include built-in rectifiers; you'll add an external charge controller (MPPT preferred) to match your battery chemistry.
For NEC Article 705 compliance, the turbine and mast must bond to the tiny home's grounding electrode system—typically the trailer frame. A licensed electrician should verify that the AC or DC disconnect is accessible and labeled, and that overcurrent protection (breaker or fuse) matches the turbine's output rating. Wind-turbine charge controllers count as "interactive inverters" under Article 705.12 if they backfeed into a busbar, requiring a separate breaker in the main panel.
Vertical-Axis Options: Helical and H-Rotor Configurations
Vertical-axis wind turbines fold into a narrower envelope. The Aeolos-V 500 W (helical Savonius, 1.2 m height, 0.8 m diameter, 28 kg) breaks into three stacked sections that nest inside each other. Assembly takes 20–30 minutes with socket wrenches. The helical blades start spinning at 6 mph, giving you trickle power in light winds that would stall a horizontal prop. Peak output hits 300 W at 20 mph, and the design tolerates gusty, turbulent flow better than a HAWT—useful if you park near buildings or treelines.
H-rotor VAWTs (straight vertical blades on horizontal struts) disassemble into flat panels. A DIY kit using three NACA 0018 airfoil blades on a 1.5 m rotor can be laser-cut from 1/8-inch aluminum and bolted to a central bearing cartridge. Total weight stays under 35 pounds, and the parts stack to 3 inches thick. Rated output for this configuration typically lands around 400 W at 25 mph. The downside: H-rotors need clean laminar flow to self-start; in gusty or swirling wind, you may need a manual spin to overcome static friction.
Both VAWT styles mount to a simple pipe mast without a yaw bearing or tail vane, saving complexity. However, because the rotor's center of mass sits above the bearing, side loads in high wind can fatigue the mount faster than a downwind HAWT. Reinforce the base plate with welded gussets if you plan to leave the turbine up for weeks at a time.
| Turbine Model | Type | Rated Power | Weight | Packed Size | 12 mph Output | 20 mph Output | Approx. Price |
|---|---|---|---|---|---|---|---|
| Primus AIR 40 | HAWT | 400 W | 13 lb | 50×12×12 in | 15–30 W | 150 W | $1,100 |
| Pikasola 600 W | HAWT | 600 W | 24 lb | 60×14×14 in | 40–80 W | 200+ W | $750 |
| Aeolos-V 500 W | VAWT (Helical) | 500 W | 62 lb | 48×32×12 in | 20–50 W | 300 W | $1,850 |
| DIY H-Rotor Kit | VAWT (H-Rotor) | 400 W | 35 lb | 60×24×3 in | 10–30 W | 250 W | $600 (materials) |
Charge Controllers and Battery Integration
Most portable turbines output wild three-phase AC or unregulated DC. A hybrid MPPT charge controller (e.g., Morningstar TriStar TS-MPPT-60, compatible with wind inputs) manages both solar and wind on separate DC buses and prevents battery overcharge. Set the dump-load diverter to kick in at 14.4 V for lithium iron phosphate or 14.8 V for AGM, routing excess power to a resistive heater or water-heating element when the battery is full and the wind keeps blowing.
If you run a 12 V house bank, keep the turbine on a separate 24 V or 48 V circuit and use a DC-DC converter to step down to battery voltage. This reduces cable losses when the turbine sits 80–100 feet from the tiny home. Use stranded copper rated for 600 V / 90°C and bury or sleeve the cable in Schedule 40 PVC if it crosses foot traffic. Local NEC amendments may require conduit even for temporary installations; check with the county or tribal land office before you stake the first guy line.
Site Selection and Wind Assessment
Tiny homes rarely land on hilltops with unobstructed fetch. You'll park in a forest clearing, a mesa campsite, or an RV pad behind someone's barn. Use a handheld anemometer (Kestrel 1000 or similar, around $100) to log wind speed at hub height for three days. If the average stays below 9 mph, wind will contribute less than 5 percent of your daily energy and isn't worth the deployment hassle. Focus on solar instead.
Look for open exposure to the prevailing wind direction—usually southwest or northwest in the continental U.S. Avoid slots between hills that funnel wind into chaotic eddies; a VAWT handles turbulence better, but even helical blades lose efficiency in swirling flow. If you must park in partial tree cover, raise the mast until the rotor clears the canopy by at least 10 feet. Every foot of extra height costs you stability and guy-line footprint, so balance is key.
Seasonal migration matters. Windy high-desert sites in Wyoming and New Mexico deliver in spring and fall; coastal Oregon and Washington kick up in winter; the Great Plains stay breezy year-round but freeze in January. A deployable turbine lets you chase the wind calendar, but pack the gear securely—blade tips are fragile, and a pothole at 60 mph can snap carbon fiber.
Ground Anchors and Guy-Line Rigging
Screw-in earth anchors (duck-bill or helix style, $15–$30 each) hold better than stakes in loose soil. For four guy lines, install anchors at 90-degree intervals, 15–20 feet from the mast base, angled 45 degrees into the ground. Use 3/16-inch galvanized aircraft cable with thimbles and cable clamps, and add inline turnbuckles to tension evenly. Over-tensioning one side bends the mast; under-tensioning invites oscillation and fatigue cracks.
In rocky or frozen ground, concrete anchor pads (12×12×6-inch pour with an eye bolt) work better than screws. Mix one 60-pound bag of fast-set concrete per anchor, let it cure 24 hours, and you're good for wind loads up to 80 mph. When you leave, chip out the pad or pour a new one at the next site—annoying but necessary if you stay parked for months.
For BLM or Forest Service land, "leave no trace" rules often forbid permanent anchors. Sandbags (five 50-pound bags per guy line, stacked and wrapped in tarp) provide temporary deadweight. They won't handle a 50 mph gust as reliably as earth anchors, so lower the turbine if the forecast calls for high wind.
Electrical Code and Permit Realities
Article 705.12 requires wind and solar sources feeding the same busbar to connect through separate breakers, with the sum of breaker ratings not exceeding 120 percent of the busbar rating. A typical tiny home has a 100 A main panel; if solar already occupies a 30 A breaker, the wind breaker can't exceed 50 A unless you upgrade the busbar or add a sub-panel.
Most jurisdictions treat a tiny home on wheels as a "recreational vehicle" under NFPA 1192 or RVIA standards, not a permanent dwelling under the International Residential Code. That means the local building department may decline to issue an electrical permit altogether. If you're parking on private land, the landowner's insurance often requires you to demonstrate code compliance anyway. Hire an electrician to stamp a one-line diagram showing disconnect locations, overcurrent protection, and grounding—it costs $200–$400 and smooths disputes if something goes wrong.
For the 30% federal Residential Clean Energy Credit (IRC §25D, claimed on IRS Form 5695), the turbine and installation labor qualify if the tiny home is your primary residence. Keep receipts for the turbine, mast, charge controller, and electrician's invoice. The credit phases down after 2032, so timing matters for larger systems.
Solar-Wind Hybrid Layout
Wind fills the gaps when the sun sets or clouds roll in. A 600 W turbine and 400 W of rooftop solar (four 100 W panels) together produce 30–60 kWh per month at a decent site—enough for LED lighting, a 12 V fridge, laptop charging, and a small water pump. Add a propane heater and cooktop, and your electrical draw stays under 2 kWh per day.
Mount solar panels flat on the roof or on tiltable brackets that adjust seasonally. Wind works best on a separate mast because vibration from the turbine can crack solar glass if you try to mount both on the same pole. Run separate charge controllers for each source into a common battery bus, and install a battery monitor (Victron SmartShunt or similar) to track state of charge in real time.
When wind speed drops below 8 mph for days at a stretch, solar carries the load. When overcast weather lingers, wind picks up the slack—especially in coastal and mountain climates where storms bring both clouds and gusts. The two sources rarely peak together, which flattens your daily generation curve and reduces the battery bank size you need.
Budgeting the Full System
| Component | Low-End Option | Mid-Range Option | High-End Option |
|---|---|---|---|
| Turbine | Pikasola 600 W ($750) | Primus AIR 40 ($1,100) | Aeolos-V 500 W ($1,850) |
| Telescoping Mast | DIY 4-section aluminum ($300) | Marine-grade 20 ft ($600) | Commercial 30 ft tilt-up ($1,200) |
| Guy Lines & Anchors | Aircraft cable + screw anchors ($80) | Turnbuckles + helix anchors ($150) | Concrete pads + stainless hardware ($250) |
| Charge Controller | PWM wind controller ($120) | Hybrid MPPT ($400) | Morningstar TriStar 60 ($650) |
| Wiring & Install | DIY with NEC-compliant materials ($150) | Electrician 1-day labor + materials ($600) | Full electrical design + permit ($1,200) |
| Total Installed | ~$1,400 | ~$2,850 | ~$5,150 |
Costs scale sharply if you add larger batteries (lithium iron phosphate at $0.50–$0.80 per Wh) or an inverter for AC appliances. A 200 Ah 12 V LiFePO₄ bank adds $1,200–$1,600; a 2,000 W pure-sine inverter runs another $300–$700. Budget accordingly.
Common Pitfalls and Fixes
Rotor won't self-start in light wind. H-rotor VAWTs and heavy HAWTs need 8–10 mph to overcome bearing friction. Solution: lighter blades (carbon fiber or balsa-core composite) or a small DC motor wired to spin the shaft for ten seconds when voltage drops below a threshold.
Mast sway and vibration. Under-tensioned guy lines let the pole whip in gusts, fatiguing the aluminum and loosening bolts. Solution: re-tension turnbuckles every week, especially after rain softens the soil around anchors.
Inadequate grounding. Trailer frames rust and lose continuity to earth. Solution: drive an 8-foot copper-clad ground rod near the mast, bond it to the trailer frame with #6 AWG bare copper, and test continuity with a multimeter.
Inverter false-shutdowns. Some low-cost inverters interpret wind-turbine voltage spikes as grid faults and trip offline. Solution: add a capacitor bank (4,000–10,000 µF) across the DC input to smooth transients, or upgrade to a wind-rated inverter with adjustable thresholds.
Noise complaints. Even small turbines hum at 40–60 dBA in high wind. Solution: park at least 100 feet from neighbors, or switch to a helical VAWT, which runs quieter than a propeller.
Can I power an entire tiny home with wind alone?
Not reliably in most locations. A 600 W turbine at a 10 mph site generates 10–20 kWh per month—enough for lighting and phone charging but not refrigeration, water heating, or high-draw appliances. Pair wind with 400–800 W of solar and size your battery bank to cover two cloudy, calm days. Propane handles space heating and cooking.
Do I need a permit to set up a portable turbine on BLM land?
BLM dispersed camping allows temporary structures under 10 feet without a permit. A 20-foot mast technically requires a Special Recreation Permit if you stay beyond 14 days, but enforcement is inconsistent. Check with the local field office. On private land, the landowner sets the rules; always get written permission and confirm their insurance covers wind equipment.
How long does deployment and teardown take?
A telescoping mast with a bolt-together turbine: 45–60 minutes to raise, 30 minutes to lower. Tilt-up systems are faster (20 minutes each way) but need guy lines adjusted more frequently. Budget an extra hour the first two or three times you deploy while you figure out anchor spacing and cable routing. After that, the process becomes routine.
What maintenance does a portable turbine require?
Inspect blades for cracks and leading-edge erosion every 50 hours of runtime. Re-grease the yaw bearing (HAWT) or main bearing (VAWT) every six months. Check bolt torque on the hub and tail vane quarterly. Replace guy-line cables if you spot fraying or rust. Clean the charge-controller terminals annually. Expect to rebuild or replace the turbine every 10,000–15,000 hours of operation—about eight to ten years of active use.
Are VAWT or HAWT designs better for tiny homes?
HAWTs deliver more power per pound and pack smaller when disassembled. VAWTs tolerate turbulent wind and fit a shorter mast, making them better for wooded or cluttered sites. If you chase wide-open high-desert spots, choose a HAWT. If you park in forests or near buildings, go VAWT. Either way, keep expectations realistic—this is supplemental power, not a grid replacement.
Bottom Line
A deployable wind turbine extends your off-grid autonomy when solar alone falls short. Horizontal-axis models like the Primus AIR 40 deliver the best power-to-weight ratio, while helical VAWTs handle gusty tree-shaded sites more gracefully. Pair the turbine with a telescoping mast, MPPT charge controller, and adequate battery capacity, and you'll harvest 10–30 kWh per month at typical tiny-home sites—enough to offset parasitic loads and keep your lights on through cloudy weeks. Start with a mid-range system around $2,800 installed, verify NEC grounding and disconnect requirements with a licensed electrician, and test deployment at home before you hit the road. For detailed comparisons of charge controllers and hybrid inverters, see our solar-wind hybrid system design guide.
Share this article
windturbinehome.com/s/18f34b
Editorial note: This article was researched and written by a member of the Wind Turbine Home editorial team. AI-assisted tools were used for spell-checking and light grammar review only — all research, analysis, and conclusions are our own. Our editorial policy prohibits sponsored content and paid placements. Read our editorial policy →
Related reading

micro wind turbines
Best Micro Wind Turbines Under 1 kW for Cabins and Boats 2024
Independent test data and owner feedback reveal which sub-1kW wind turbines deliver real power on remote cabins and boats—plus installation codes and cost breakdowns.

micro wind turbines
Marine Wind Generator Buyer Guide for Sailboats (2024)
Compare marine wind generators for sailboats by power output, noise, durability, and mounting. Learn which turbines hold up in salt spray and high wind.
micro wind turbines
Small Wind Turbine for Camping: 100 to 400 W Picks for 2025
Portable wind turbines for camping range from 100 W to 400 W. Top picks include vertical-axis models under 15 lb and foldable horizontal-axis units for off-grid power.
micro wind turbines
Wind Turbine for Sailboat Under 400 W: 6 Marine Picks Reviewed
Tested marine wind turbines under 400 W for cruising sailboats. Primus AIR 40 leads for reliability, Rutland 914i adds solar backup, Silentwind 400+ cuts noise by 60%.
micro wind turbines
Wind Turbine for RV Roof: Vibration, Mounts, and Worth-It Analysis
RV roof wind turbines face severe vibration, complex mounting, and marginal output. Most owners see better ROI from solar panels, but specific scenarios justify the experiment.